269,8 kVIEWS
170REPLIES
7APPRECIATES
24/02/2023LAST POST
Hé les gars,

Voici comment installer le volant BMW Performance. Ce n’est pas très difficile, il vous suffit de prendre votre temps et de faire attention à ce que vous faites.

Outils:

1. Pas très grand tournevis à tête plate
2. Douille 16mm ou 5/8 avec clé et extensions
3. T25 torx socket (je pense que c'est T25 mais je me trompe peut-être)
4. Très petit tournevis à tête plate
5. Douille de 10 mm

Si vous êtes local ( Bay Area ) Je peux l'installer pour vous

Ce DIY est pour vous juste à regarder / lire et avoir une idée sur la façon dont il peut être fait. Je ne vous encourage pas à faire cette installation. Je ne serai pas responsable de tout ce qui pourrait vous arriver, à votre véhicule ou à toute personne qui pourrait vous aider.


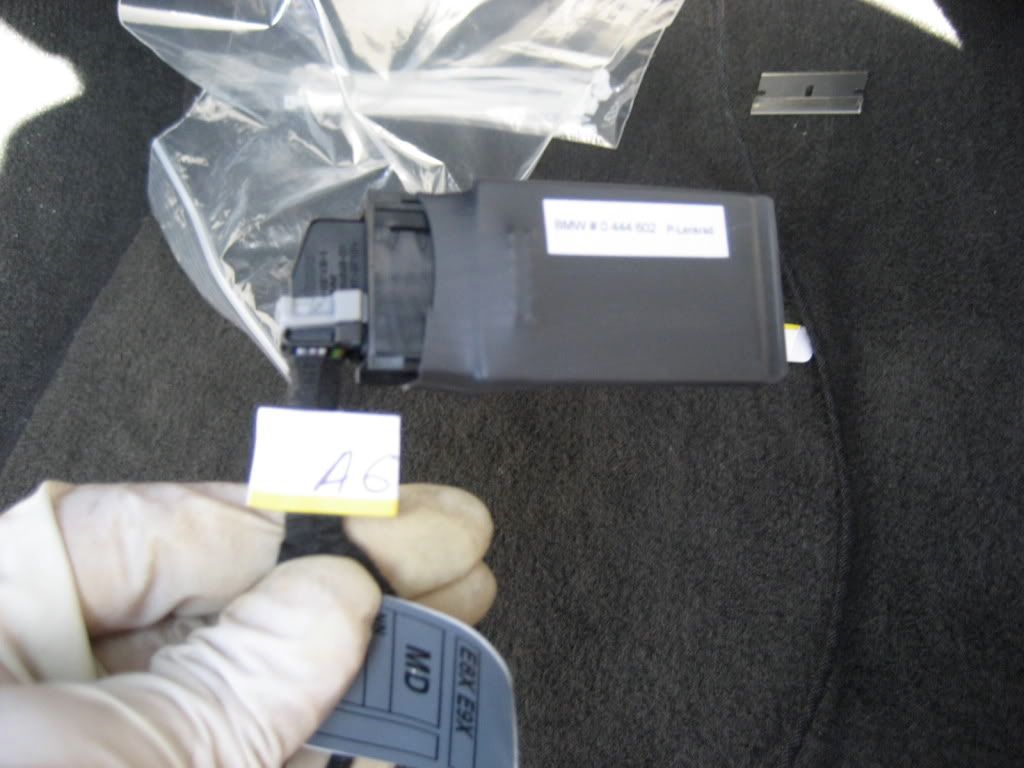
Avant de commencer à tout démonter, vous devez lire les instructions PDF dans le Post3 en bas et vous familiariser avec celui-ci. Assurez-vous de comprendre ce qui se passe où. Après avoir fait cela, je vous recommande d'étiqueter BMW fourni harnais avec A1, A2, A3, A4, A5, A6 et A7. Il sera plus facile de comprendre ce qui se passe où.

1. Débranchez votre batterie et assurez-vous que votre (-) borne négative ne sera pas toucher la batterie
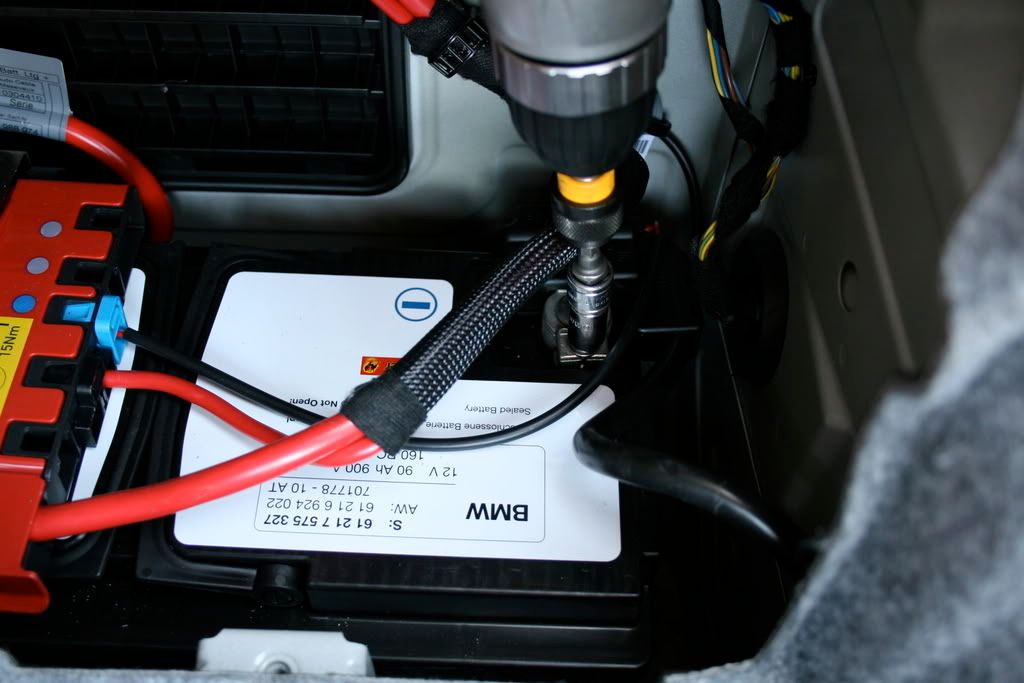
Image hosted on: i114.photobucket.com

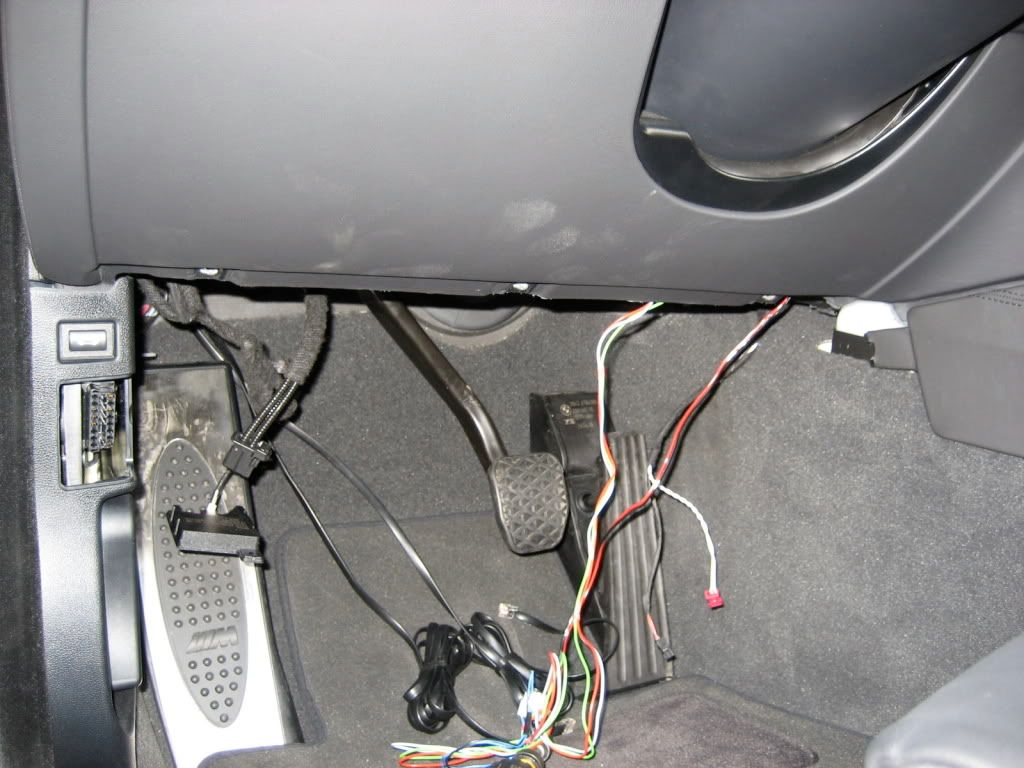
2. Retirez les panneaux de plastique inférieurs des deux côtés (passager / conducteur). J'ai juste une photo du côté passager
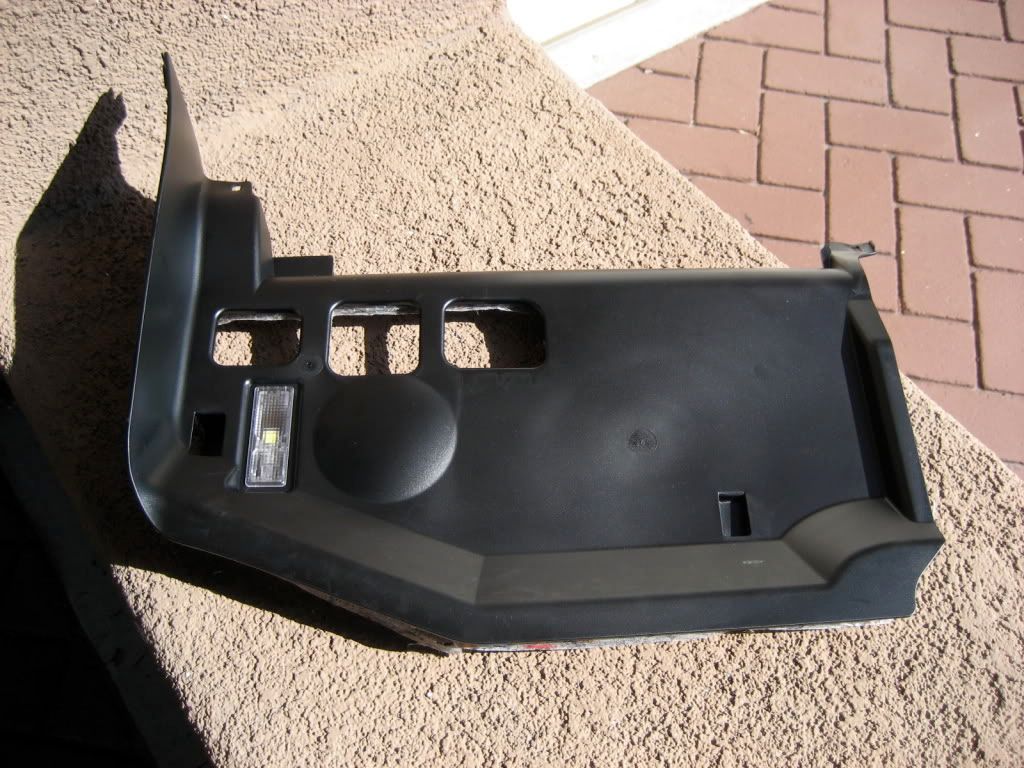
Image hosted on: i114.photobucket.com
Côté conducteur
Image hosted on: i114.photobucket.com

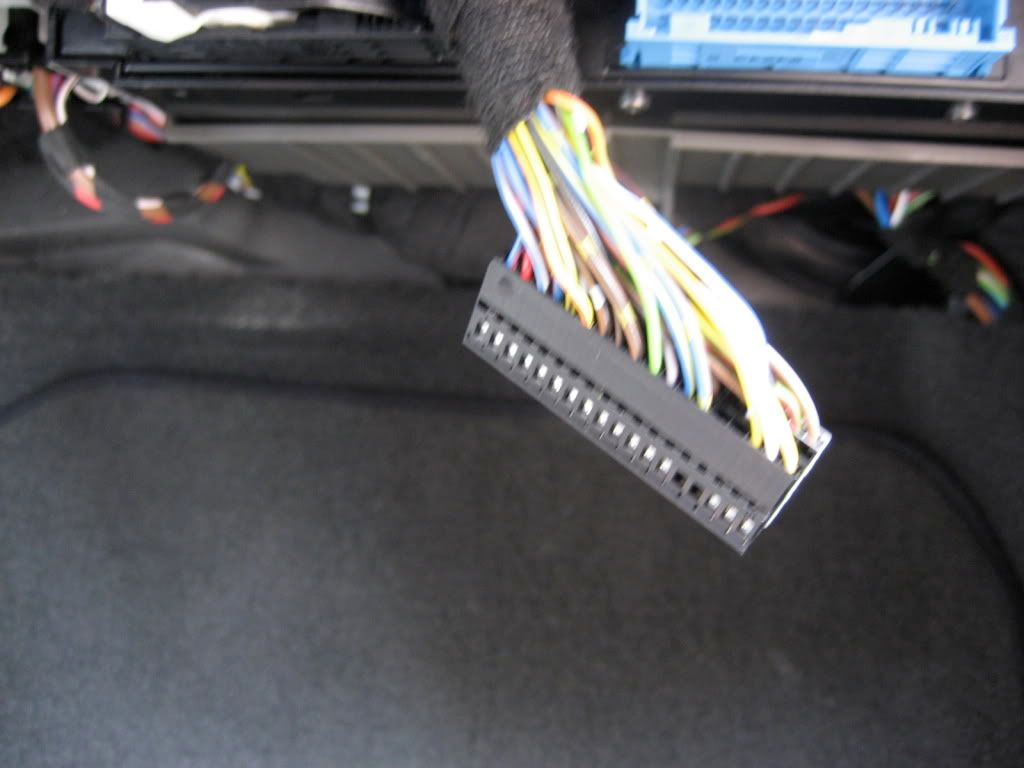
3. Lire les instructions PDF et débrancher le connecteur bleu
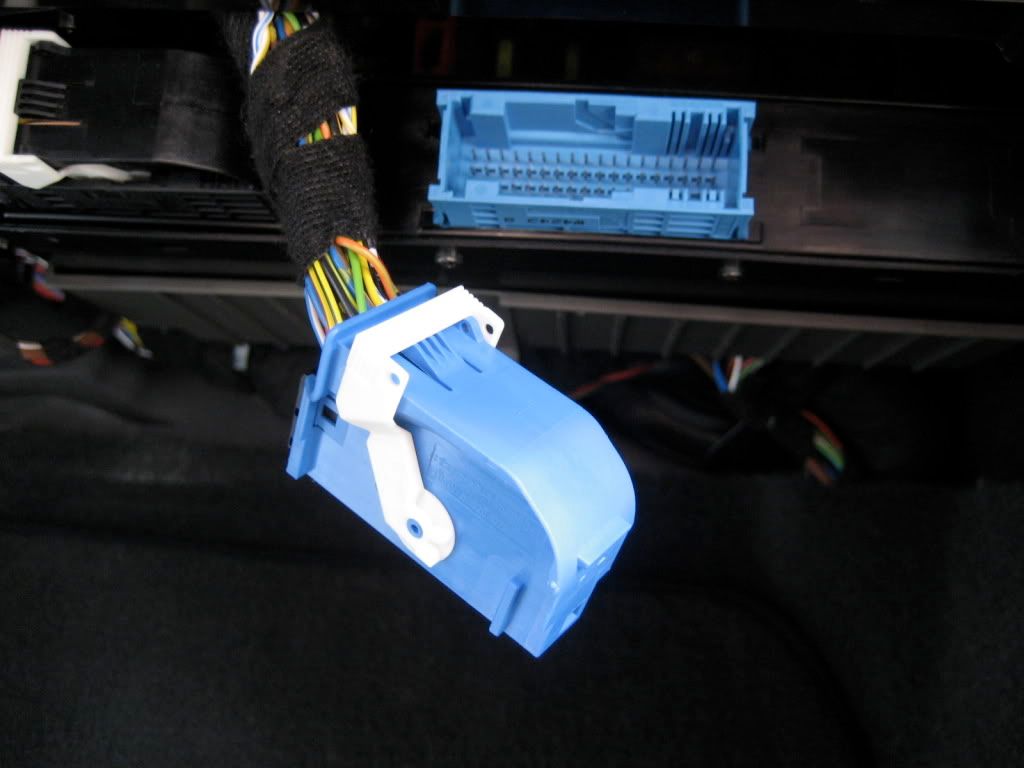
Image hosted on: i114.photobucket.com

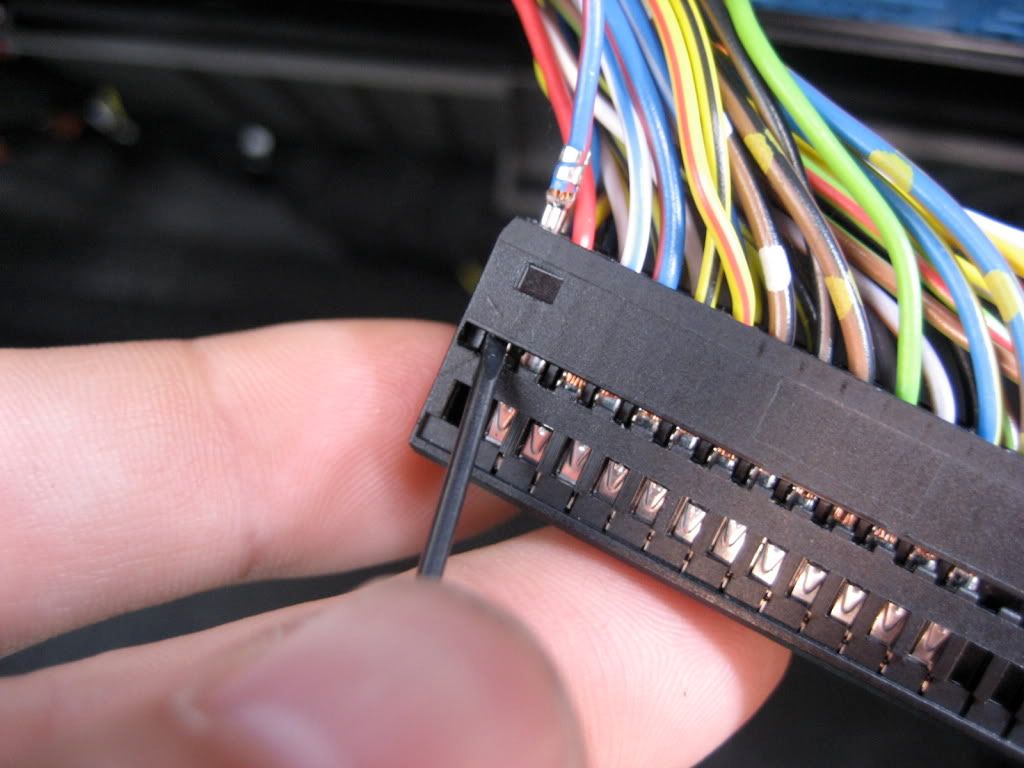
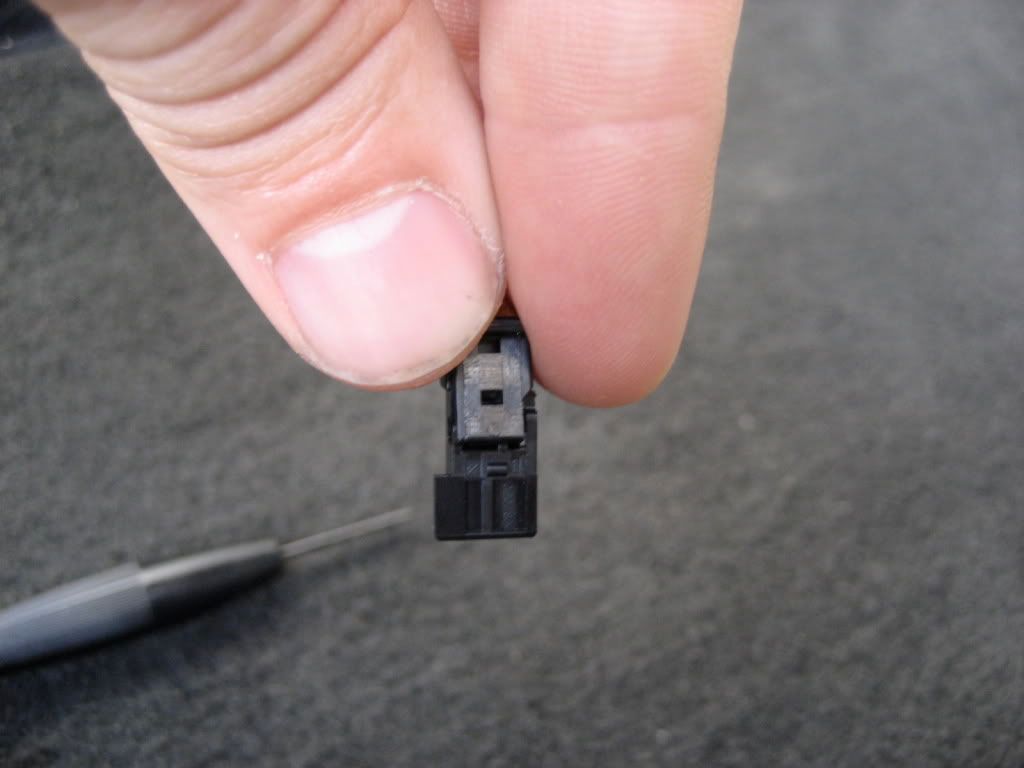
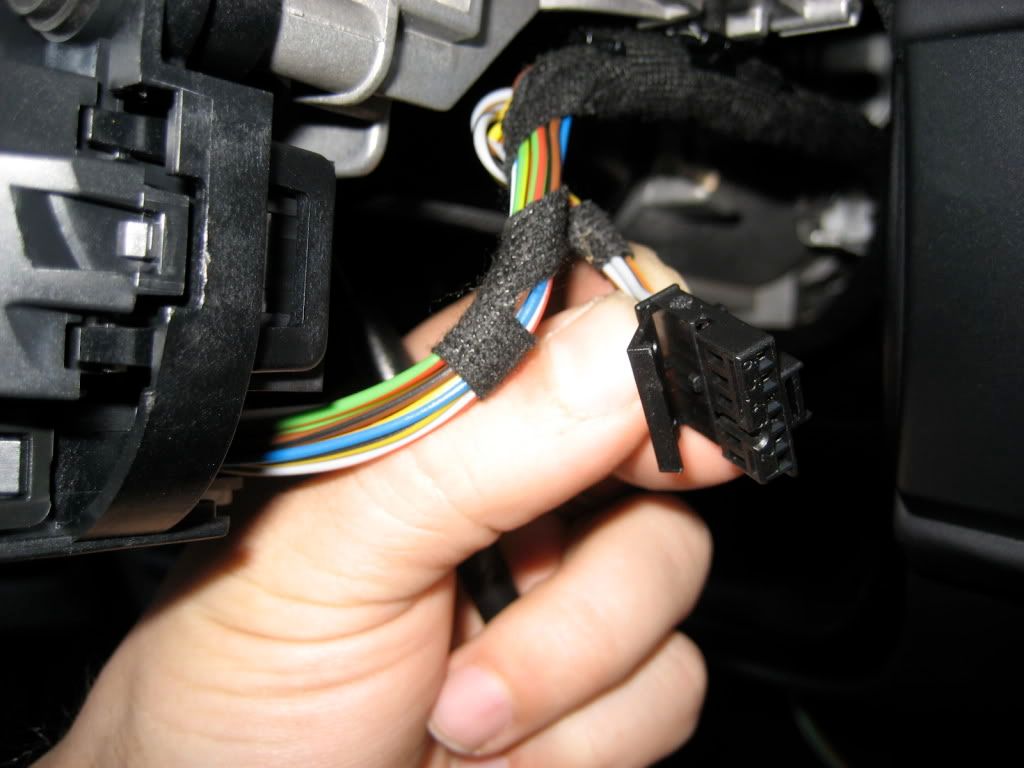
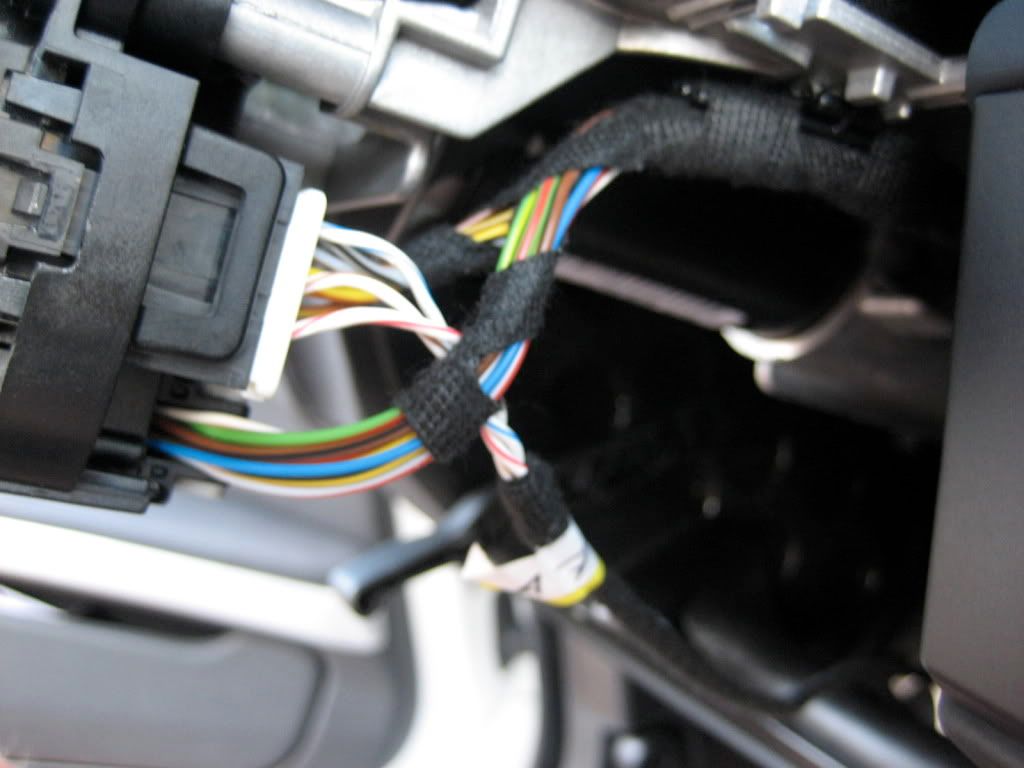
4. Relâchez les onglets latéraux et retirez le connecteur noir/gris qui se trouve à l'intérieur du connecteur bleu.
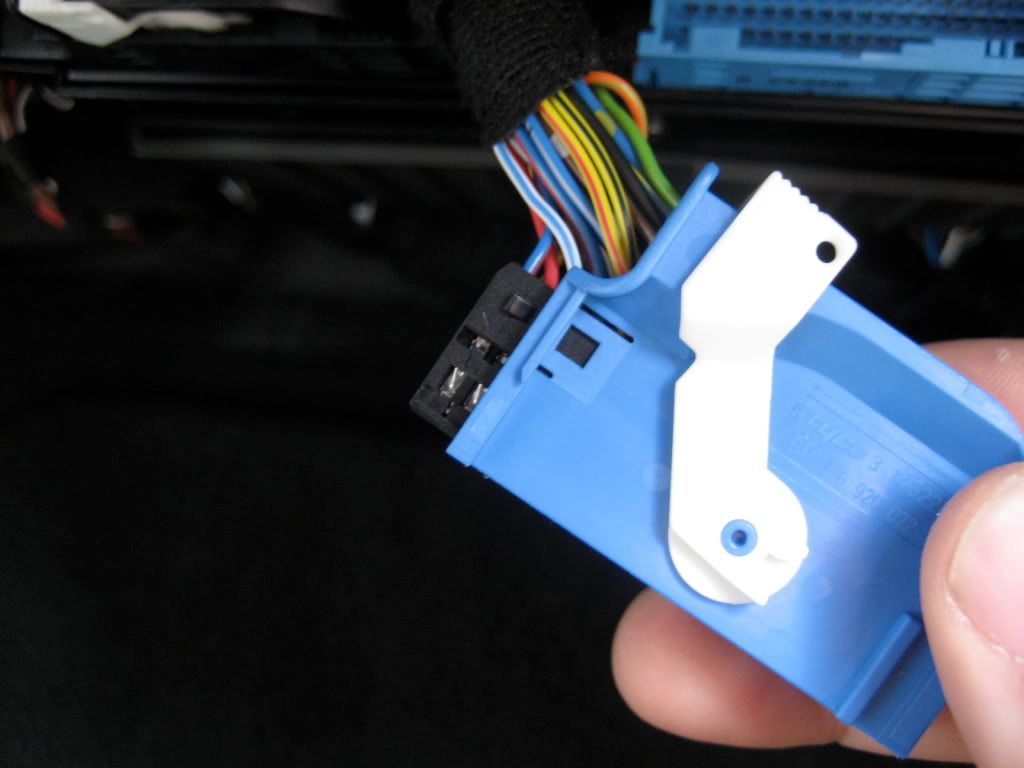
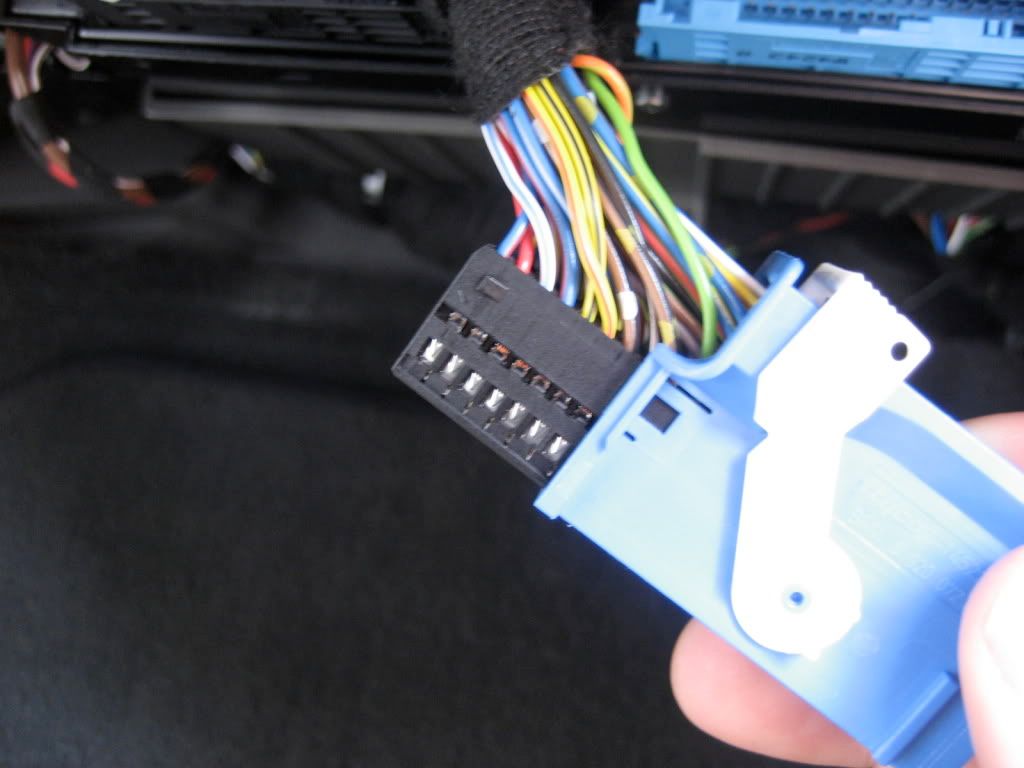
Image hosted on: i114.photobucket.com

Image hosted on: i114.photobucket.com

Image hosted on: i114.photobucket.com

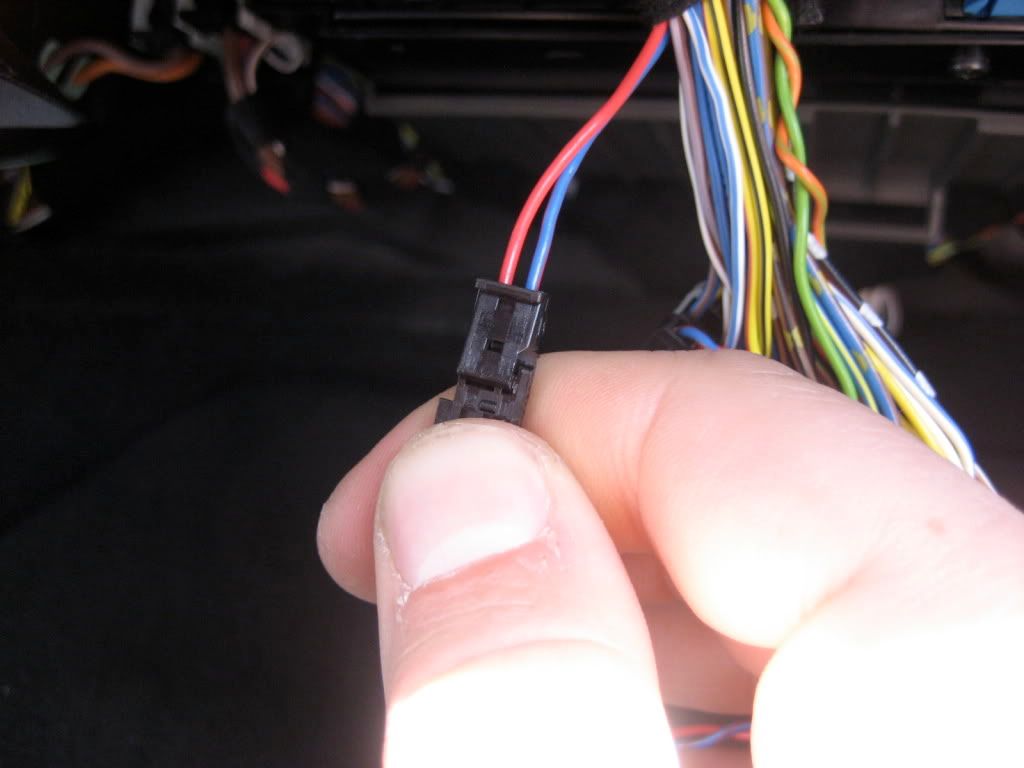
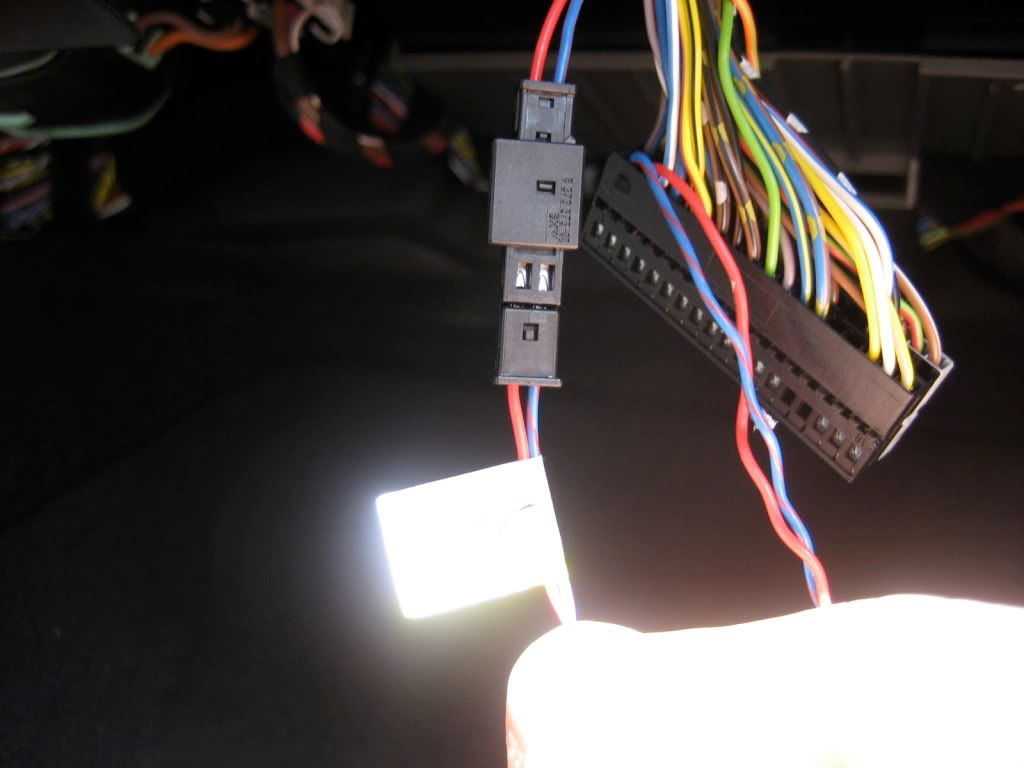
5. Lire l'installation de PDF et supprimer Bleu/Rouge fil de Pin1 et Rouge du Pin2. Insérer A3 en Pin1 et A4 en Pin2. Maintenant, installez les fils que vous avez enlevés de Pin1 et Pin2 dans Connector E

Extraire les fils de Pin1 et Pin2
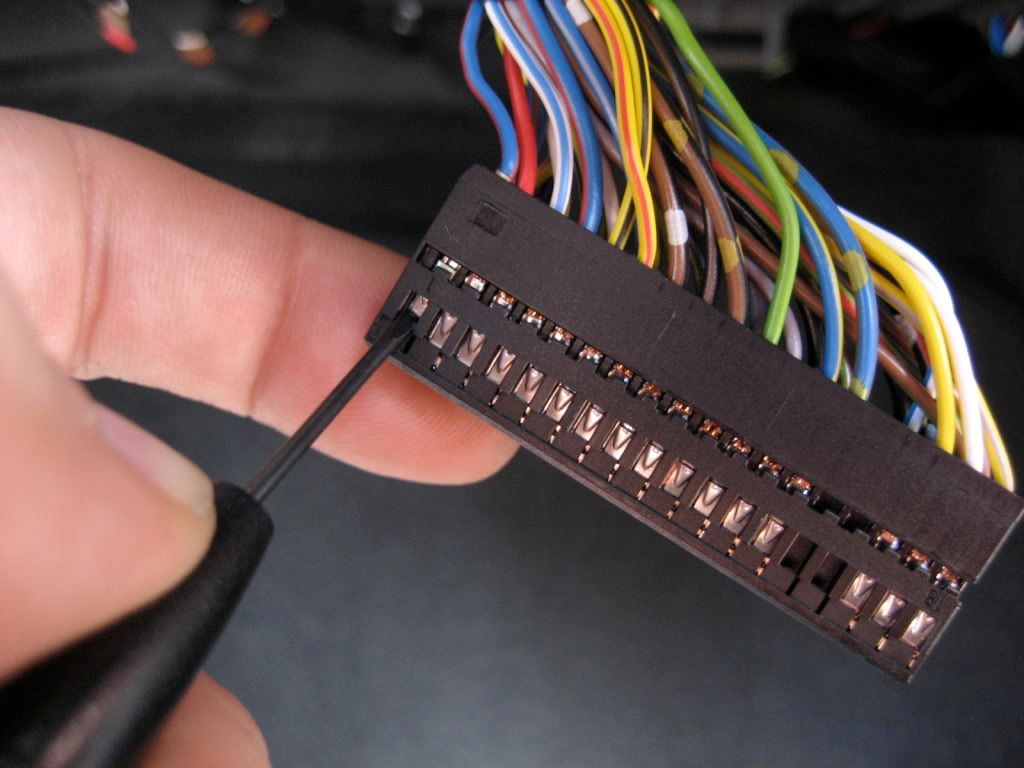
Image hosted on: i114.photobucket.com

Connecteur E
Image hosted on: i114.photobucket.com

Fils de Pin1 et Pin2 inséré dans le connecteur E
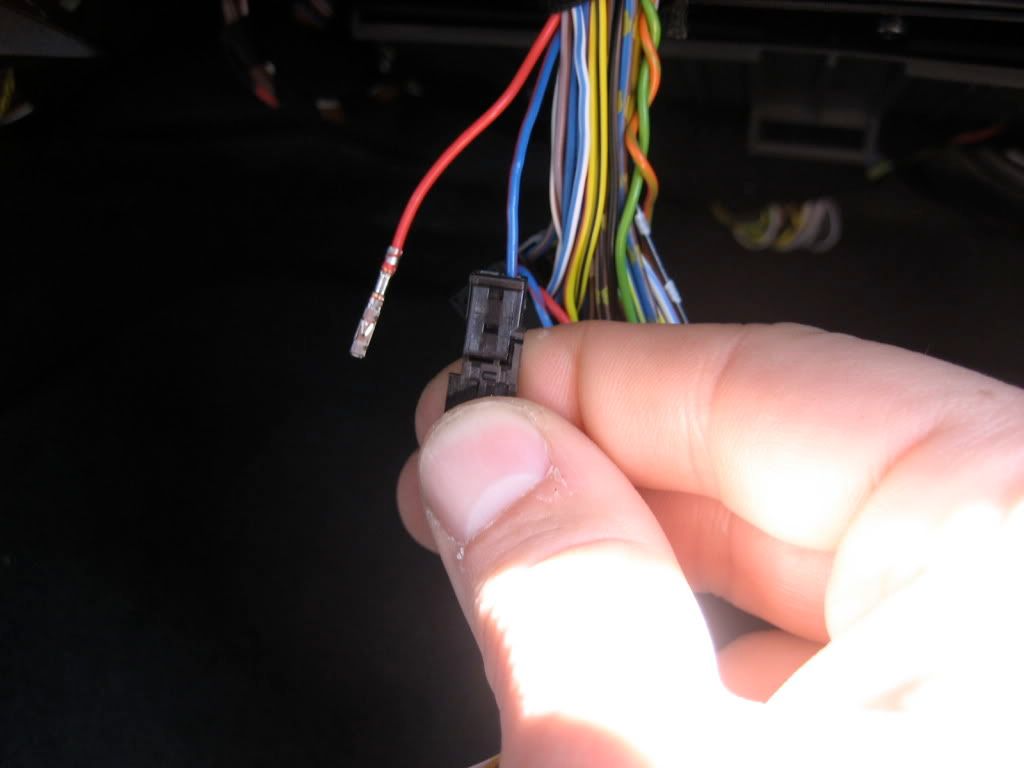
Image hosted on: i114.photobucket.com

Fils A3 et A4 inséré dans le gros connecteur noir Pin1 et Pin2 et connecteur E Connecter à A5
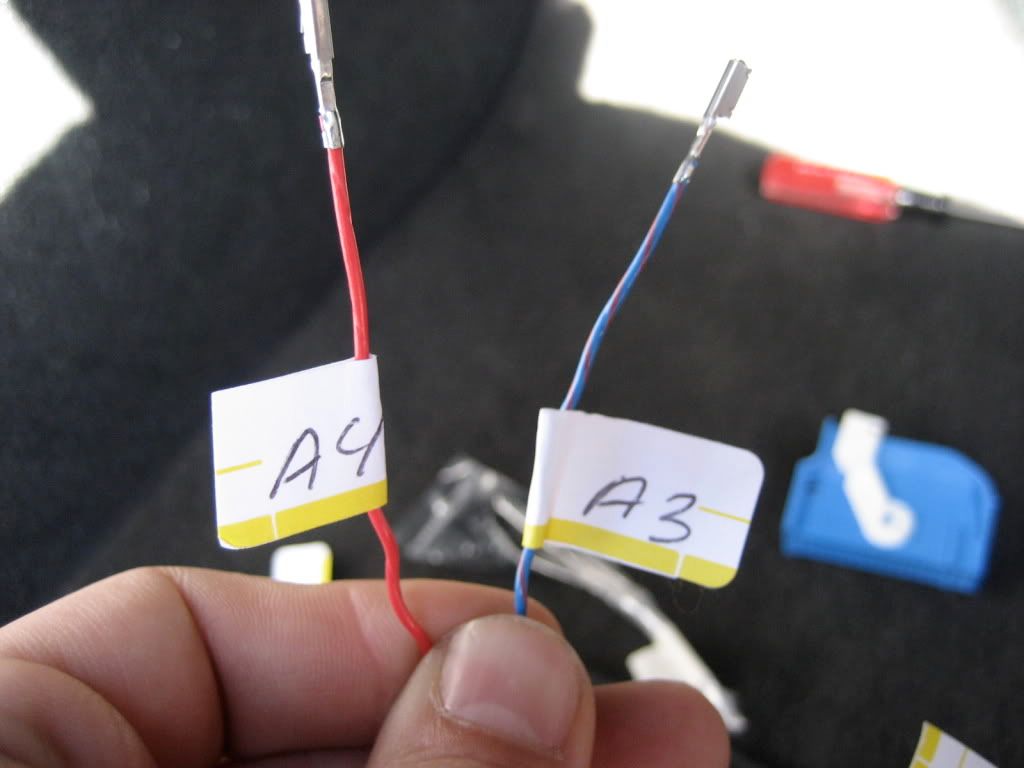
Image hosted on: i114.photobucket.com

6. Vous pouvez maintenant installer le module de contrôle B et connect A6 vers le module
Image hosted on: i114.photobucket.com

Image hosted on: i114.photobucket.com
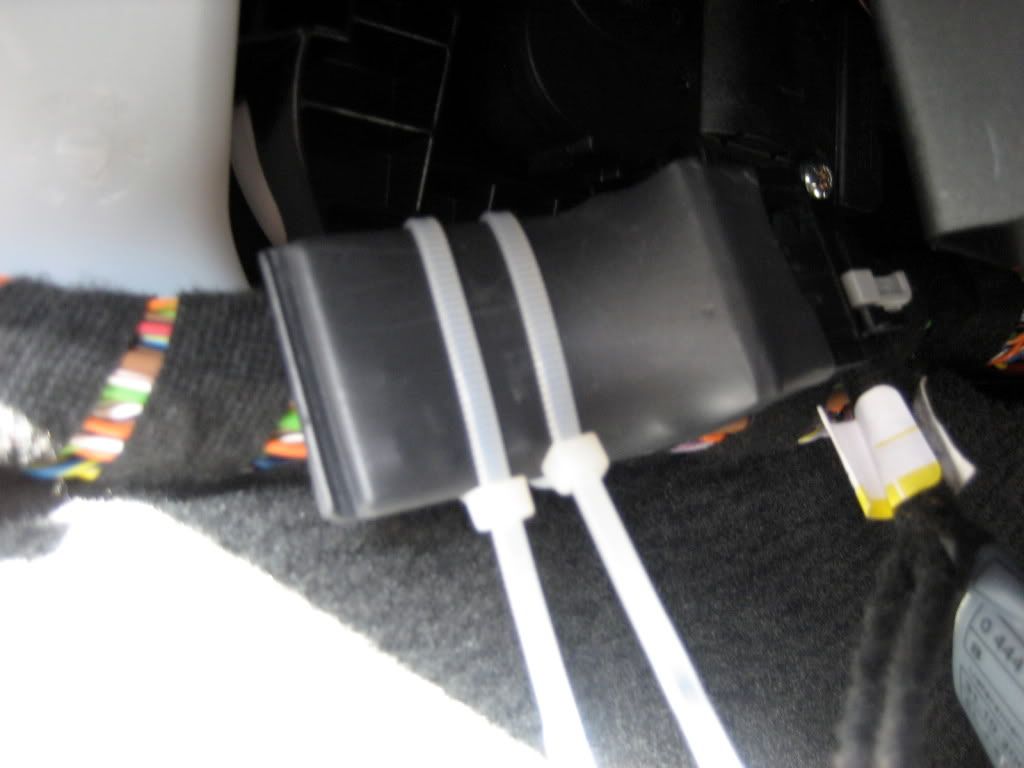
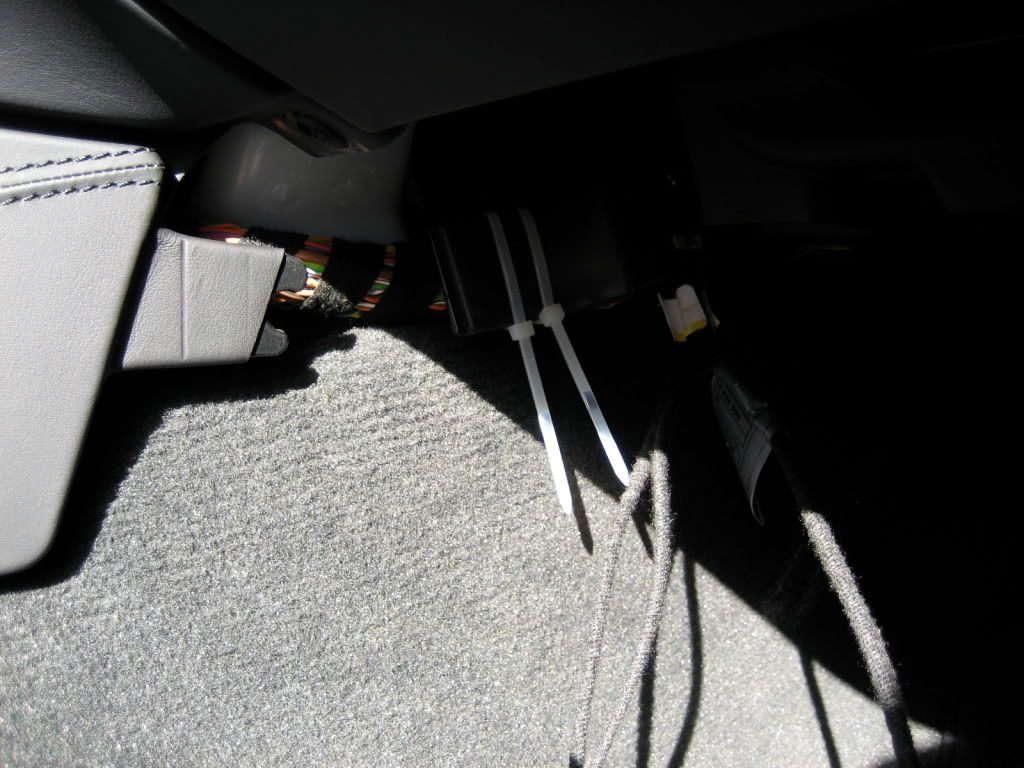
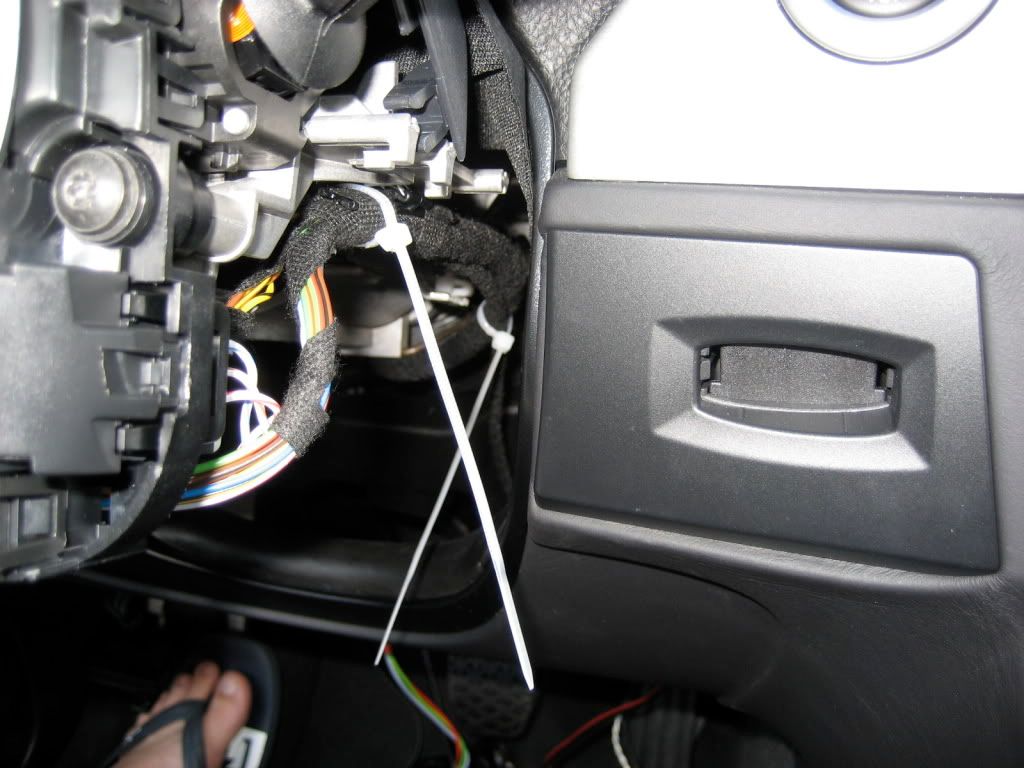
7. Joindre le module B au harnais en utilisant le zip-tie comme je l'ai fait ou ailleurs ... ce n'est pas le meilleur endroit car il rend un peu difficile d'installer une couverture en plastique à la fin.
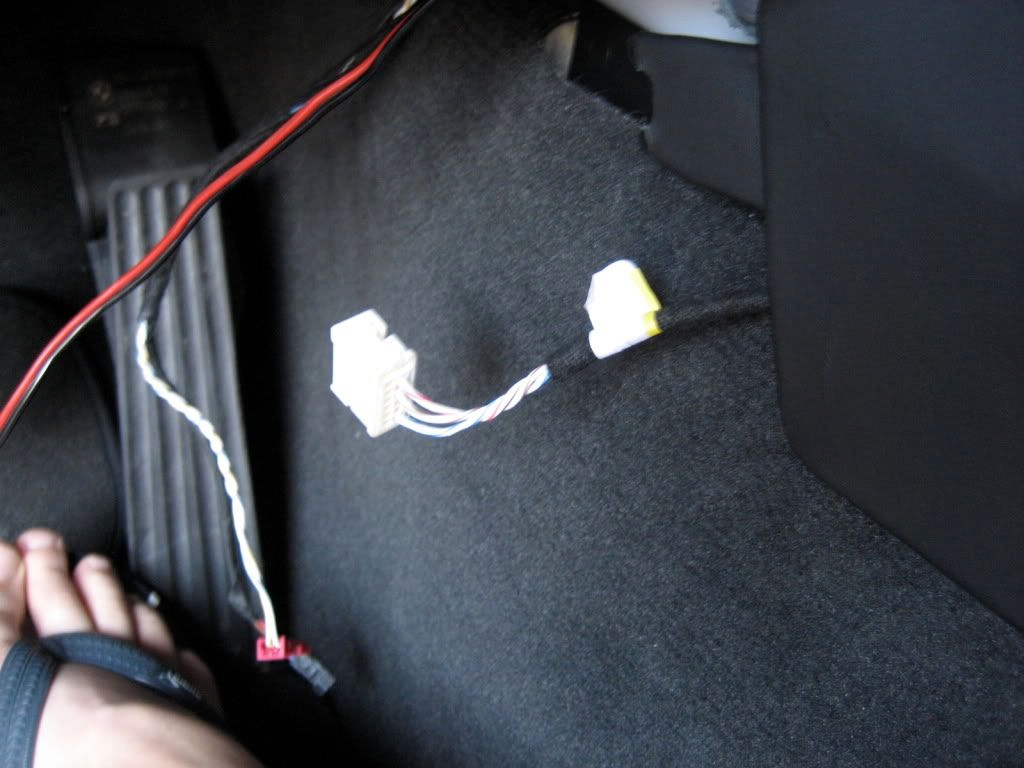
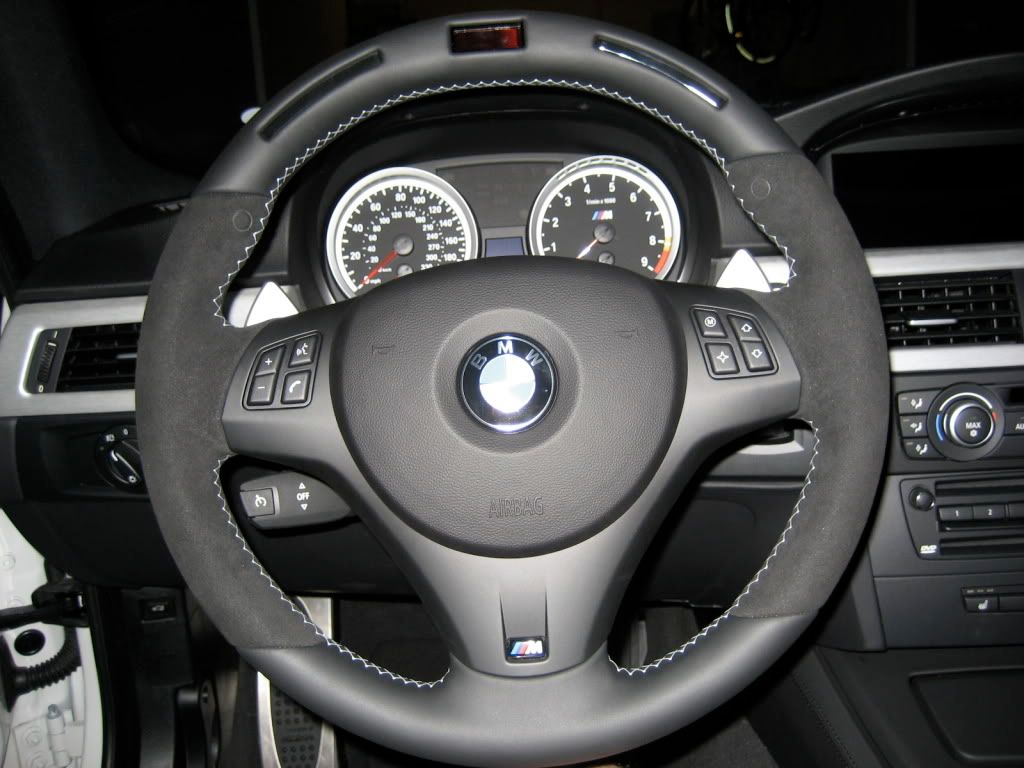
Image hosted on: i114.photobucket.com

Image hosted on: i114.photobucket.com

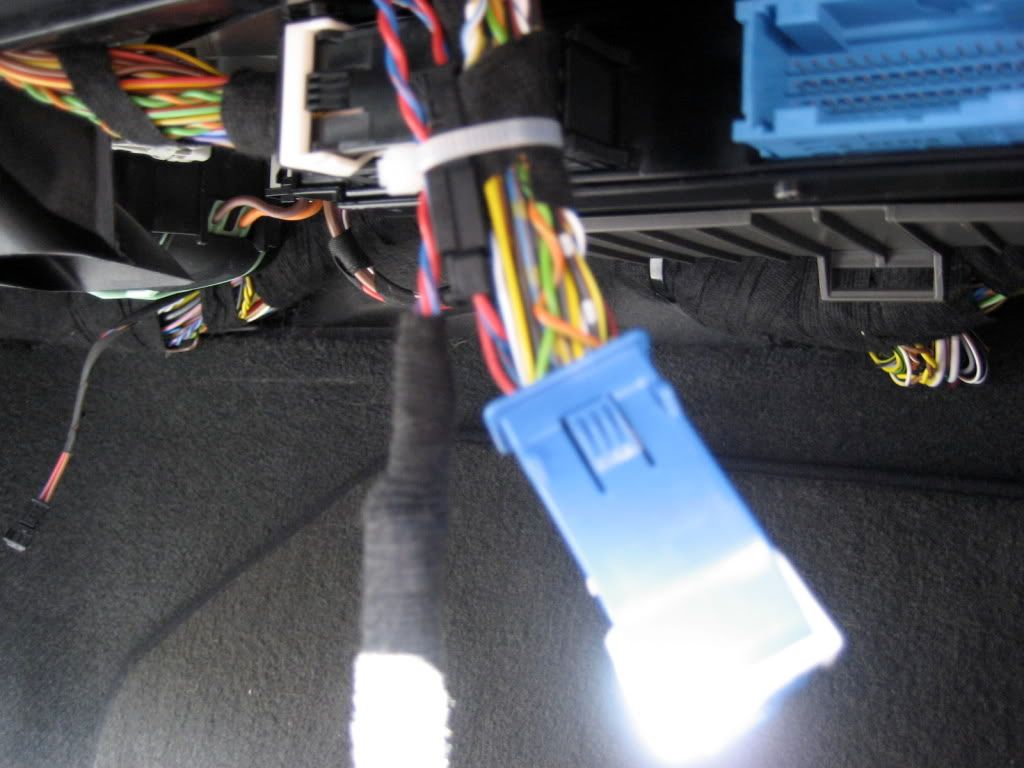
8. Installez le connecteur noir dans le connecteur bleu, puis réinstallez le connecteur bleu. J'ai utilisé un zip-tie pour rassembler tous ces fils ...

Image hosted on: i114.photobucket.com

9. Maintenant, vous devez retirer votre airbag. Assurez-vous que vous n'avez pas de puissance allant à votre voiture ou il peut être très mauvais et dangereux!

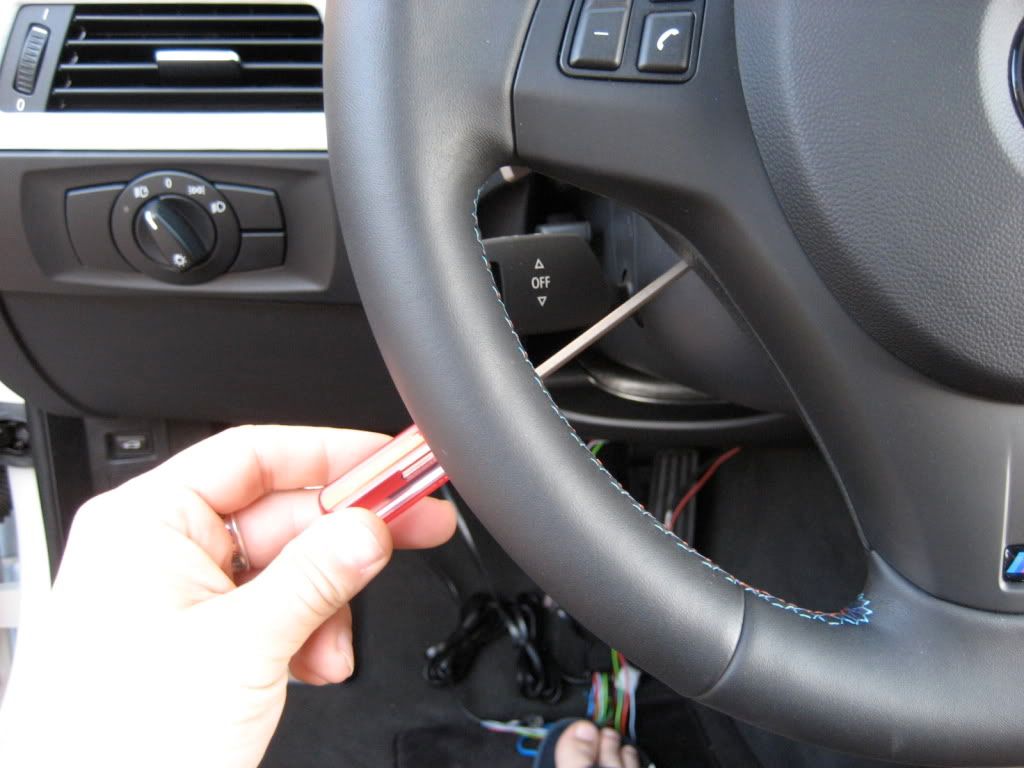
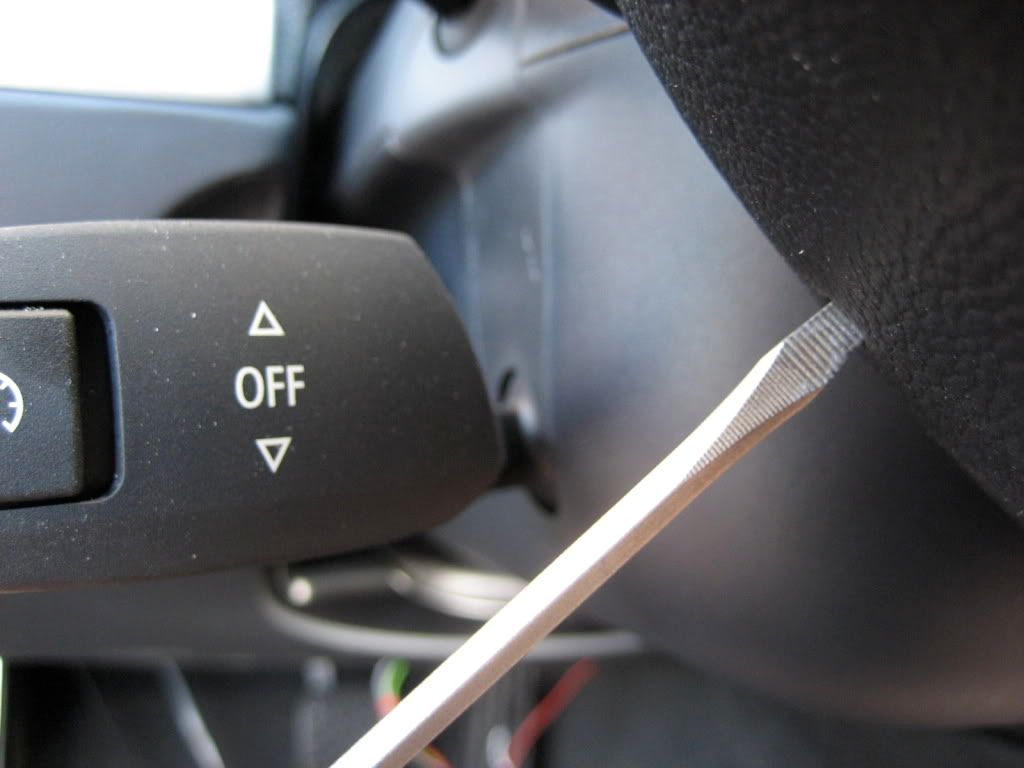
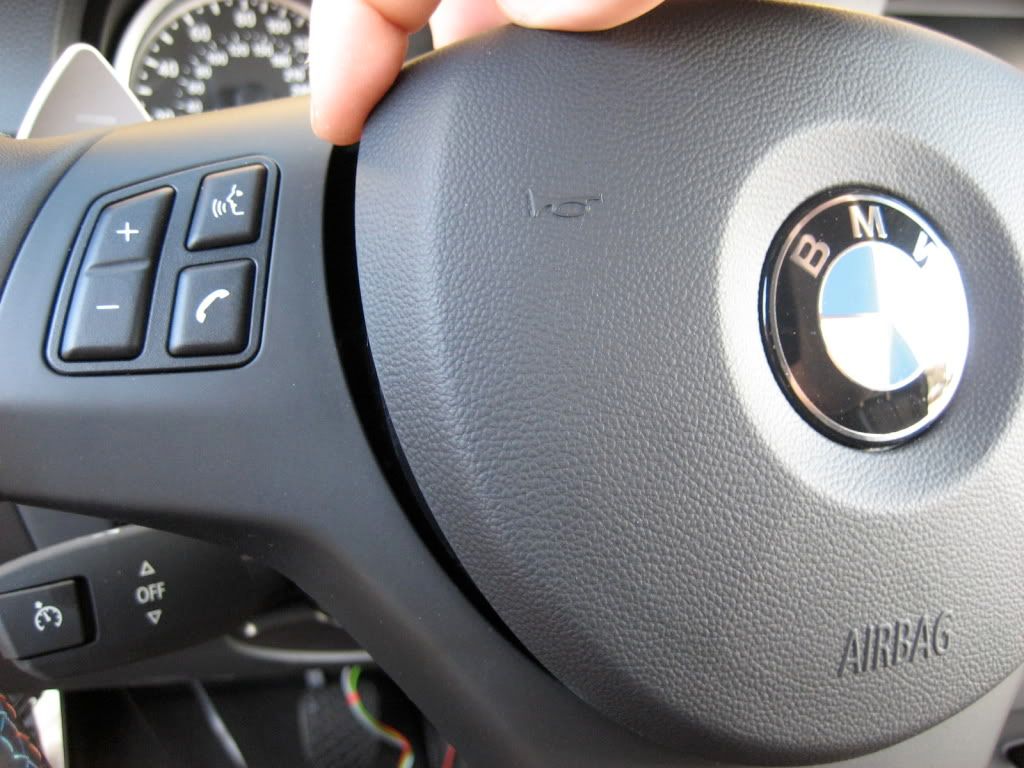
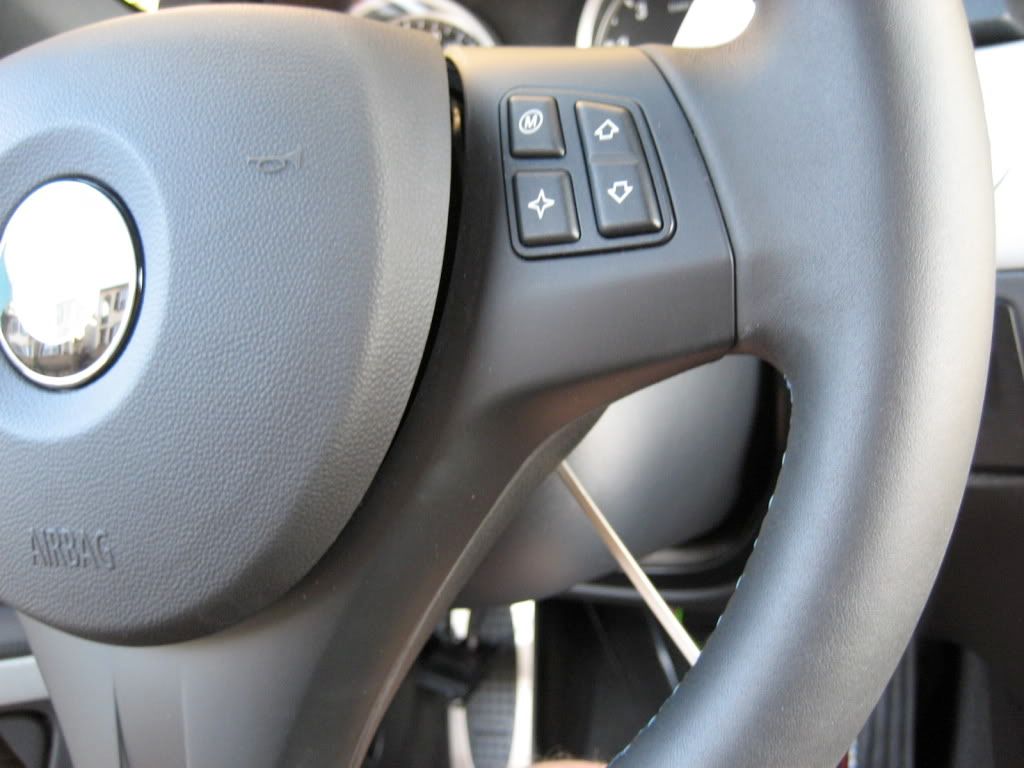
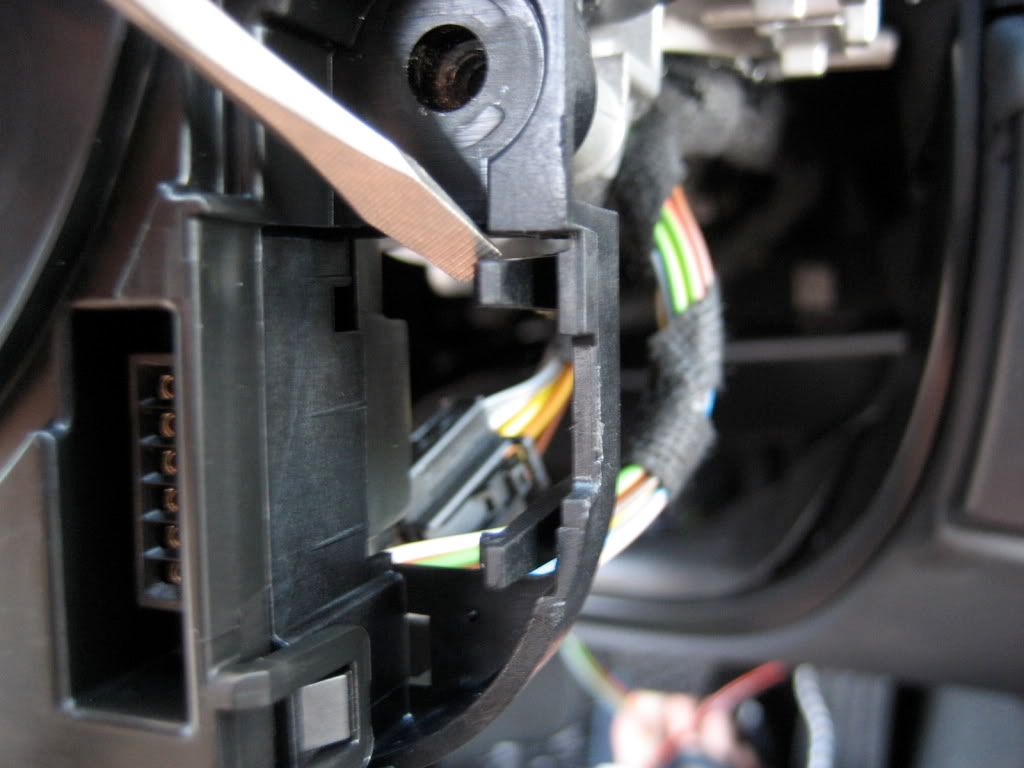
Utilisez un tournevis plat de taille moyenne et insérez-le dans de très petites ouvertures (une de chaque côté)

Image hosted on: i114.photobucket.com

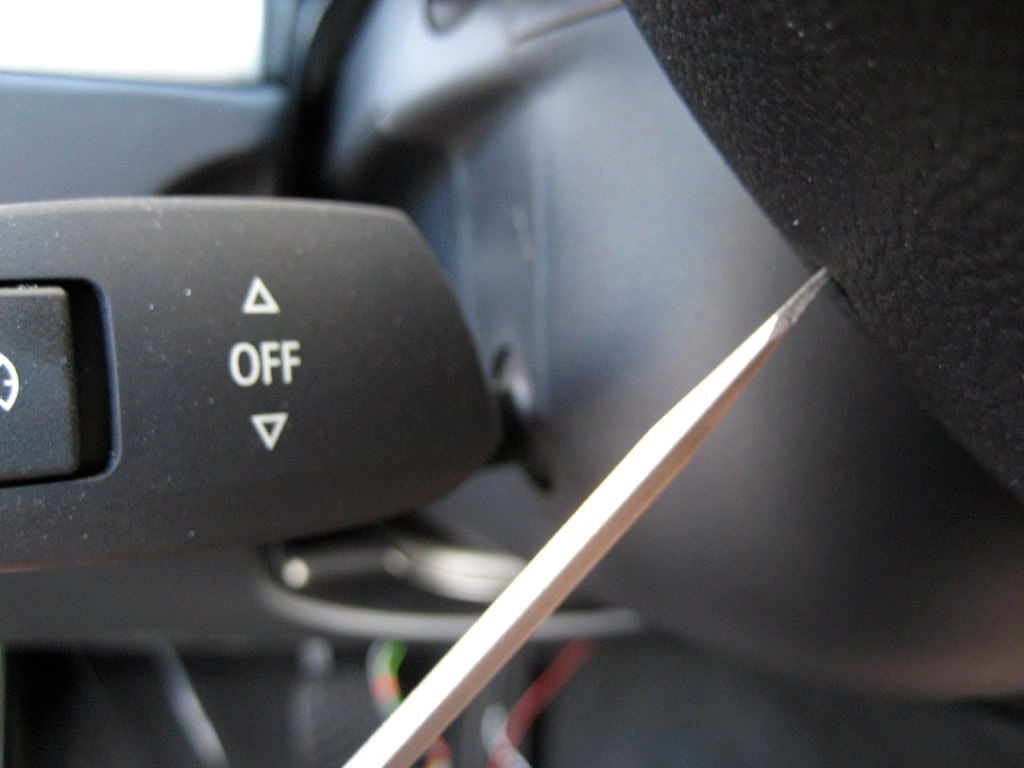
Insérez le tournevis comme ceci
Image hosted on: i114.photobucket.com

Pas comme ça
Image hosted on: i114.photobucket.com

Appuyez dessus avec la force modérée et tirez doucement sur le côté de l'airbag

Image hosted on: i114.photobucket.com

Ensuite, faites l'autre côté
Image hosted on: i114.photobucket.com

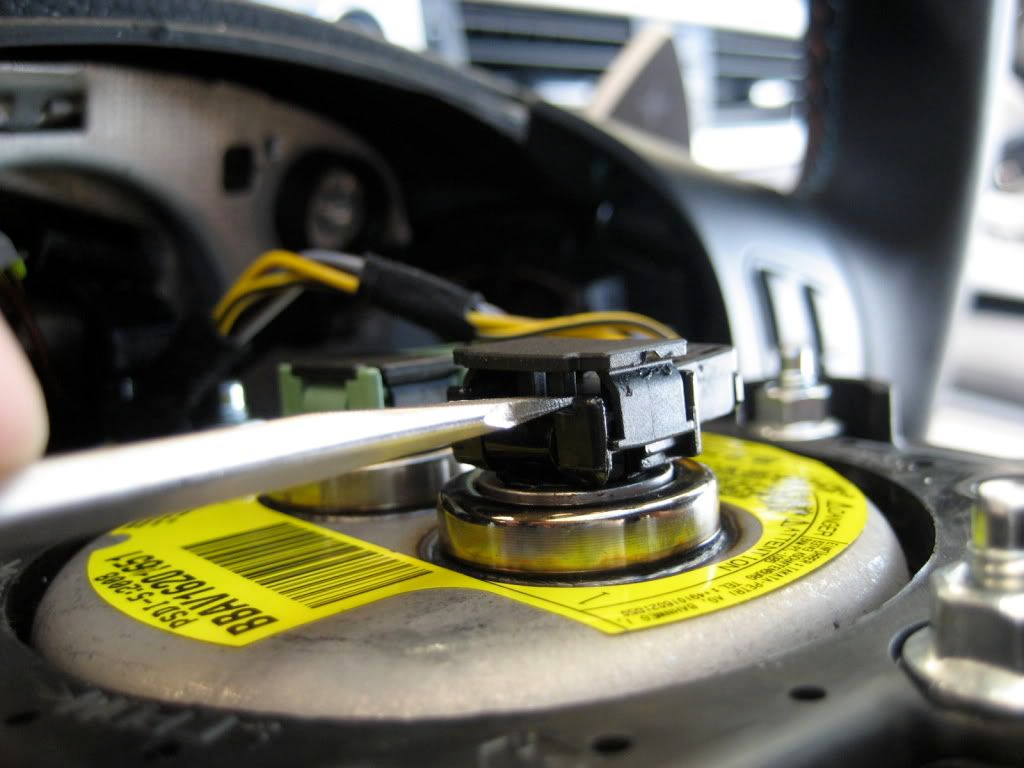
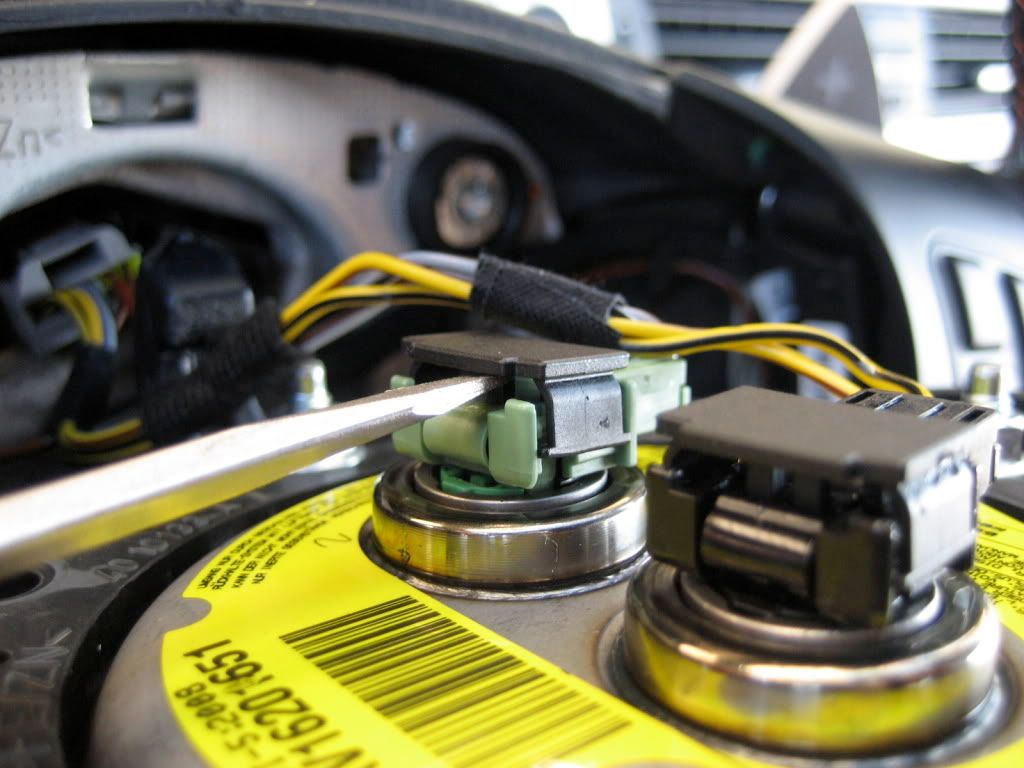
Maintenant, vous pouvez ouvrir les clips / verrous verts et noirs avec un tournevis à tête plate. Doucement et ne les casse pas

Image hosted on: i114.photobucket.com

Image hosted on: i114.photobucket.com

Image hosted on: i114.photobucket.com

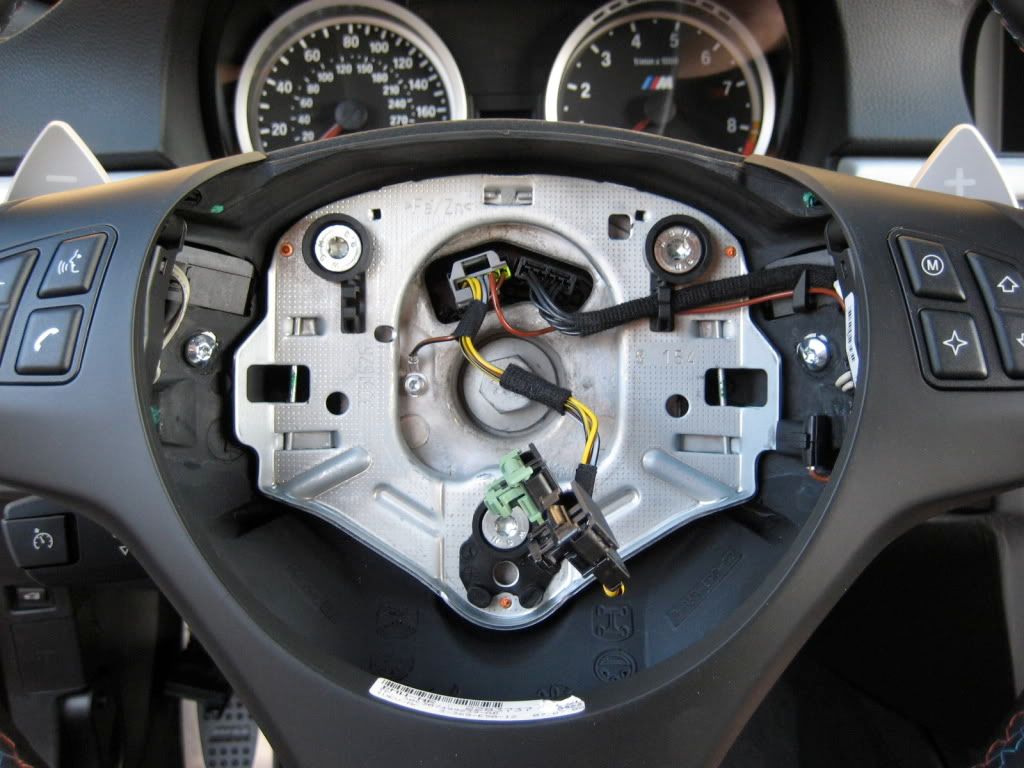
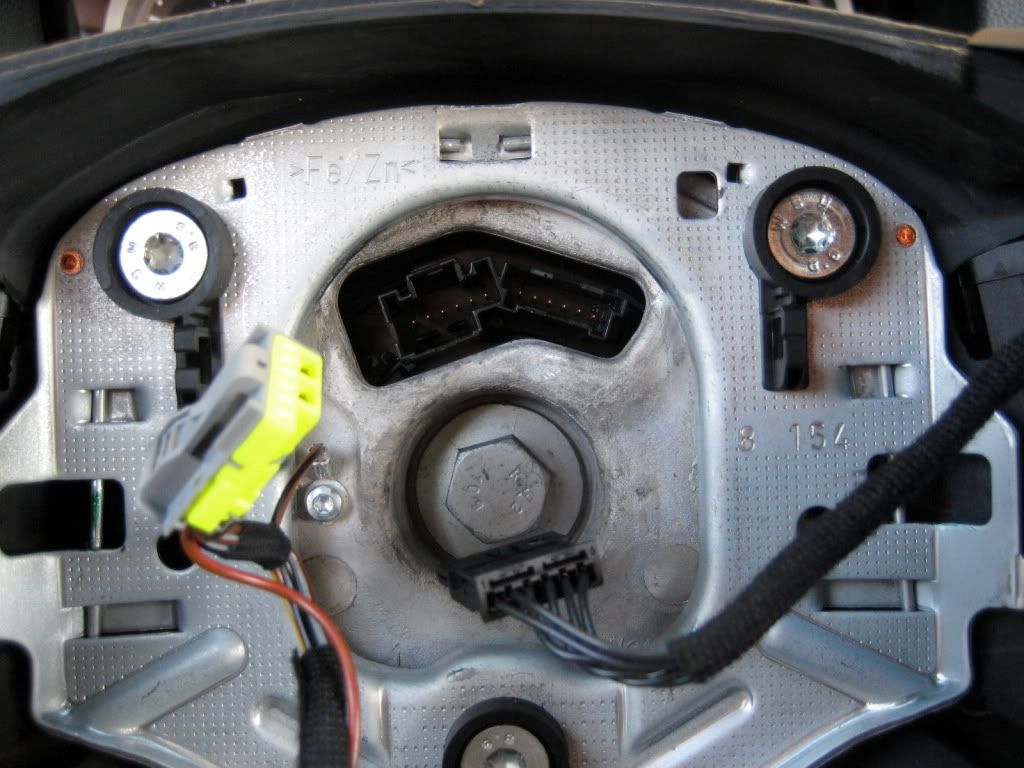
10. Débranchez le connecteur de la cartouche à ressort Coil (gris/jaune et noir)

Image hosted on: i114.photobucket.com

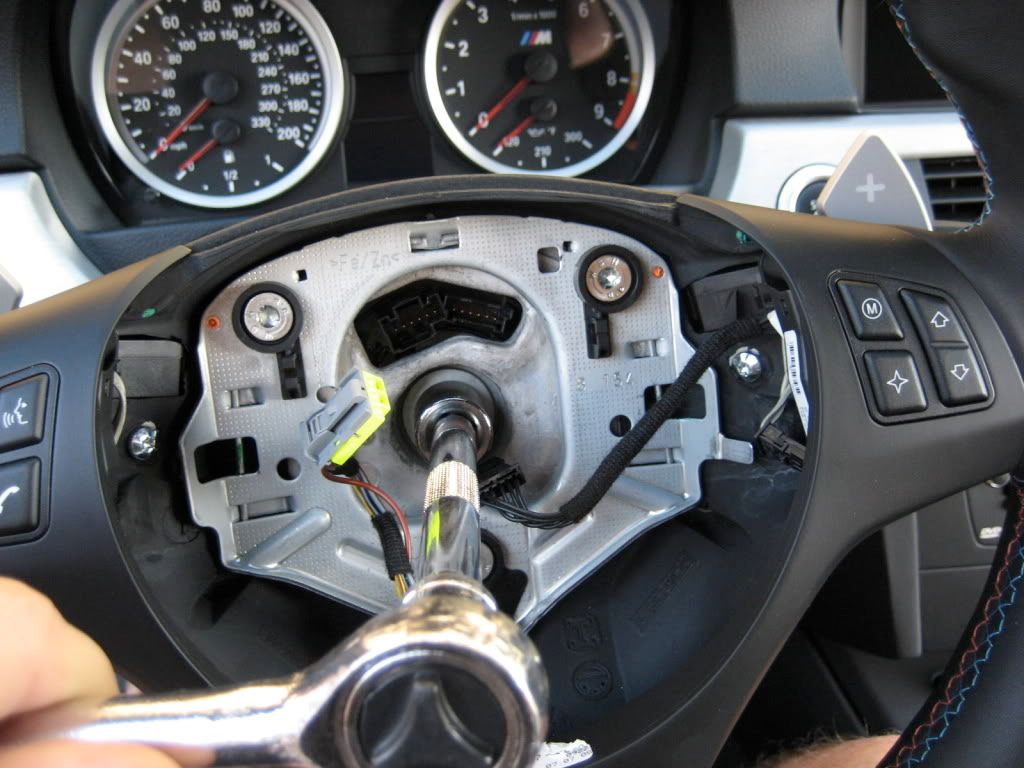
11. Vous pouvez maintenant retirer votre ancien volant en utilisant une prise 16mm ou 5/8

Image hosted on: i114.photobucket.com

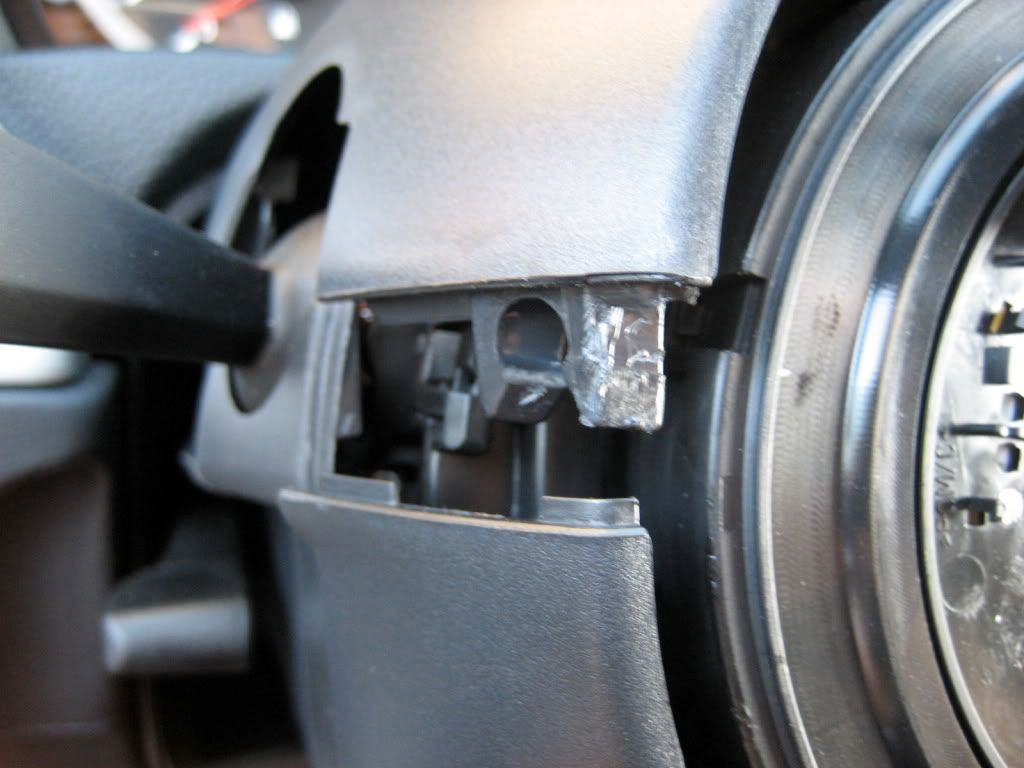
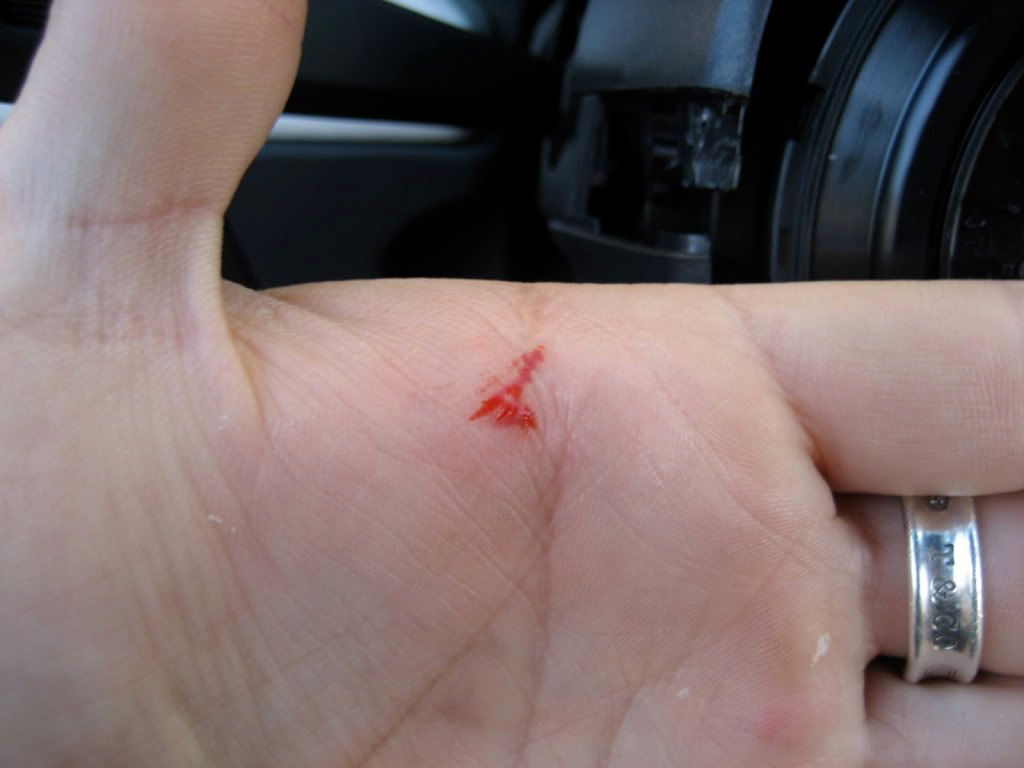
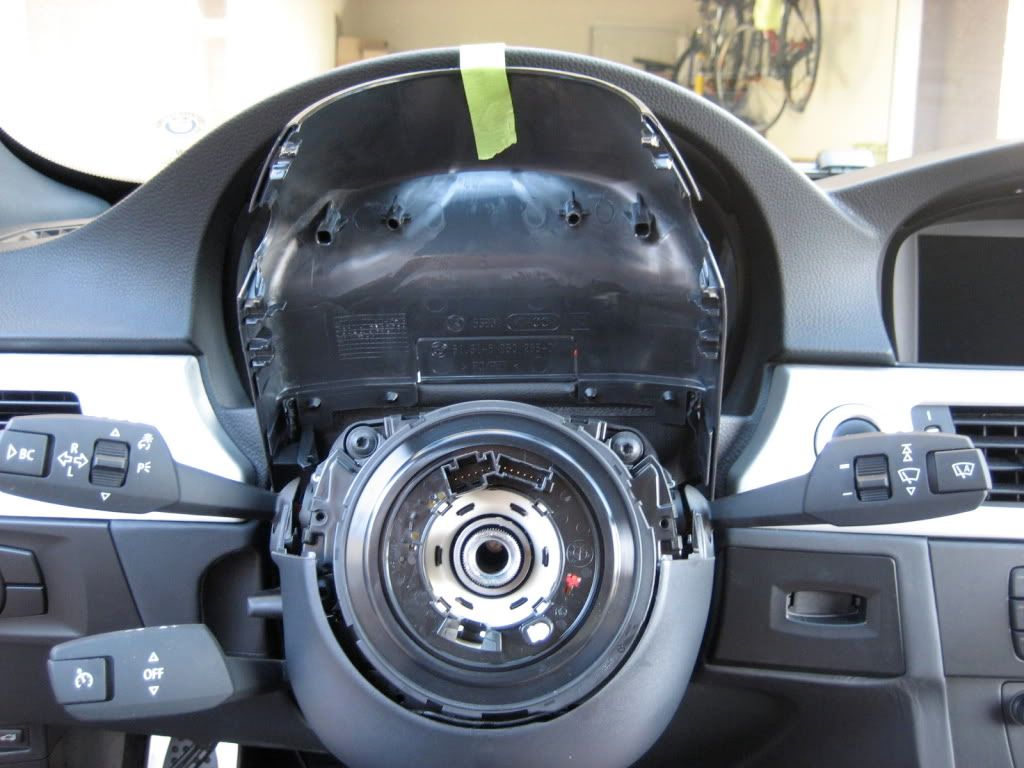
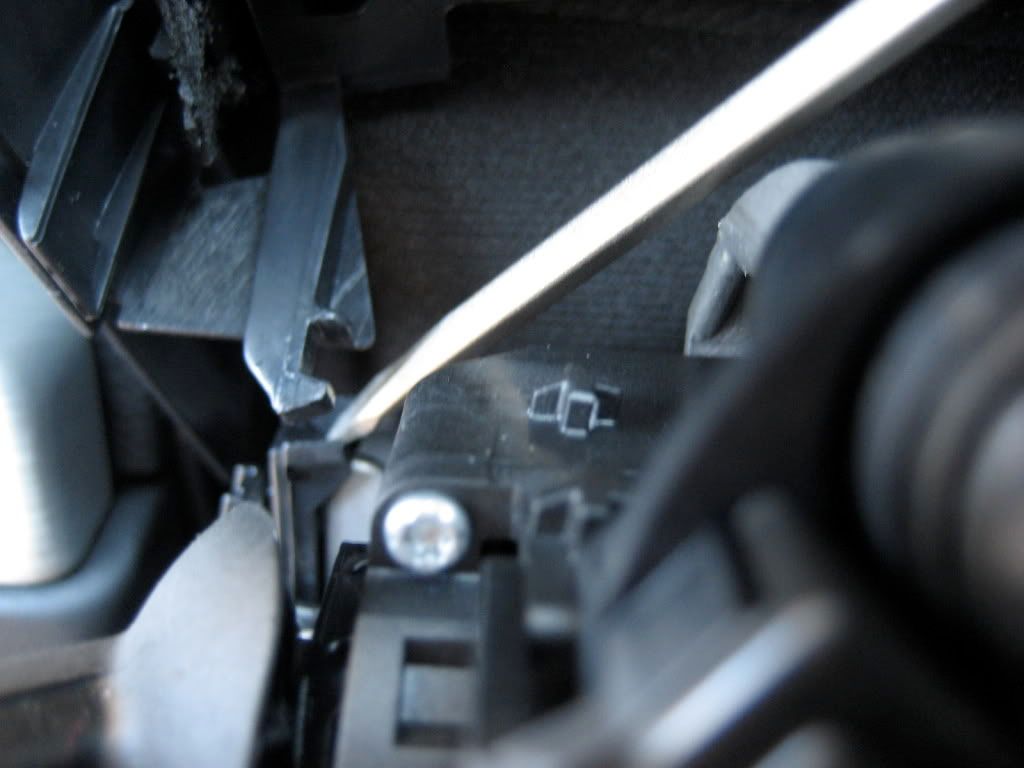
12. Maintenant, nous devons enlever l'assiette de la colonne de direction supérieure / inférieure. Tirez la partie supérieure en premier. Tirez et faites un côté à la fois. Vous pouvez utiliser un tournevis plat de taille moyenne et le pousser de l'intérieur, mais soyez très prudent et ne vous frappez pas ... J'aime beaucoup la... croyez-moi

Image hosted on: i114.photobucket.com

Image hosted on: i114.photobucket.com

Image hosted on: i114.photobucket.com

Image hosted on: i114.photobucket.com

Tapez la partie supérieure sur le tableau de bord

Image hosted on: i114.photobucket.com

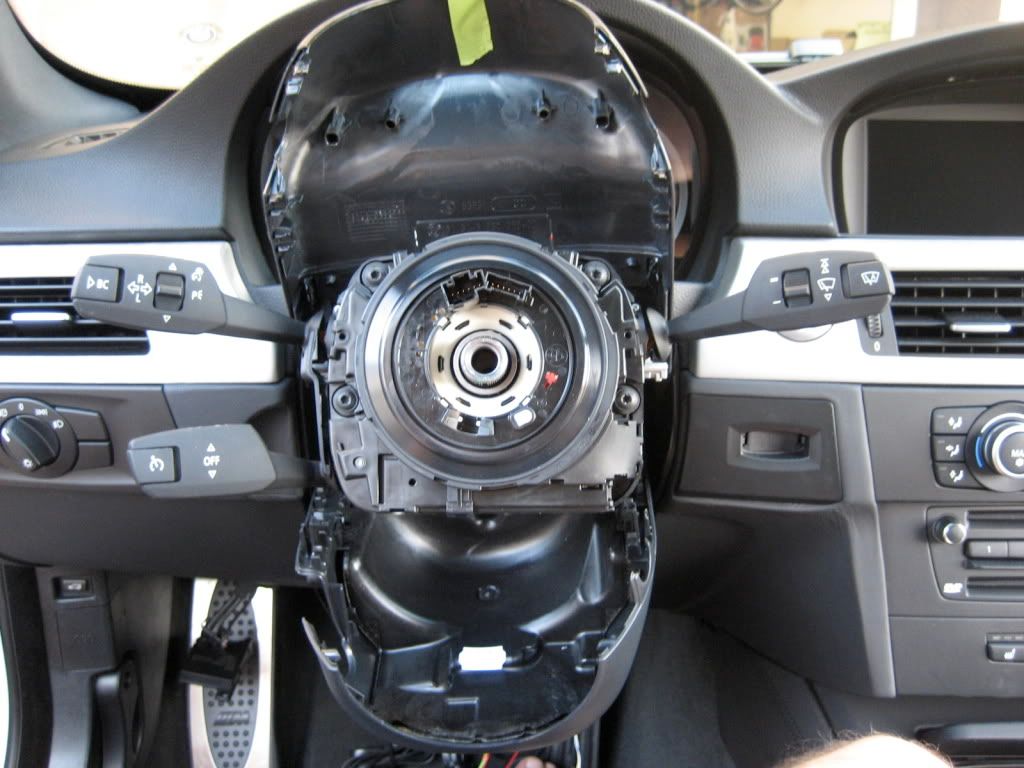
13. Retirez la partie inférieure en appuyant sur les languettes (une de chaque côté)

Image hosted on: i114.photobucket.com

Image hosted on: i114.photobucket.com

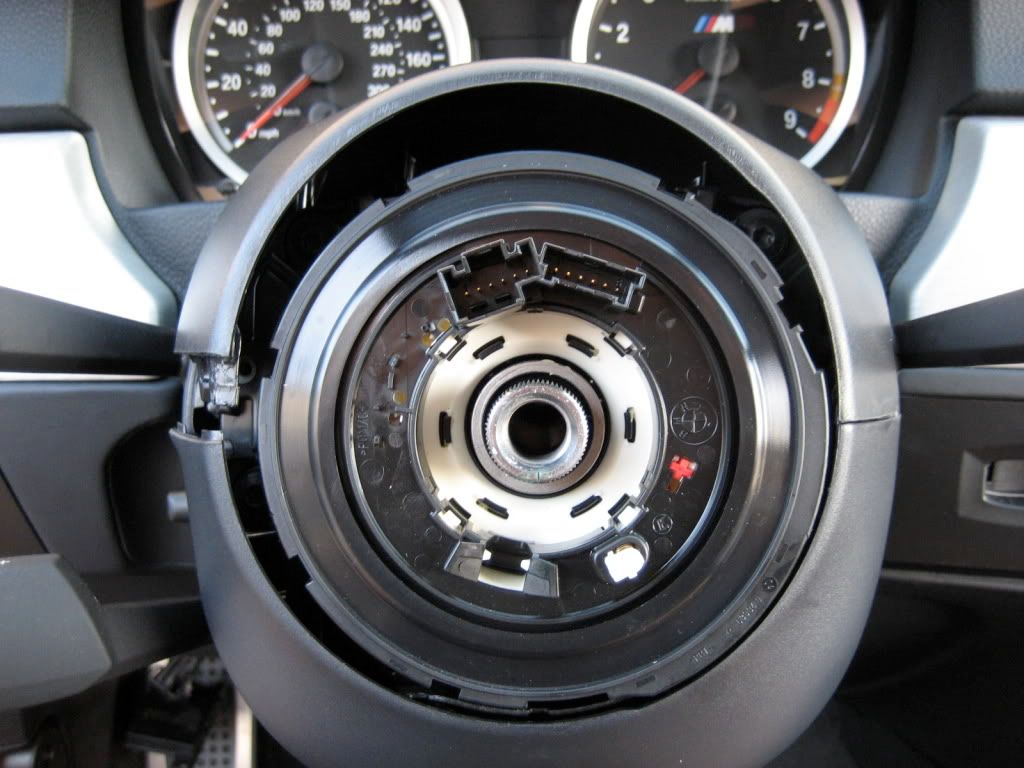
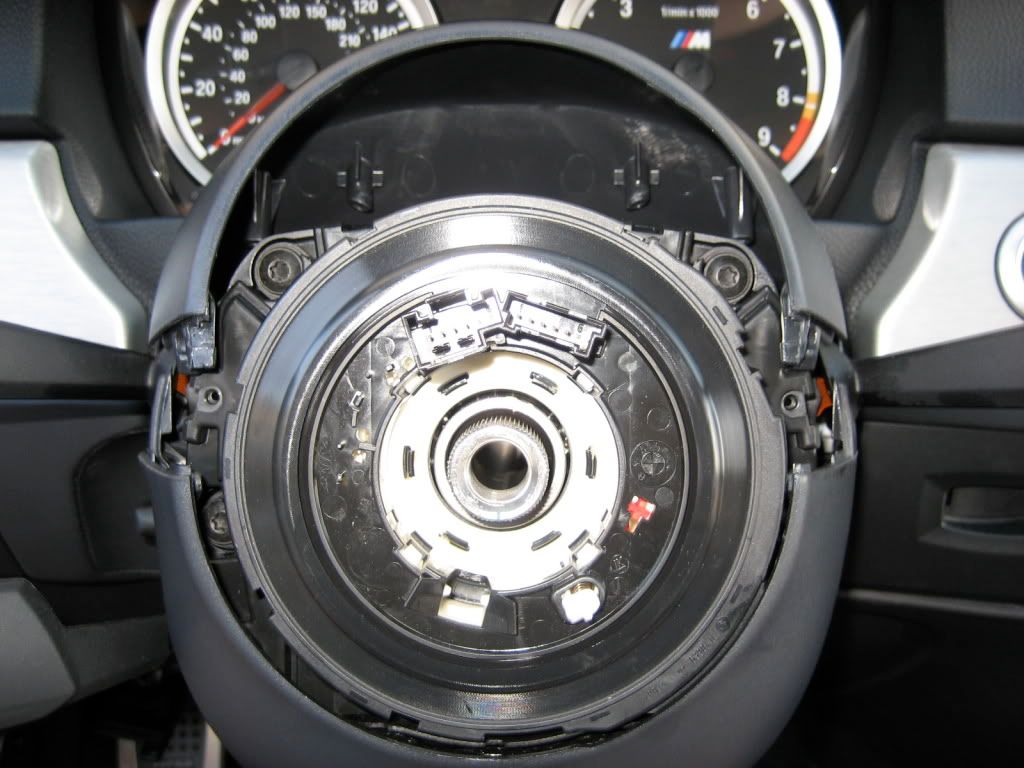
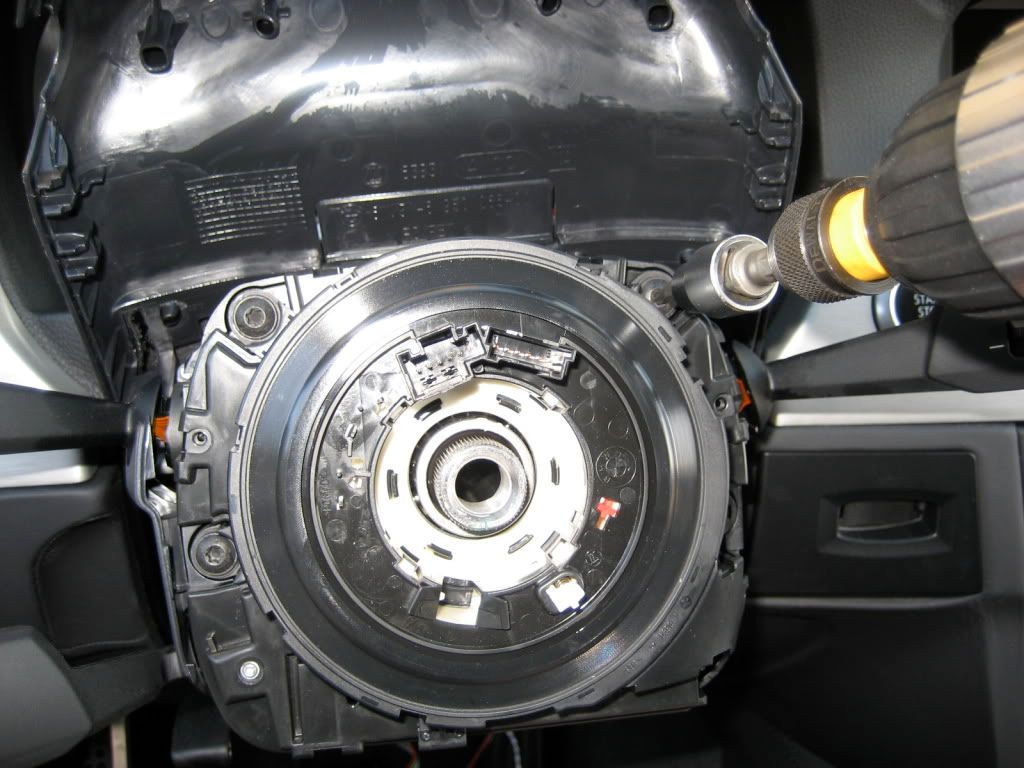
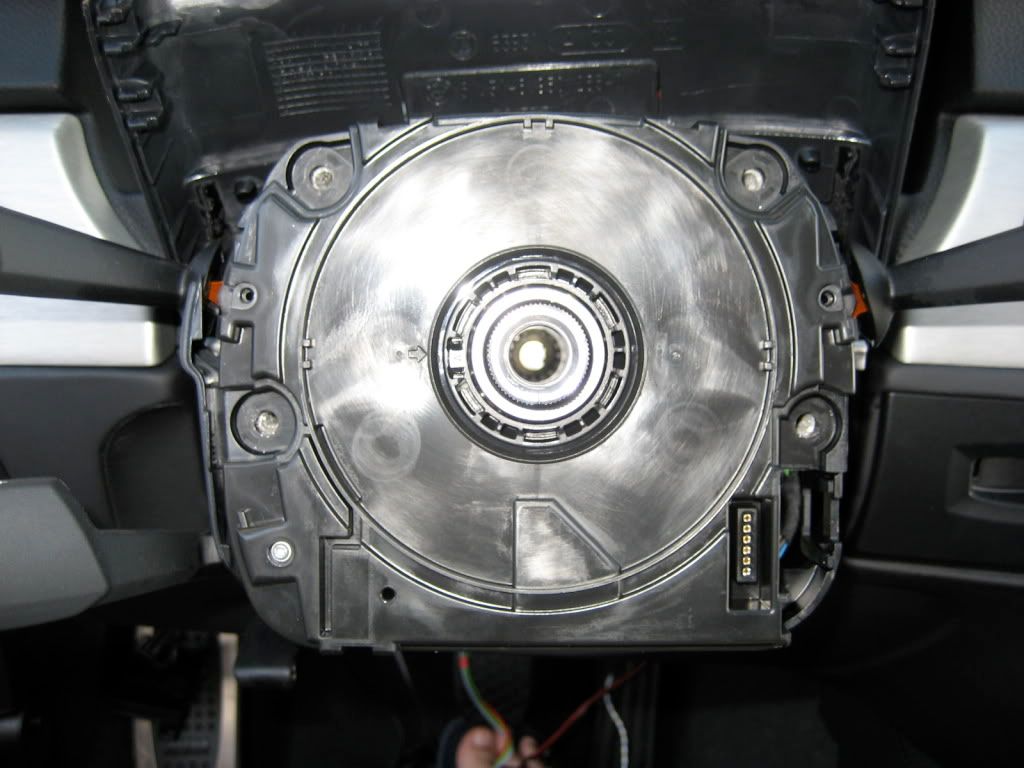
14. Retirez maintenant la cartouche de ressort Coil avec le torx T15. Débranchez le petit connecteur noir du côté RT.

Image hosted on: i114.photobucket.com

Assurez-vous de ne pas retirer l'ensemble de la colonne. Très important. Déclipsez tous les clips et retirez juste la cartouche de ressort Coil et rien d'autre. Ce sont les clips qui le tiennent sur le côté, alors assurez-vous de les déclipser

Image hosted on: i114.photobucket.com

Image hosted on: i114.photobucket.com

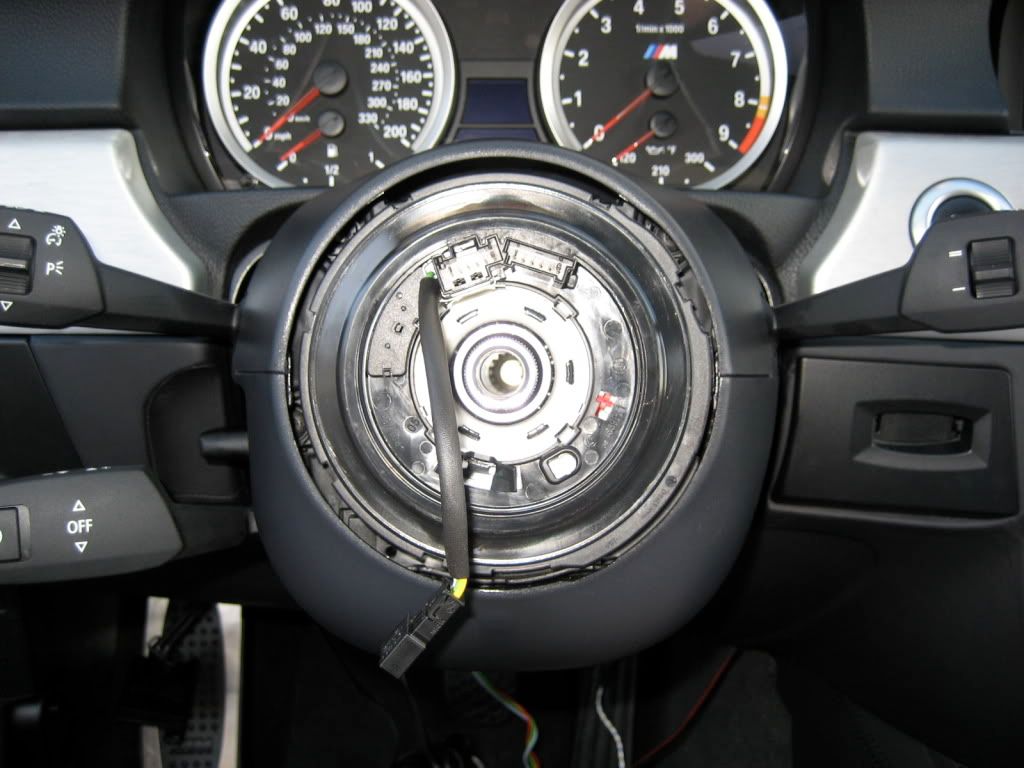
15. Installez la nouvelle cartouche à ressort Coil qui est venue avec vous nouveau PSW. Ne connectez pas encore le connecteur noir.

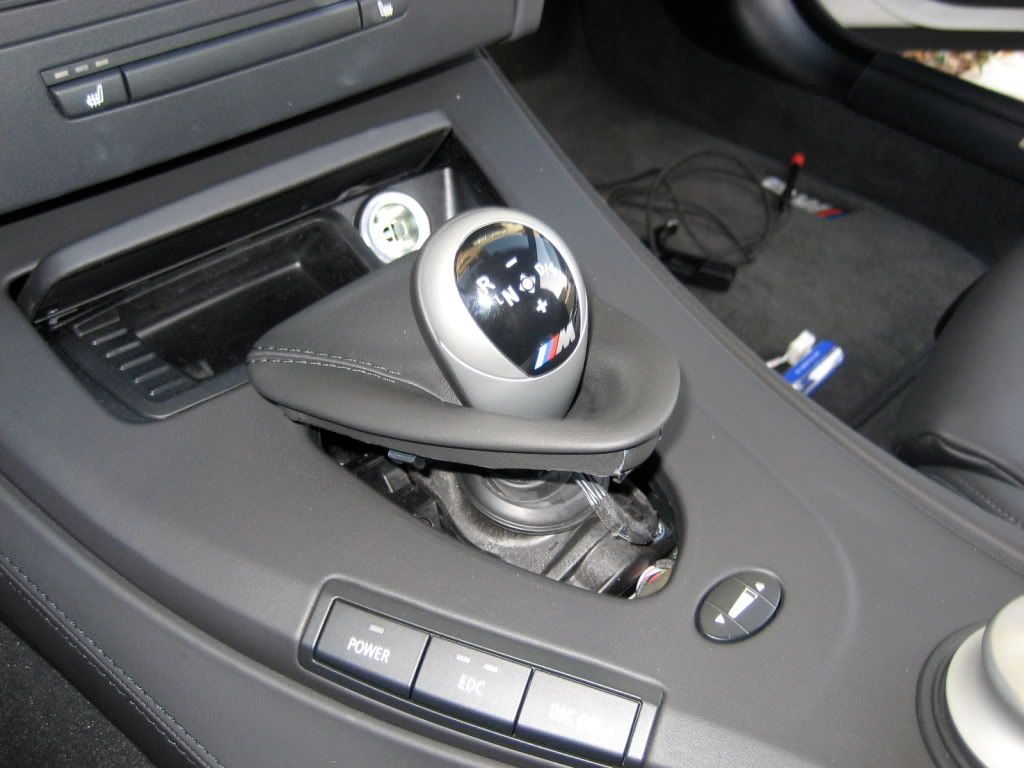
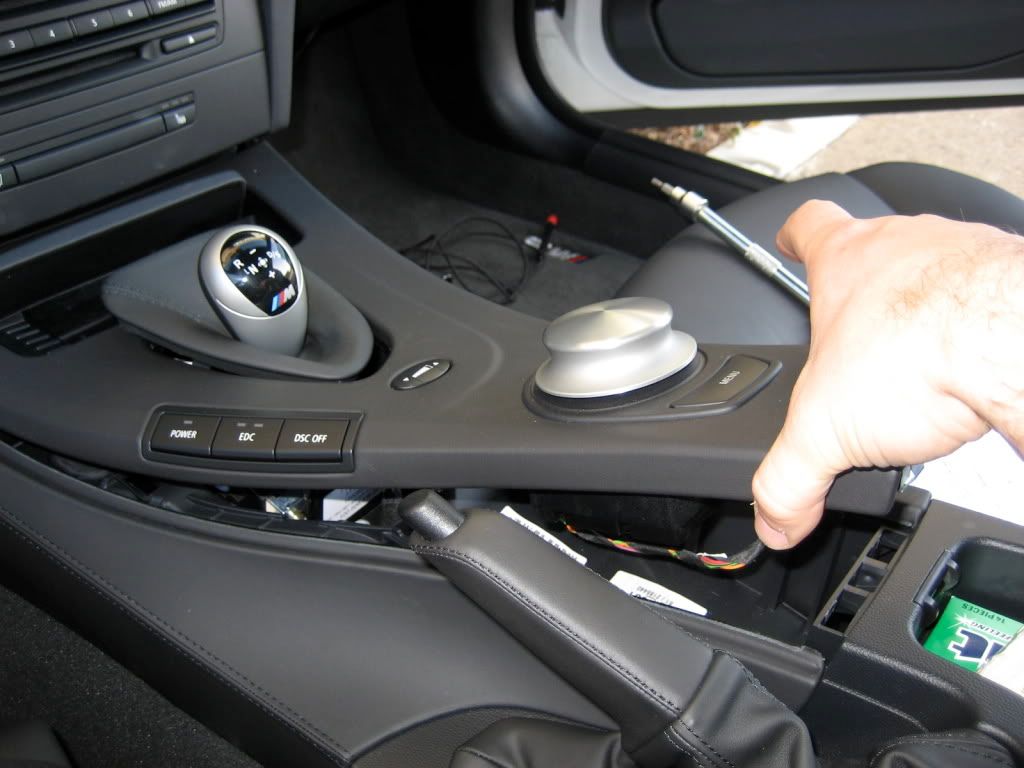
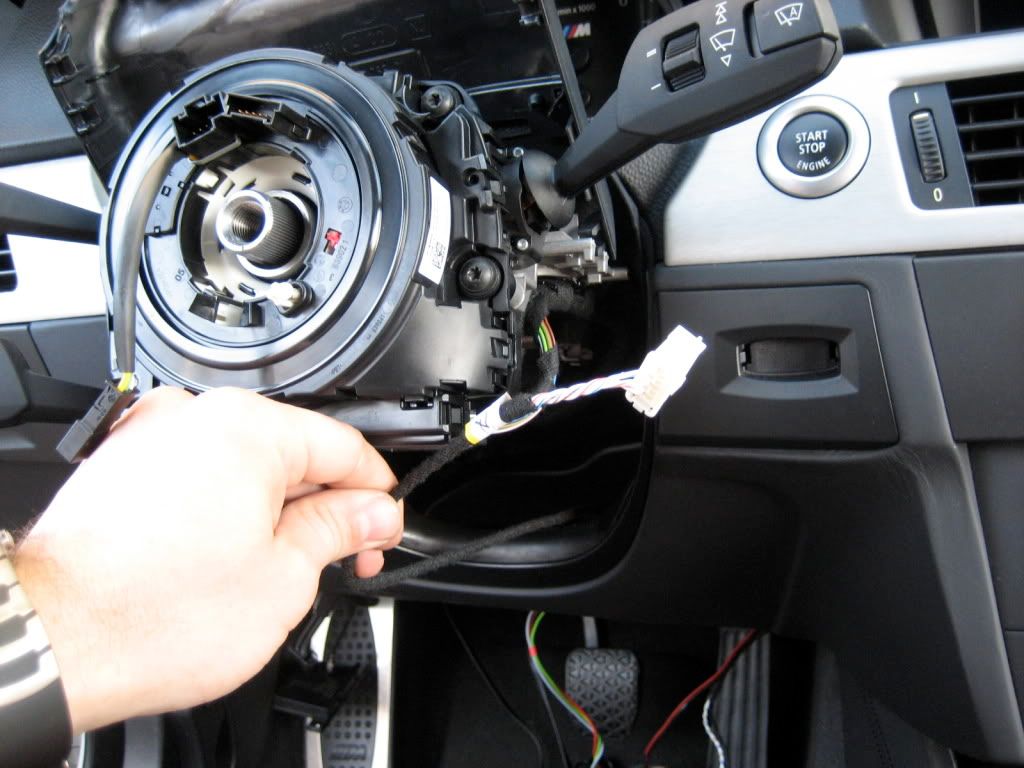
16. Maintenant, vous devez retirer la console centrale pour faire tomber le harnais sur la colonne de direction. Je l'ai fait de cette façon, mais vous pourriez décider de le faire différemment.

Image hosted on: i114.photobucket.com

Image hosted on: i114.photobucket.com

Image hosted on: i114.photobucket.com

17. C'est comme ça que j'ai routé A7

Image hosted on: i114.photobucket.com

Image hosted on: i114.photobucket.com

Image hosted on: i114.photobucket.com

Image hosted on: i114.photobucket.com

Image hosted on: i114.photobucket.com

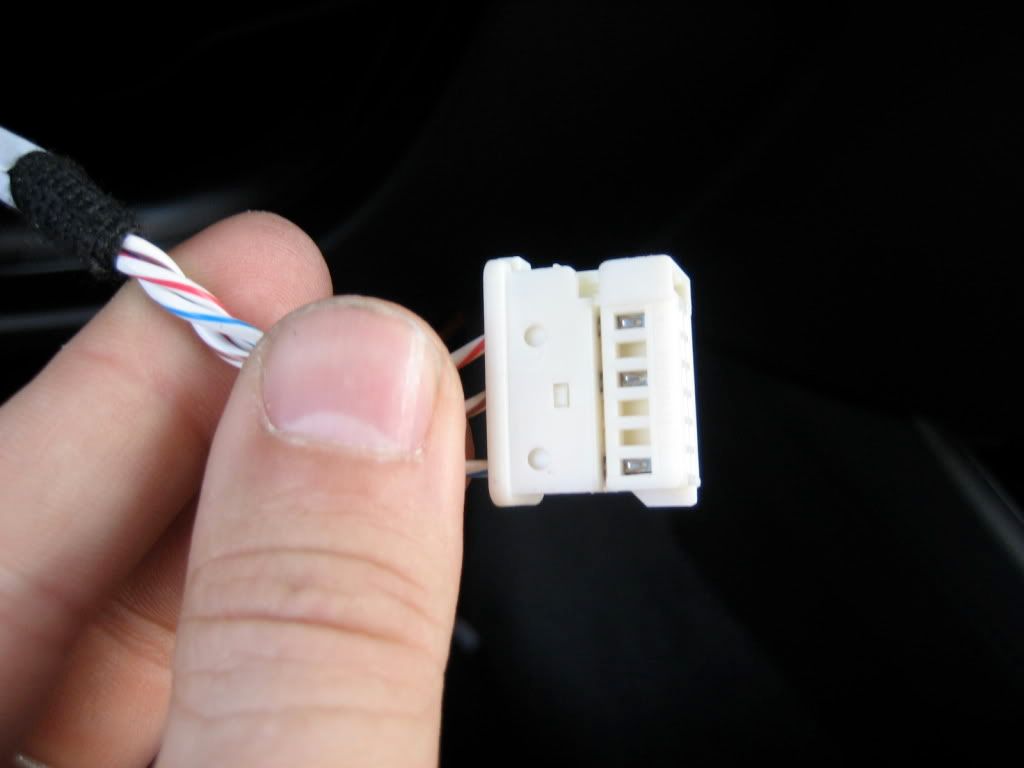
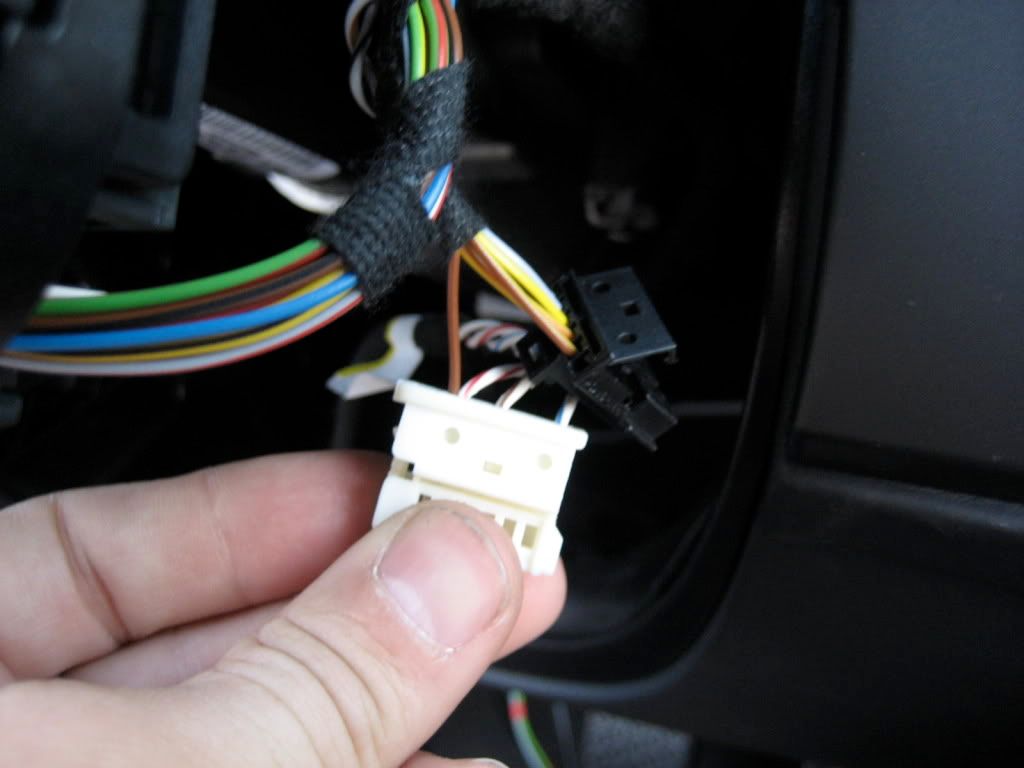
18. Lisez les instructions au format PDF et retirez les fils du connecteur noir (celui que je vous ai dit de ne pas connecter à votre nouvelle cartouche Coil) et insérez-les dans le connecteur. A7 connecteur blanc. Ils sont numérotés 1-6 et vous devez les insérer de la même manière ... 1 du connecteur noir passe à 1 dans A7 Connecteur blanc et ainsi de suite...

Image hosted on: i114.photobucket.com

Image hosted on: i114.photobucket.com

Image hosted on: i114.photobucket.com

Vous pouvez maintenant vous connecter A7 Connecteur blanc en vous nouvelle cartouche à ressort Coil

Image hosted on: i114.photobucket.com

19. Attachez les fils ensemble et mettre en arrière de la colonne de volant garniture.

Image hosted on: i114.photobucket.com

Image hosted on: i114.photobucket.com

20. Transférez tout de votre ancienne roue à votre nouveau PSW et installez le tout. Lisez le fichier PDF. Connectez le connecteur noir de la nouvelle cartouche à ressort Coil au connecteur vert sur votre nouveau PSW. Le reste est le même. Dans le fichier PDF, il est dit de connecter un connecteur noir au noir, mais en fait c'est vert et non pas noir. Juste Fiy.

Il devrait ressembler à ça

Image hosted on: i114.photobucket.com
:D
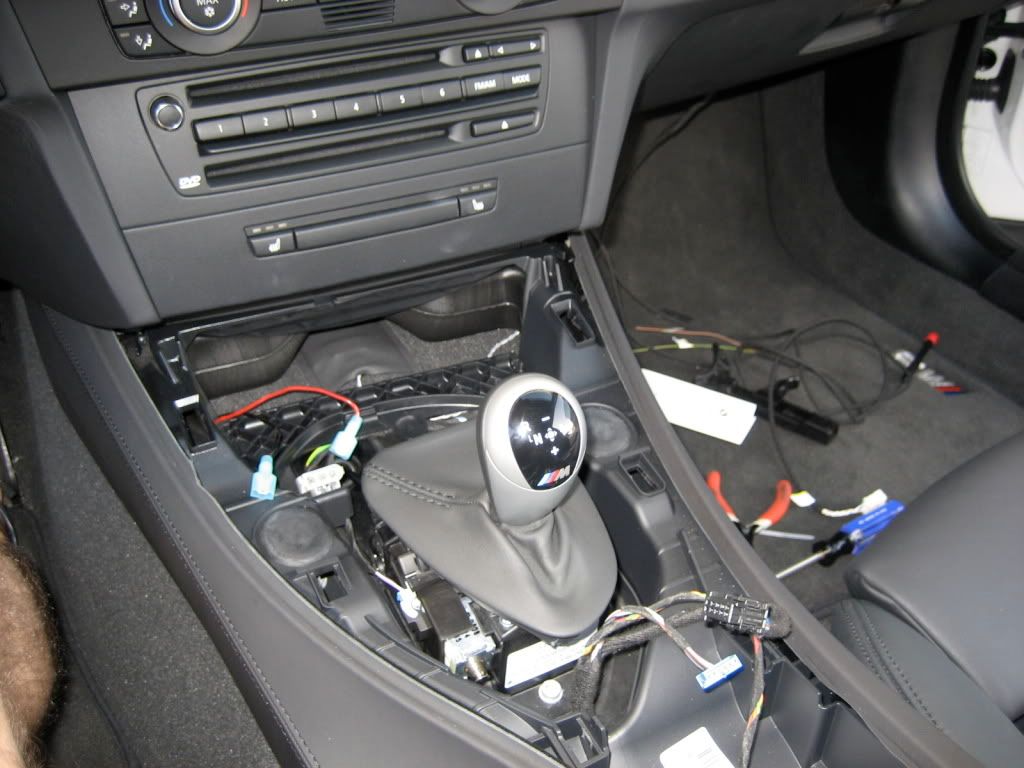
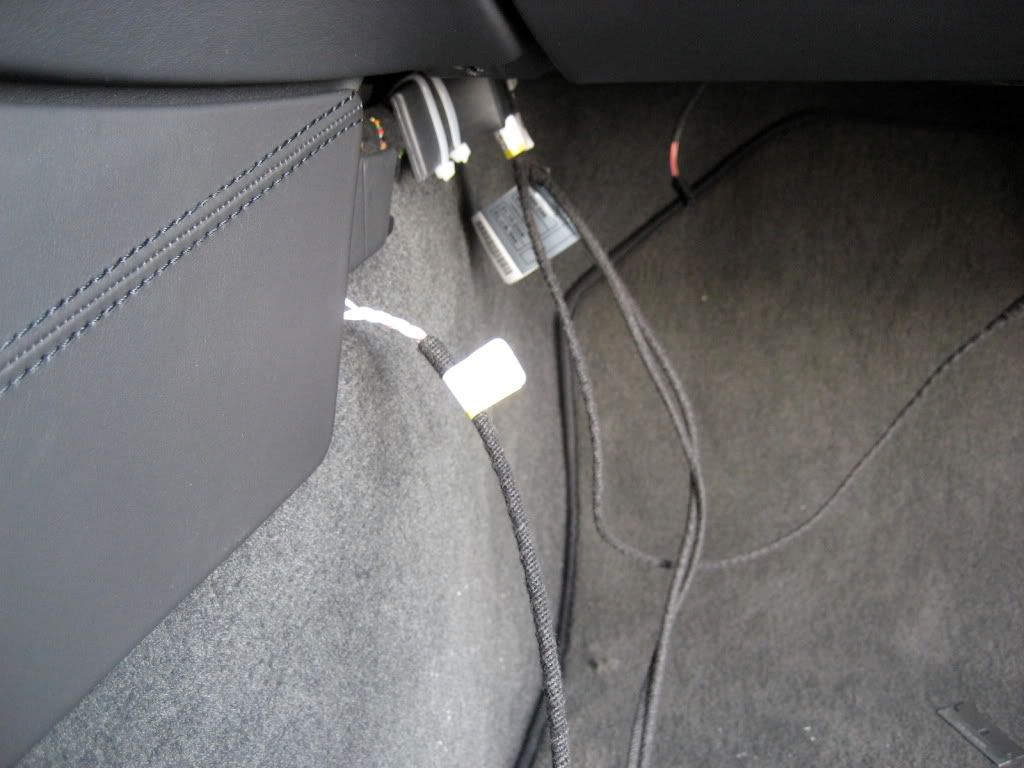
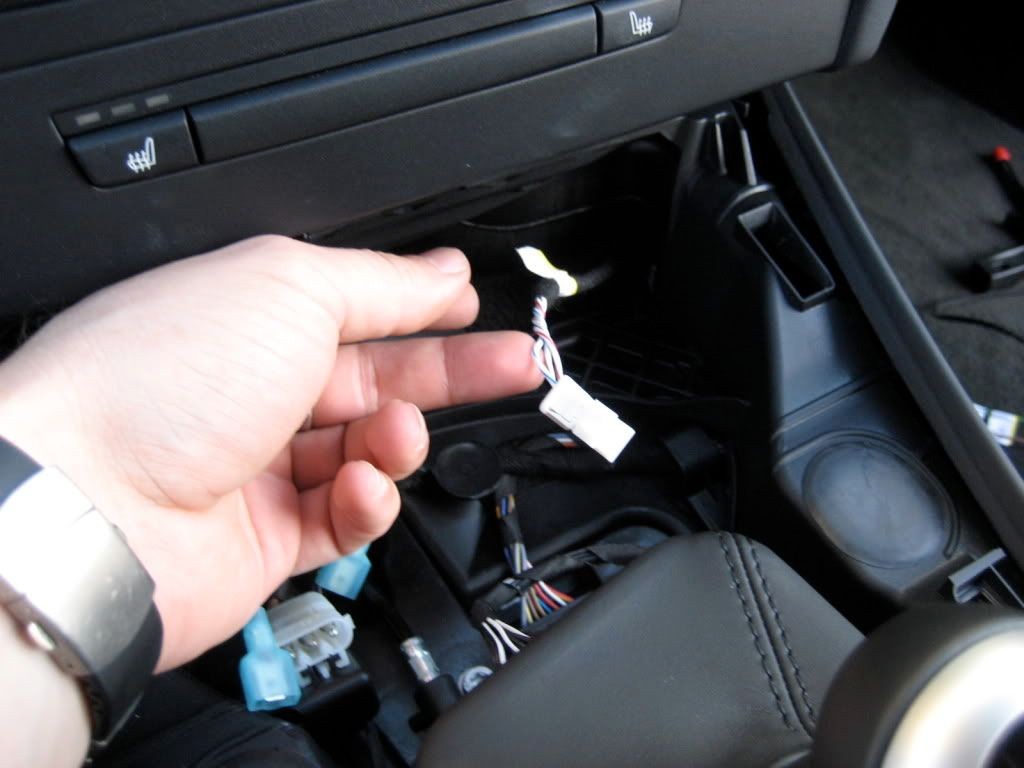
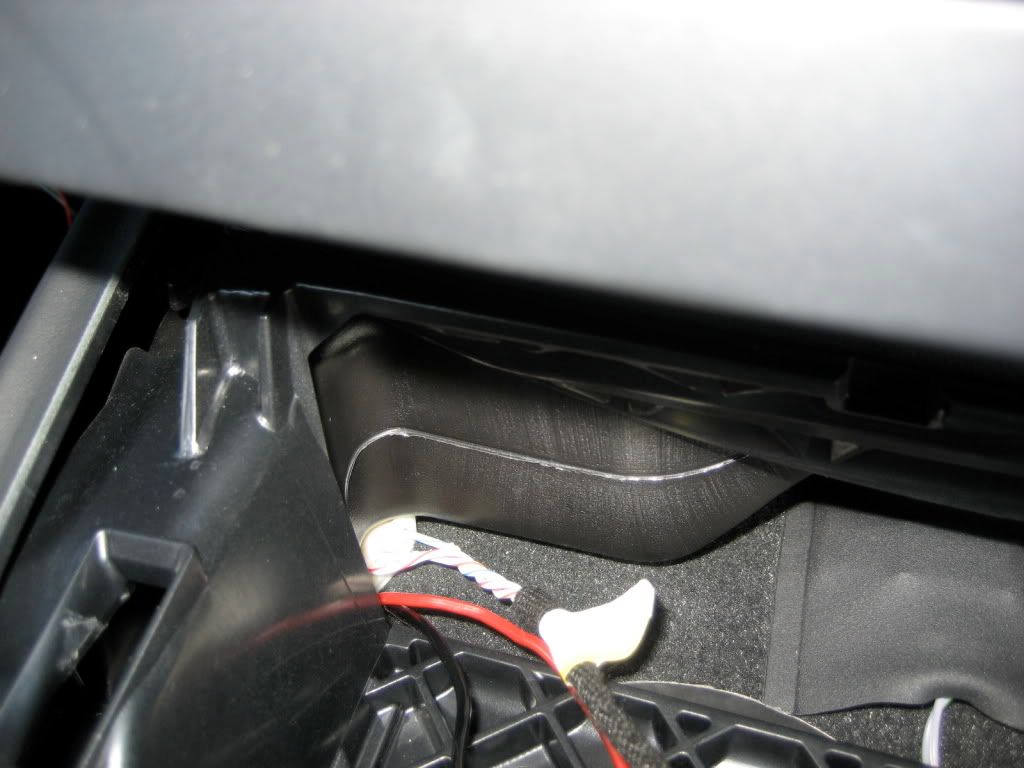
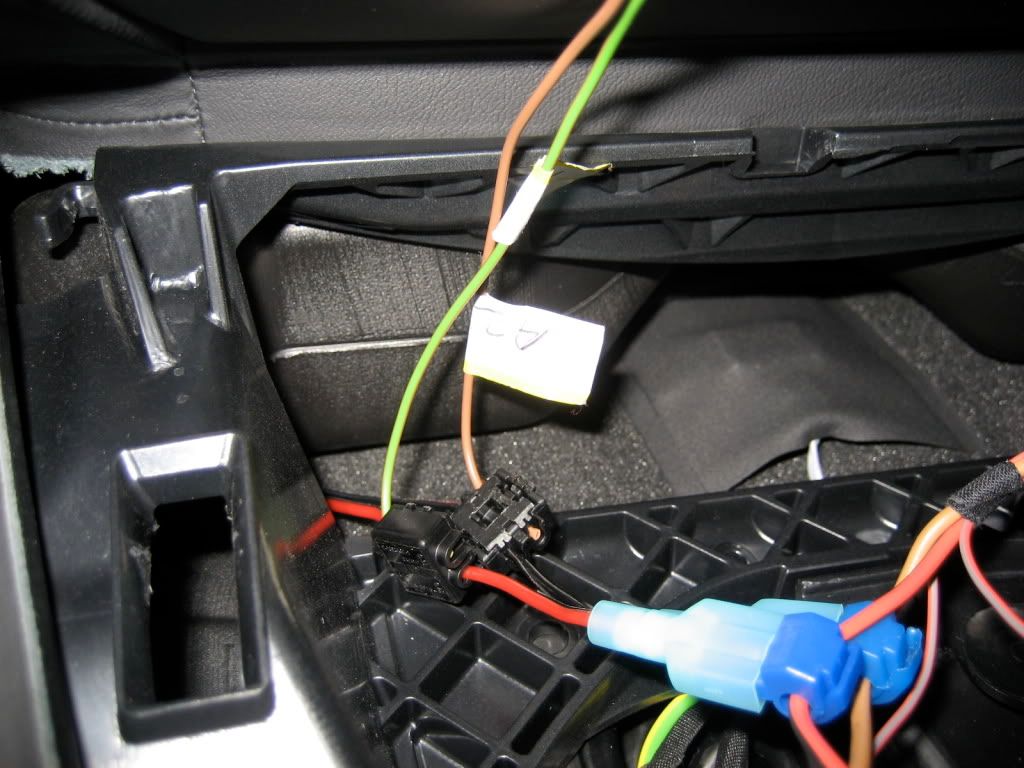
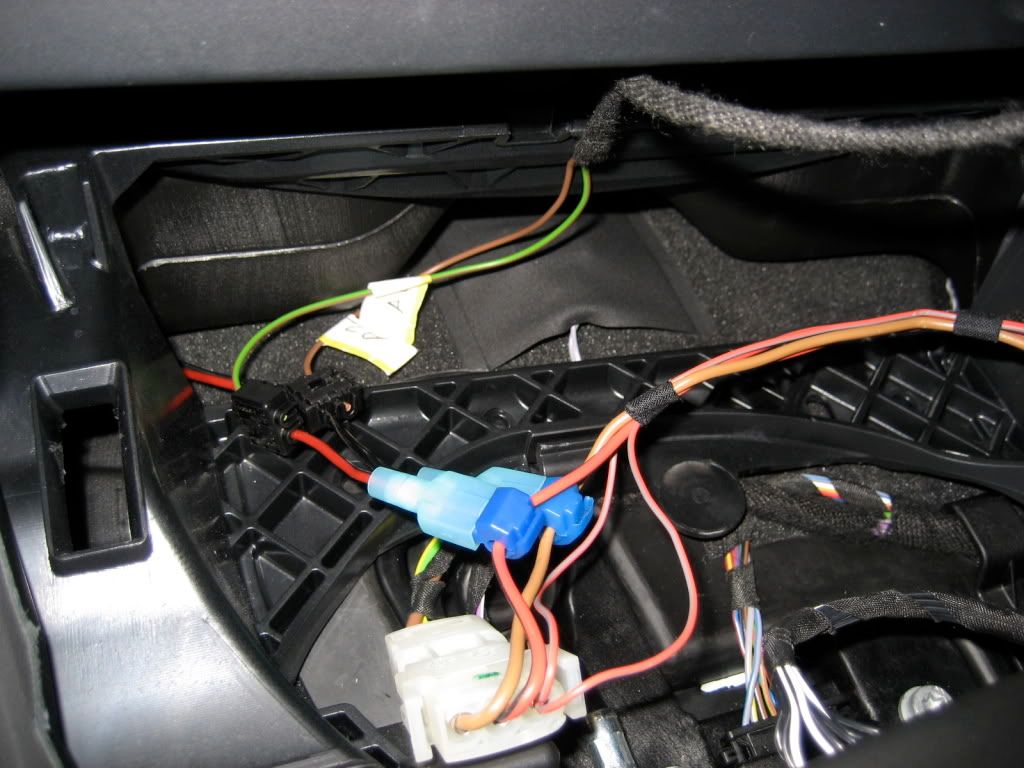
21. Since OBDII port doesn't have two needed wire to connect A1 and A2 I decided to use cigaret lighter as the power source. I have something else taped into this power source so don't pay attention to the Red and Black wires. You need to tap A2 Braun wire in to thick Braun wire and A1 Green/Braun into thick Red/Black wire on your cigaret lighter connector.

Image hosted on: i114.photobucket.com

Image hosted on: i114.photobucket.com

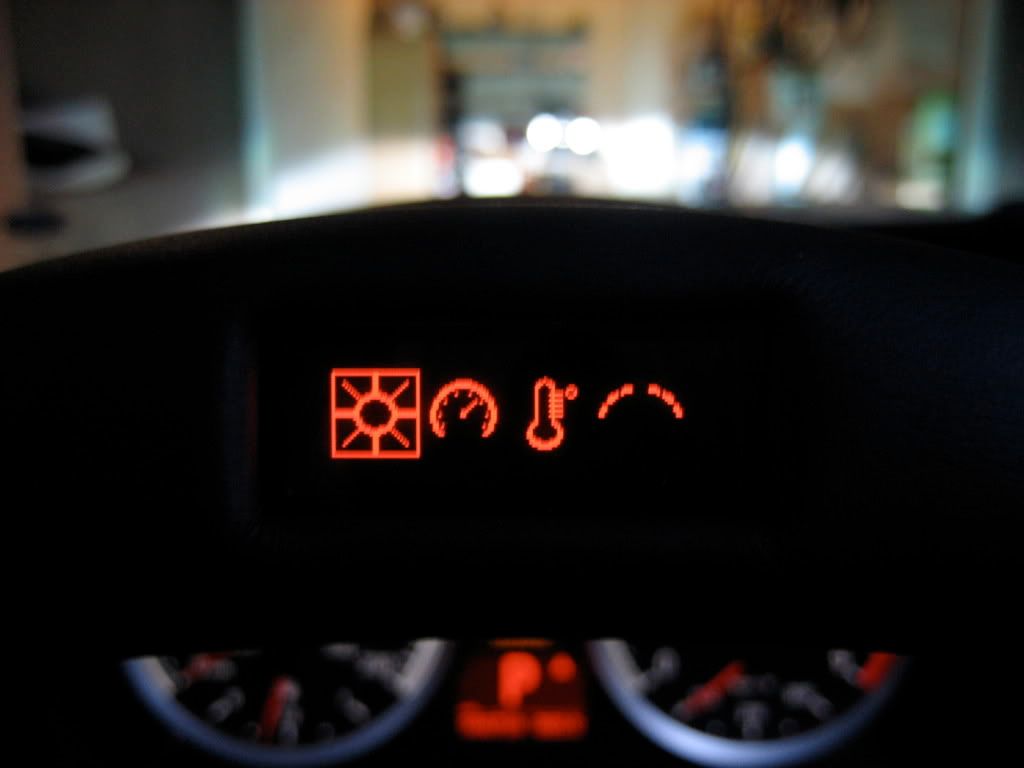
22. Now you can put everything back together. Connect your battery after you are done with everything, start your car and you should get this

Image hosted on: i114.photobucket.com

Image hosted on: i114.photobucket.com

Read the Manual that came with your new PSW to set it the way you like !

I hope this will help :D

PDF FILE HERE
What?? I have to remove my clutch pedal?
urbo73 wrote
What?? I have to remove my clutch pedal?
no you don't ... I have M-DCT :D
Post referenced by doba_s in BMW Performance Steering Wheel - Installed 20/03/2009 · and 2 more related references...
Post referenced by doba_s in Performance Steering Wheel - Installed 20/03/2009
Post referenced by doba_s in BMW Performance Steering Wheel - Installed 20/03/2009
Post referenced by Amir87 in Top Steering Column Cover Removal 23/09/2009
You should really use a torque wrench to tighten the bolt the secures the wheel to the column.
Great DIY!!!
FStop7 wrote
You should really use a torque wrench to tighten the bolt the secures the wheel to the column.
yes you can ... mine is too big and I couldn't use it ... I'll recheck it in a week or so, but there is no way it will get loose ... plus don't remember reading in PDF file anything about using torque wrench to tighten it.
doba_s wrote
yes you can ... mine is too big and I couldn't use it ... I'll recheck it in a week or so, but there is no way it will get loose ... plus don't remember reading in PDF file anything about using torque wrench to tighten it.
I've done wheel swaps on a 335i and an E46 M3, in both cases I'm pretty sure it was recommended to torque to 75lb-ft.

The perf wheel looks good, btw. I just wish it had M stitching.
Awesome DIY - thanks for taking the time to post.
I got my steering wheel installed this weekend...good DIY...but not too technically/mechanically incline so I got BMW here in Bamberg, Germany (Autohaus Sperber) to do the install and programming for me...next project Alcantara my headliner, A pillar and B pillars
:bulge: Awesome DIY Aleks!!!!
I wish I could join installation, and this makes me can't wait mine get installed!!
How long did it take? I might try to install mine today once I get back to SF tonight..

Good Job!! :thumsup:
MentholGuy wrote
:bulge: Awesome DIY Aleks!!!!
I wish I could join installation, and this makes me can't wait mine get installed!!
How long did it take? I might try to install mine today once I get back to SF tonight..

Good Job!! :thumsup:
it took me about 2-3h ... i was trying not to f...k it up haha ...
Genro757 wrote
I got my steering wheel installed this weekend...good DIY...but not too technically/mechanically incline so I got BMW here in Bamberg, Germany (Autohaus Sperber) to do the install and programming for me...next project Alcantara my headliner, A pillar and B pillars
this DIY is for you to get an idea ... you don't need to program anything after you install it ... so I am not sure what your BMW center did ...
tom @ eas wrote
Awesome DIY - thanks for taking the time to post.
thanks Tom ... I called you yesterday and left you a message ... but disregard it ... everything works good !
doba_s wrote
this DIY is for you to get an idea ... you don't need to program anything after you install it ... so I am not sure what your BMW center did ...
Awesome job and post on this project!:bow:

Every time I see a Performance Steering Whell my reaction is first :confused0068: then :drool:.


So you're saying that after you installed the wheel all the functions worked? You did not have to take it in to the dealer for programming or coding to your car?
Alex///M wrote
Awesome job and post on this project!:bow:

Every time I see a Performance Steering Whell my reaction is first :confused0068: then :drool:.


So you're saying that after you installed the wheel all the functions worked? You did not have to take it in to the dealer for programming or coding to your car?
nope ... read PDF file and it says there that you don't need to reprogram it.
I take it the new wheel can only go on one way, a groove in the splines?
David1 wrote
I take it the new wheel can only go on one way, a groove in the splines?
you are right ...
I really like the thickness of the OEM steering wheel.
Is the performance steering wheel similar in thickness ?
If it is I'm buying one today lol.
awesome DIY. there is no way i could do that myself...
rav7ks wrote
I really like the thickness of the OEM steering wheel.
Is the performance steering wheel similar in thickness ?
If it is I'm buying one today lol.
Thickness is just the same...and the alcantara feels great...