Outils nécessaires :
Pare-chocs/ enlèvement des phares -
10mm
Torx, 30
Travaux phares -
Torx 20
couteau à mastic/grattage
ciseau
couteau à beurre
(choisissez votre arme)
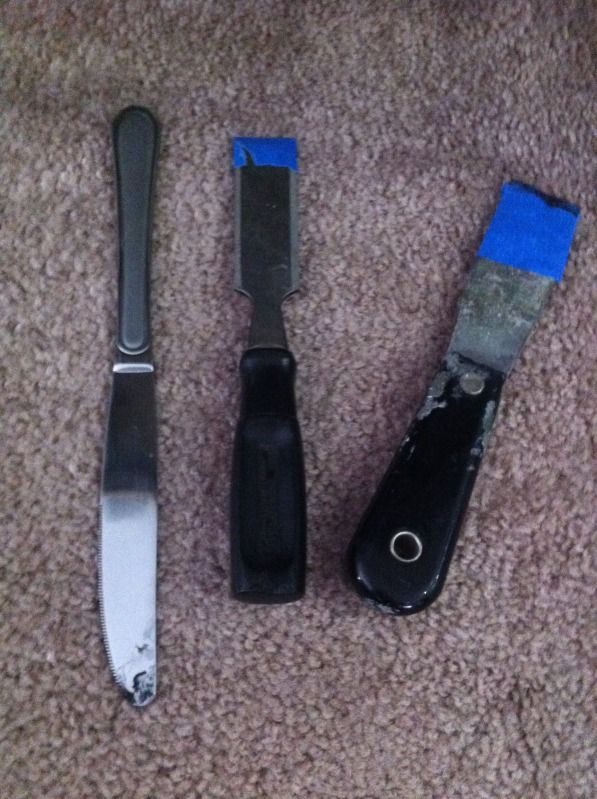
Tout ce que j'ai utilisé était le couteau à mastic
1. La première chose, c'est d'abord ! Retirez le pare-chocs avant et les phares
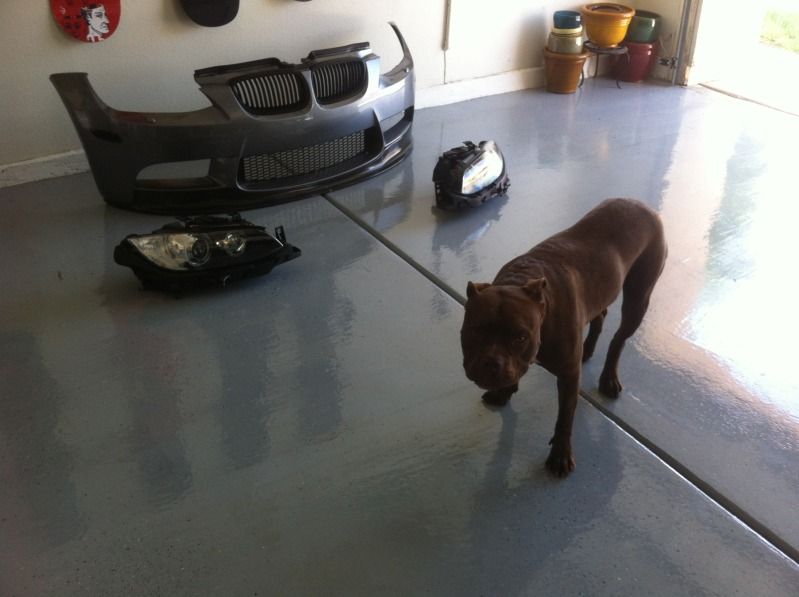
2. Dévissez la vis sur le coin du phare en dessous de l'évent. Enlevez l'évent aussi. Mettez-les de côté et il serait sage de séparer la quincaillerie pour chaque phare. Enlevez également la cale du phare située au-dessus du phare.
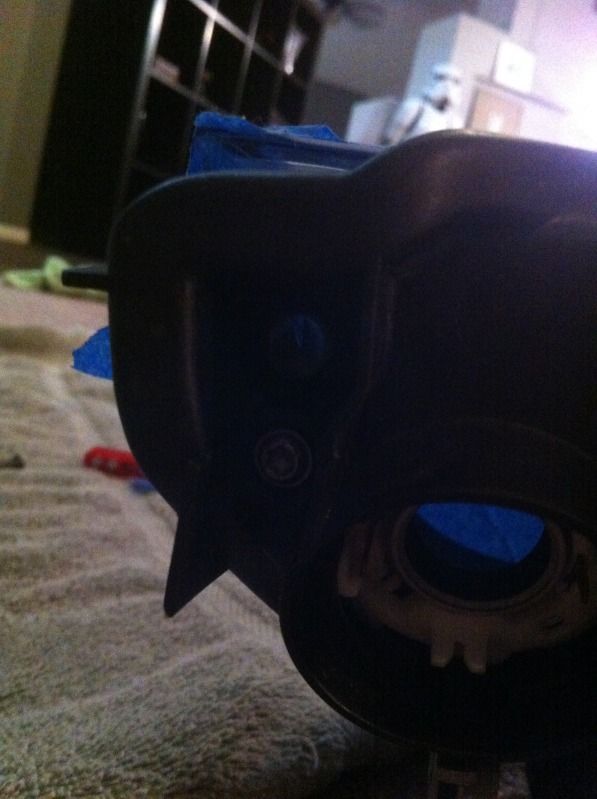
3. Réglez le four sur 215. Vous allez les cuire pendant 8 minutes. J'ai couvert le phare avec du ruban adhésif, car je suis assez maladroit et je vais probablement finir par les gratter. vous pouvez enlever les ampoules et couvrir les orifices avec du ruban adhésif, mais je viens de quitter les ampoules à l'exception de l'ampoule clignotante.
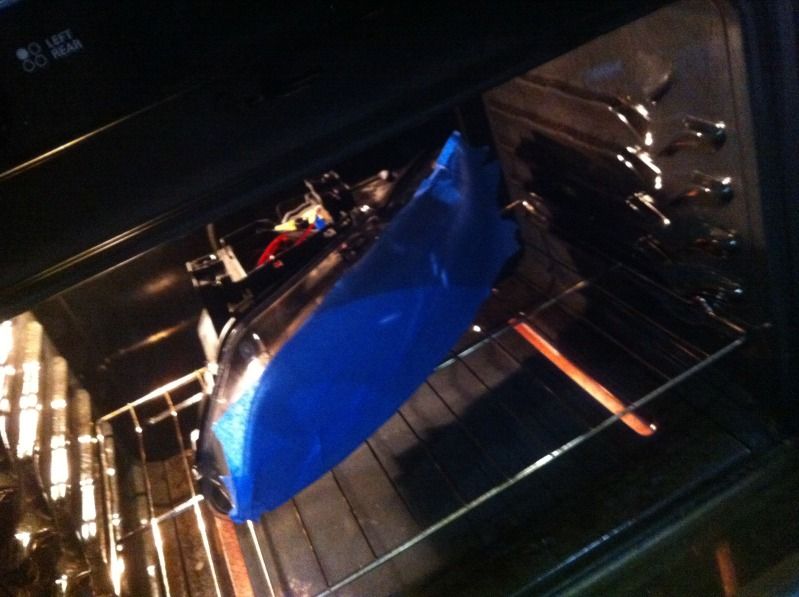
4. Pry! Il n'y a que 2 zones où il est sûr de le faire. C'est en haut et en bas des phares. C'est le seul endroit où un outil s'adapte. Une fois que vous avez votre outil là-dedans, tournez lentement le couteau à mastic. Une fois qu'il commence à se séparer sur le dessus, retournez le phare et faites-le de l'autre côté. Une fois qu'ils se sont suffisamment séparés, déplacez les onglets sur la serrure ou vous ne pourrez pas les séparer. Voir ci-dessous.
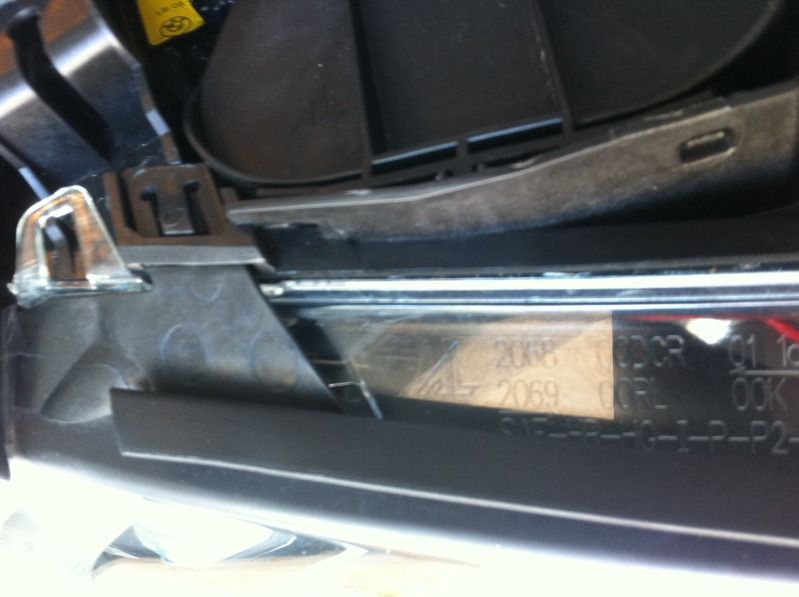
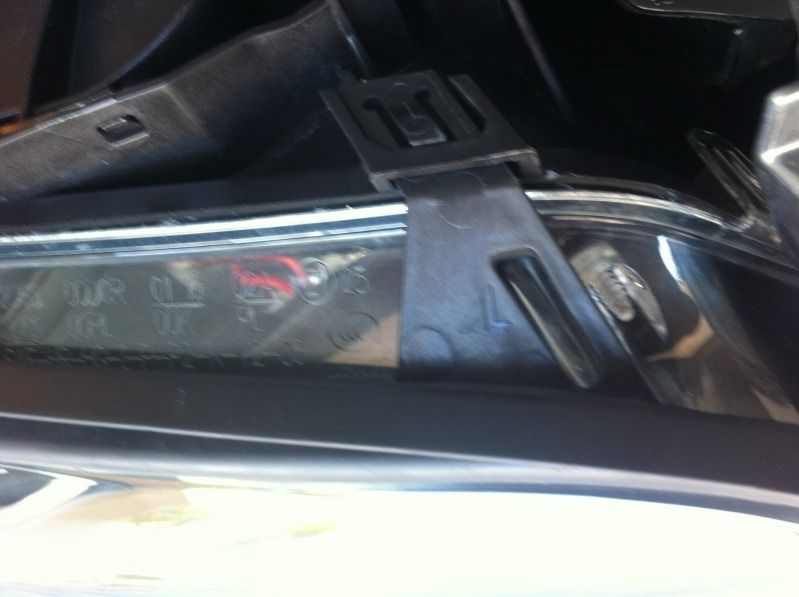
5. Maintenant, vous devriez avoir 2 morceaux. À ce stade, vous pouvez séparer le boîtier du clignotant et peindre n'importe quelle pièce que vous voulez. Vous pouvez également choisir de "supprimer" la LED d'angle ou de souder dans une LED blanche.
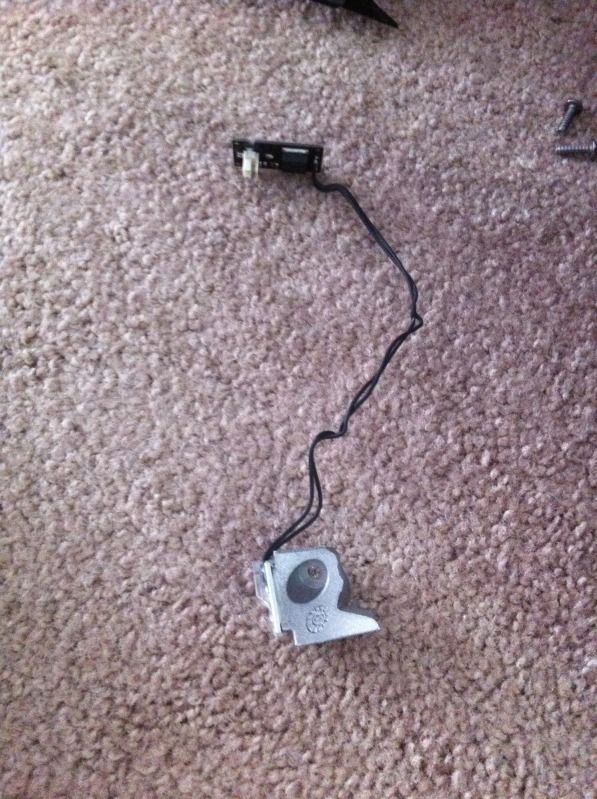
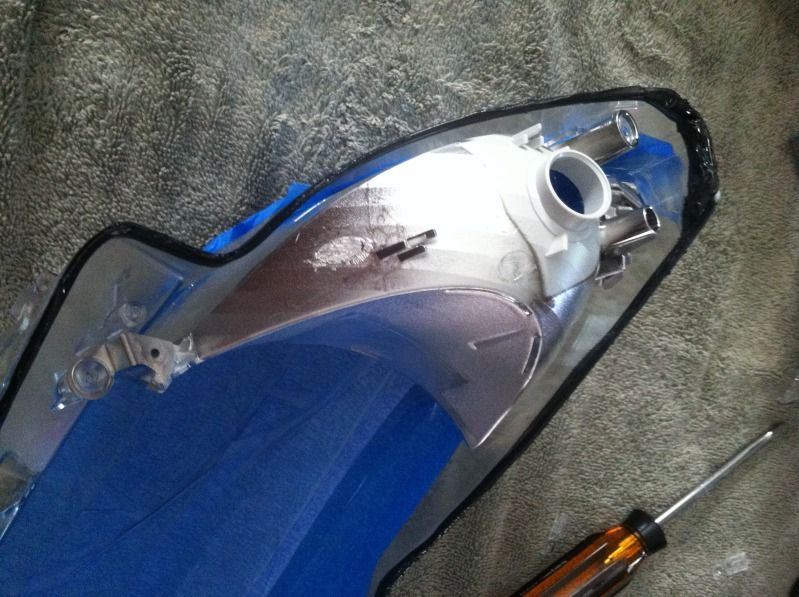
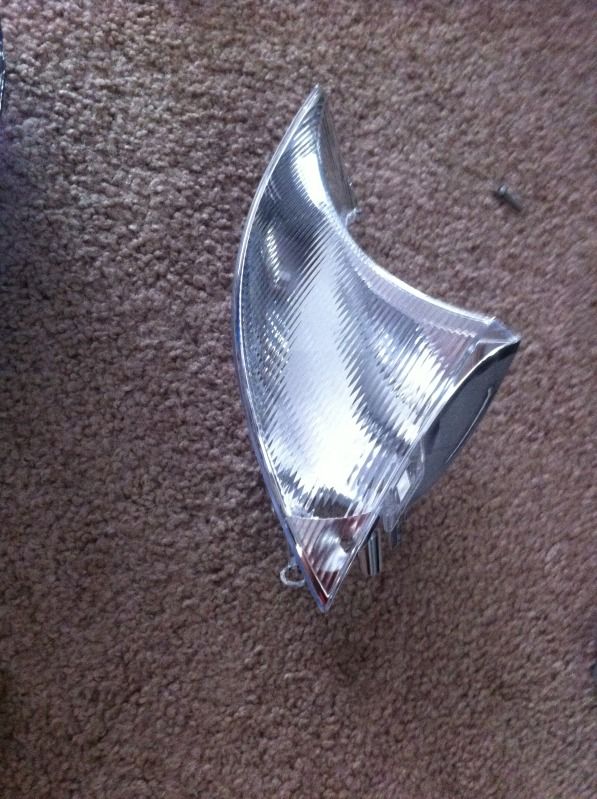
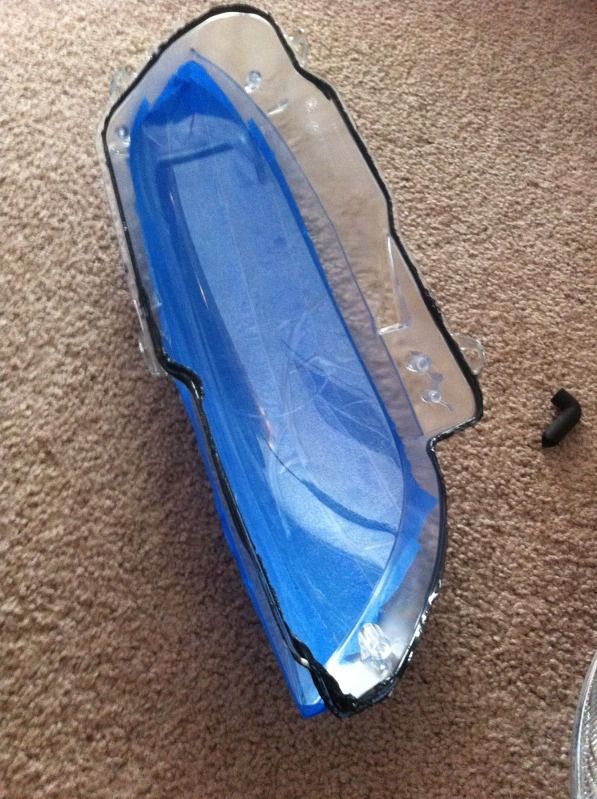
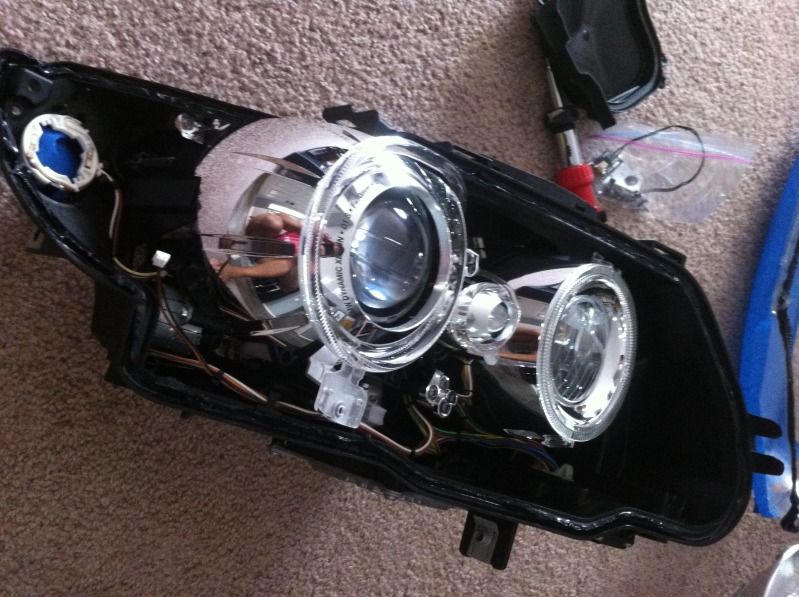
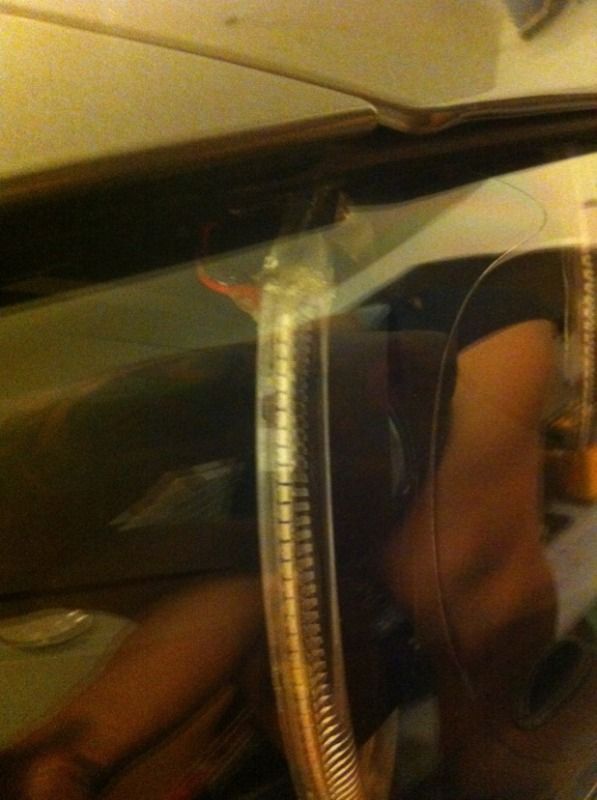
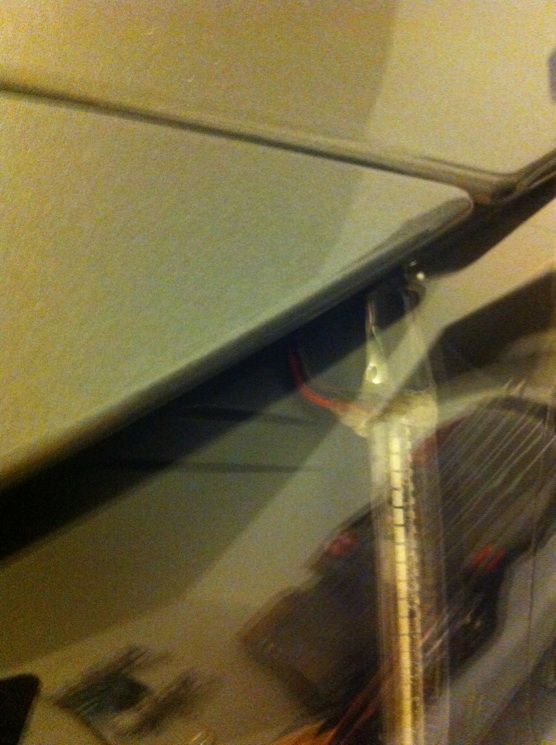
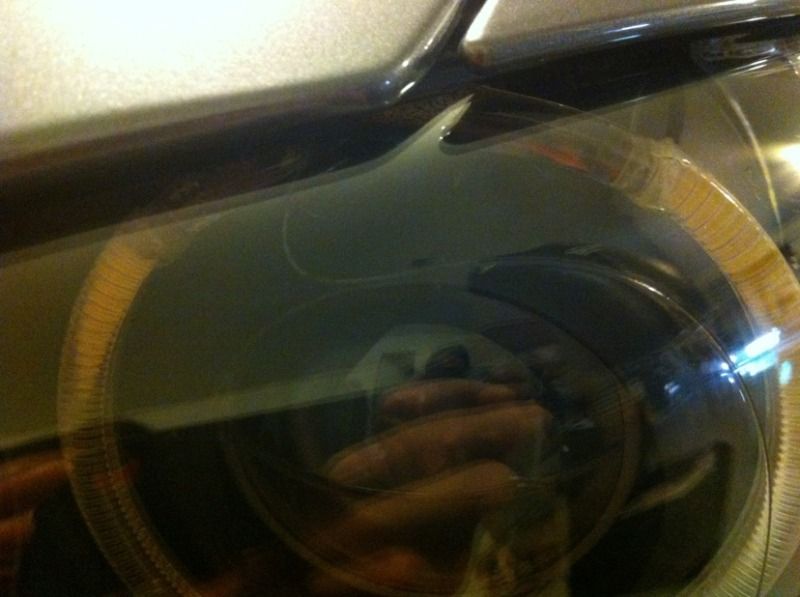
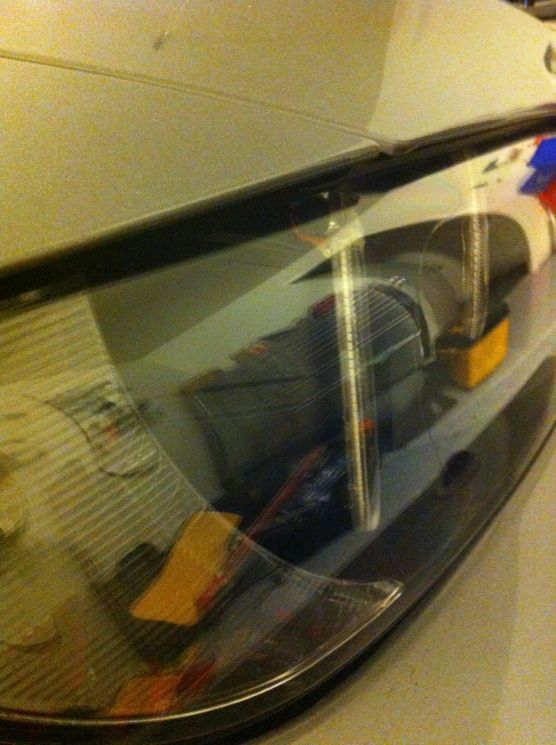
6. Retirer/dévisser l’œil de l’ange extérieur. Vous allez réutiliser ces pièces pour modifier les yeux des anges Umnitza. Dévissez les enveloppes extérieures et intérieures si vous voulez les peindre.
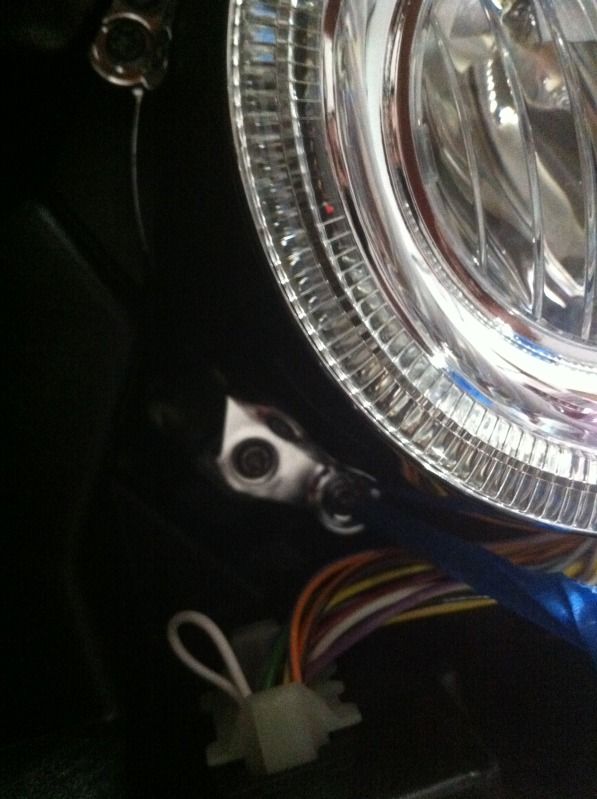
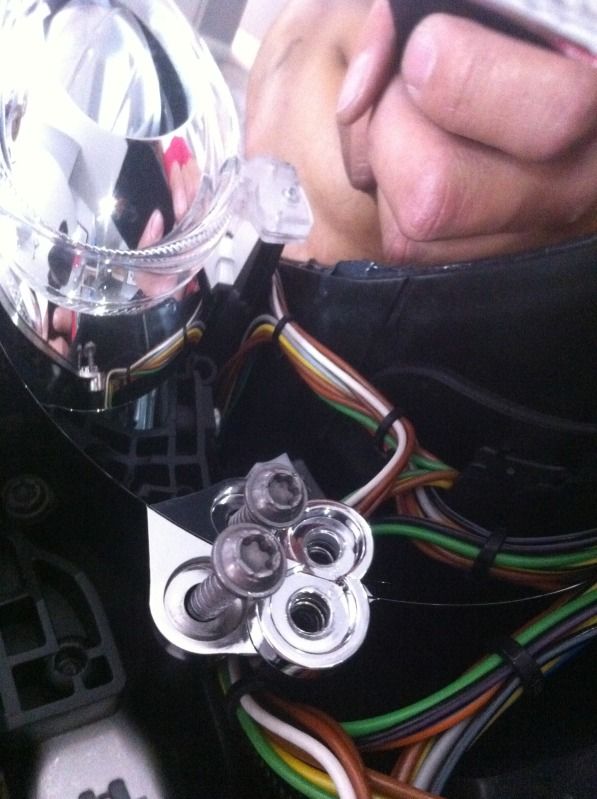
Voici la lumière de virage. Dévissez le sol et débranchez la fiche de l'ampoule H8.
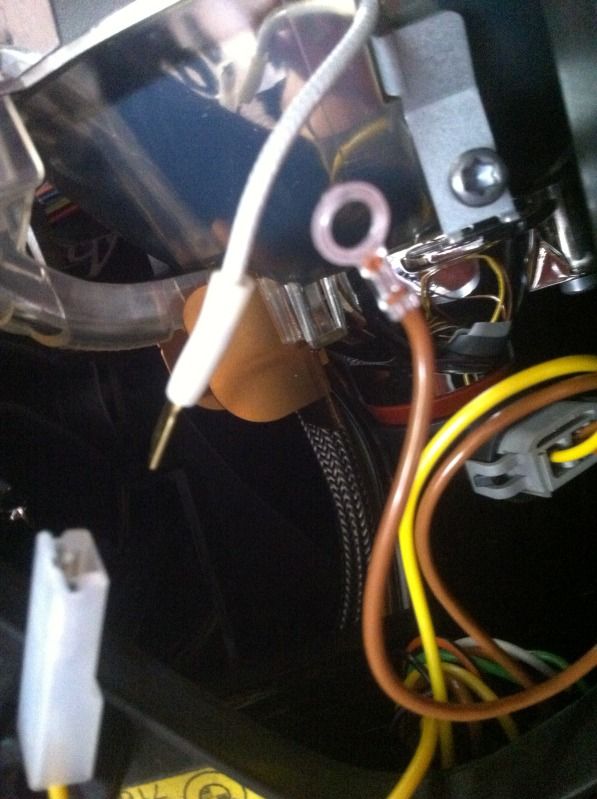
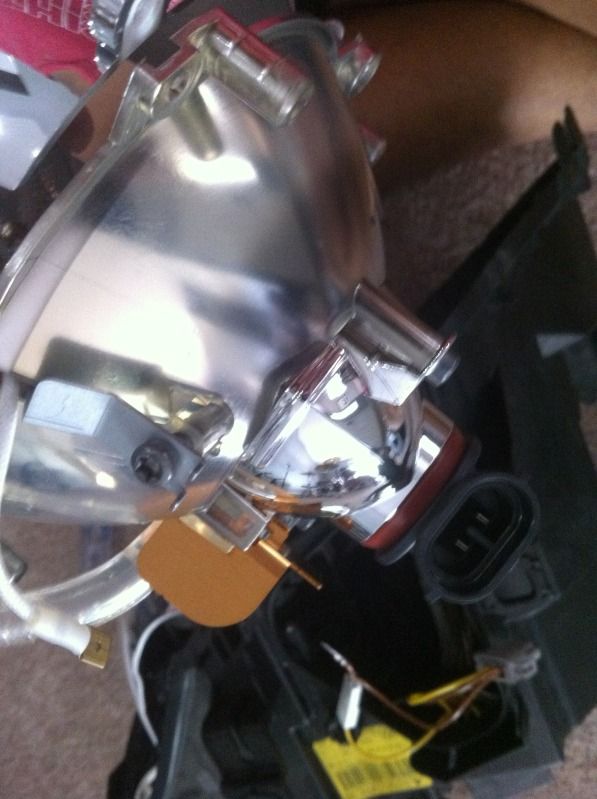
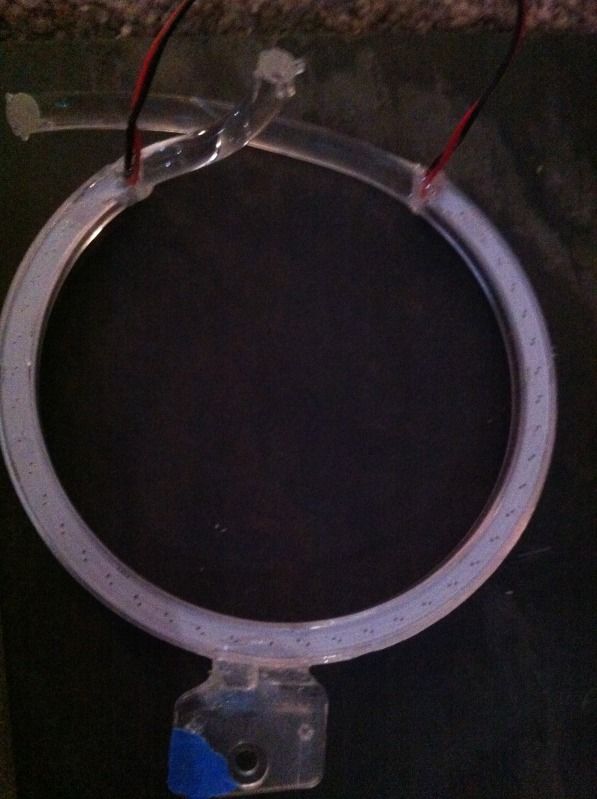
7. Dremel vers le bas de l'œil extérieur d'ange Umnitza au point où les fils sont à peine sortir.
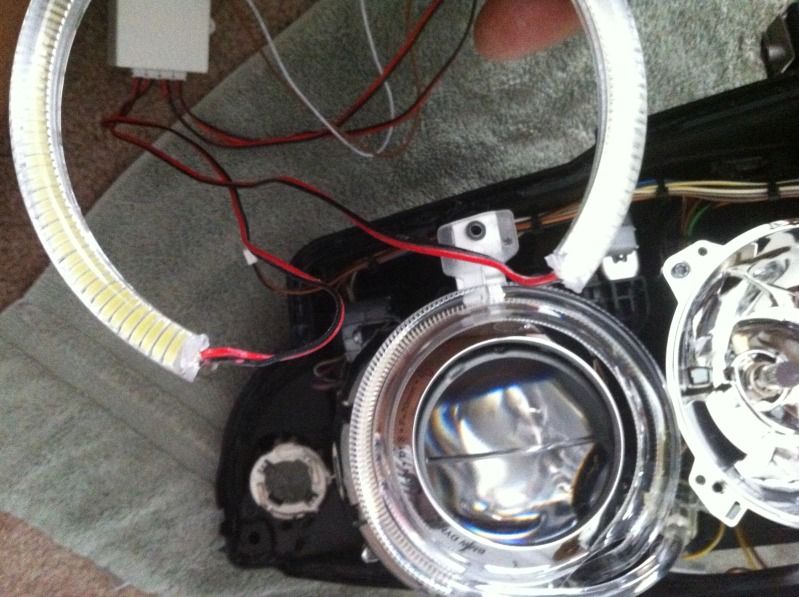
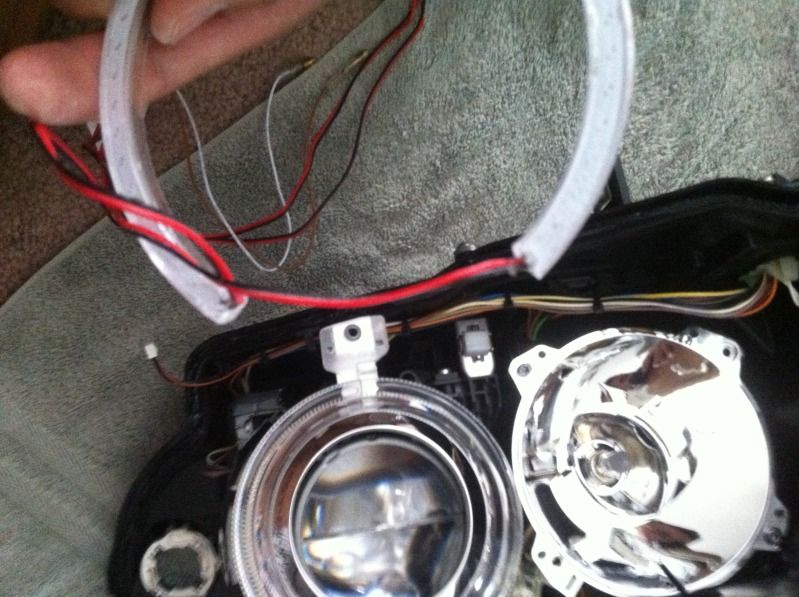
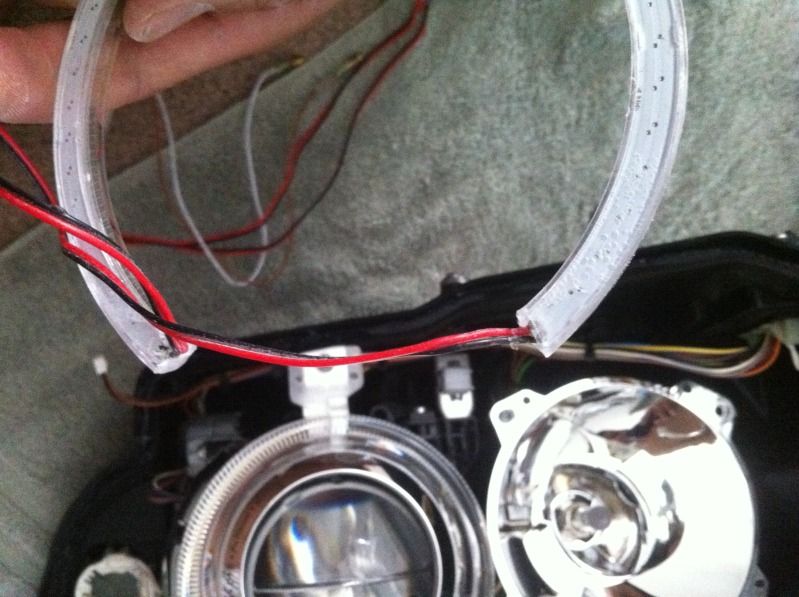
8. Maintenant, c'est là que ça devient difficile: vous devez découper l'œil d'ange extérieur pour l'intégrer à l'oeil d'ange Umnitza. Placez l'oeil d'ange Umnitza sur l'œil d'ange de stock et marquez où le stock doit être coupé. si c'est trop court, tout ce que vous avez à faire est juste d'utiliser de l'époxy pour remplir l'espace. Utilisez du ruban adhésif pour vous moquer si tout va bien.
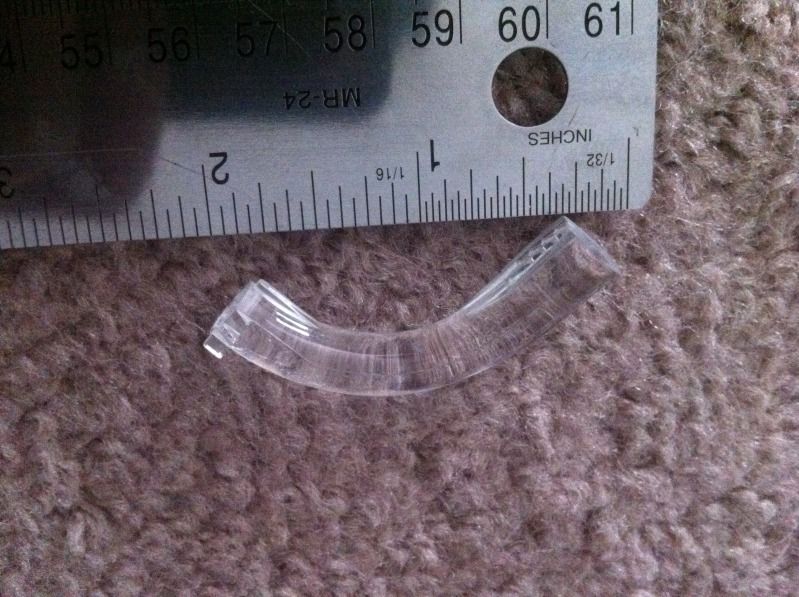
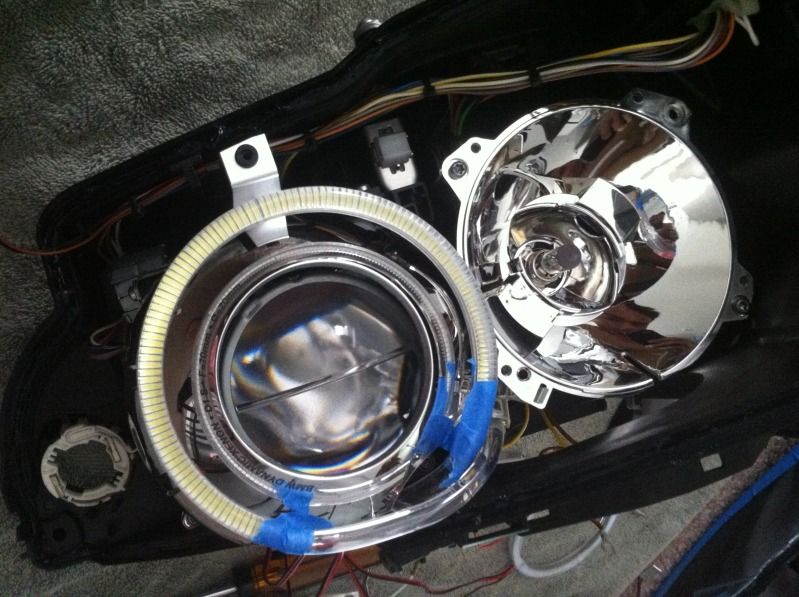
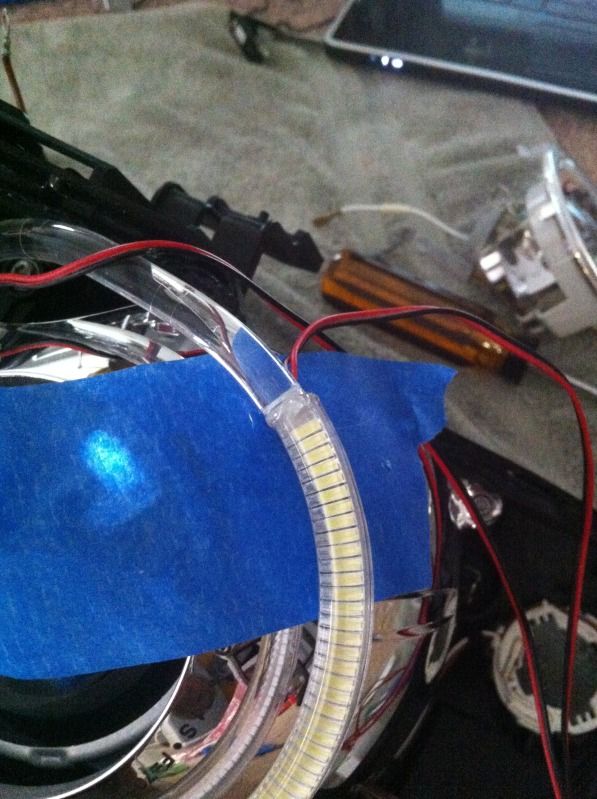
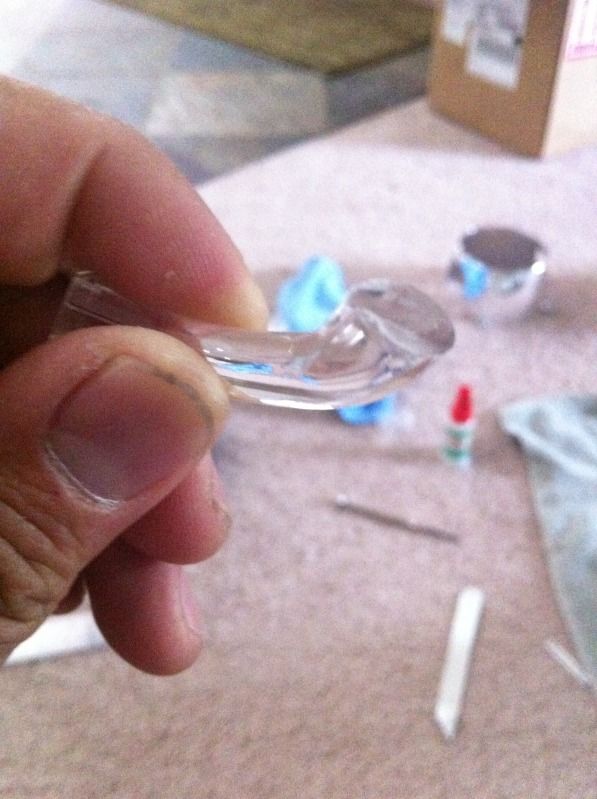
9. Une fois que c'est moqué, vous utilisez l'onglet inférieur de l'œil d'ange stock et époxy sur l'oeil d'ange Umnitza. Vous finirez par dremeling un peu hors de l'onglet pour le faire tenir depuis l'oeil d'ange Umnitza est un peu plus grand que stock
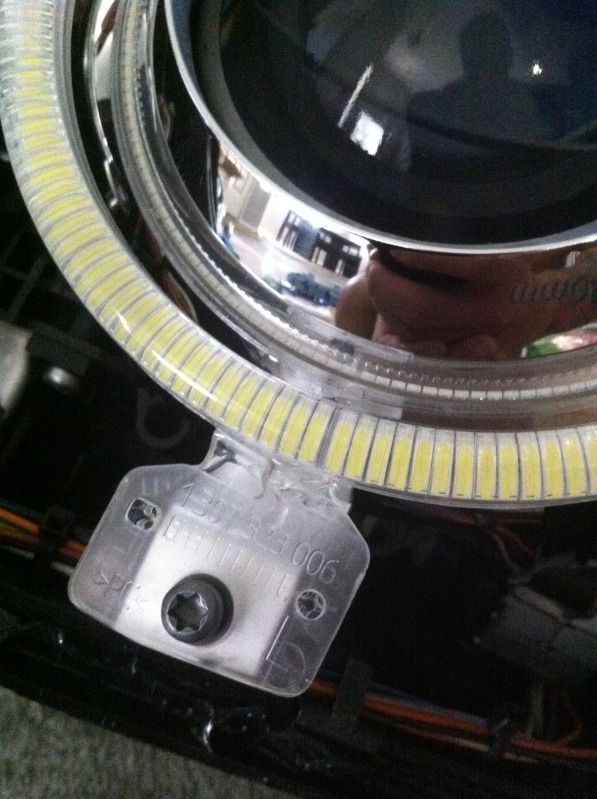
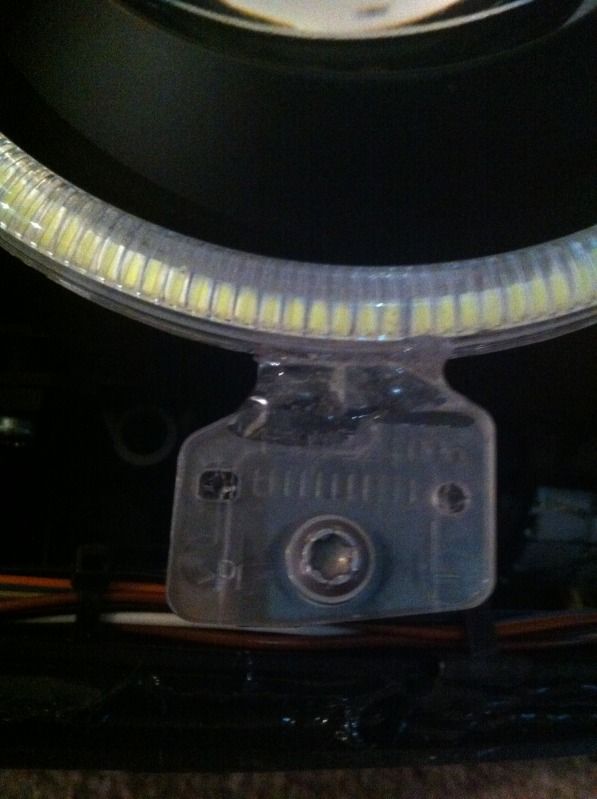
10. Placez du carton entre l'œil d'ange pour ne rien avoir sur le boîtier chromé. Si vous obtenez du ruban adhésif sur le boîtier, il décollera le chrome alors soyez prudent. C'est pourquoi j'ai fini par devenir complètement black-out
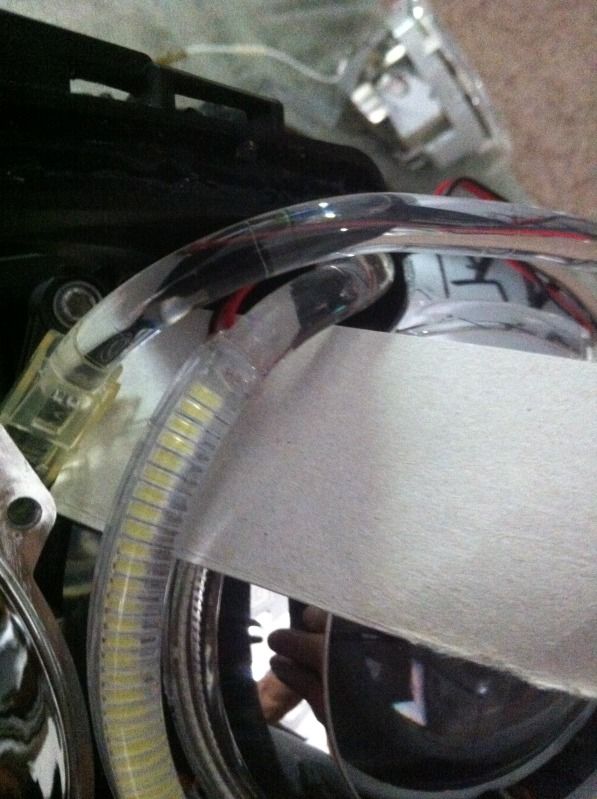
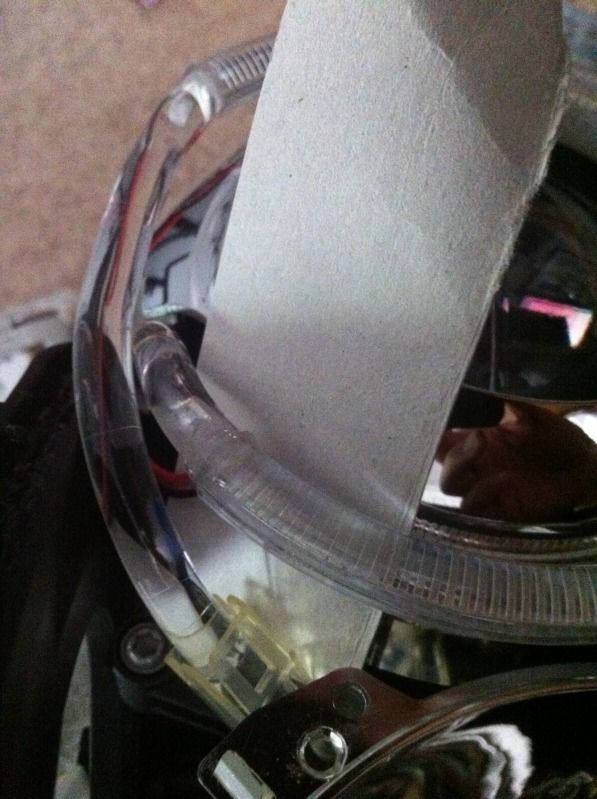
Grand succès ! Maintenant, tout devrait être expliqué! Retirez tout ce que vous avez à inspecter et époxyssez le dos et remplissez les zones que vous avez manquées.
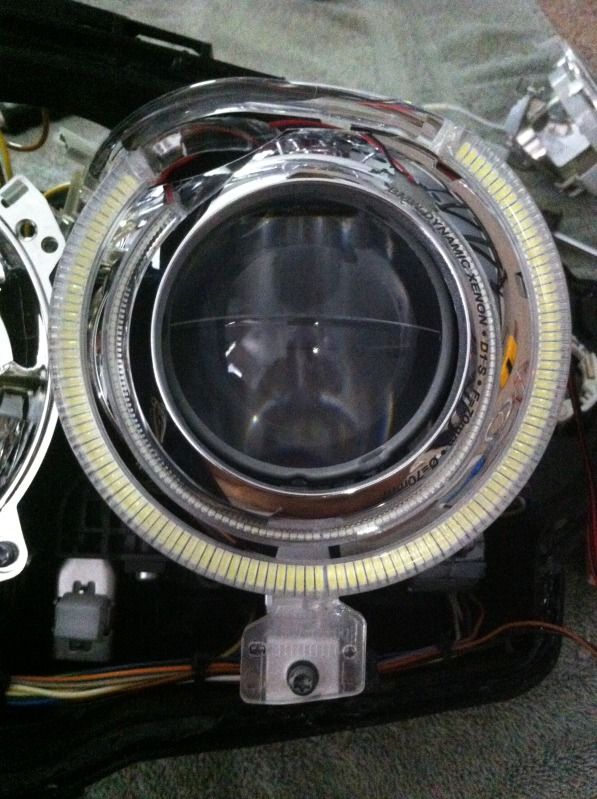
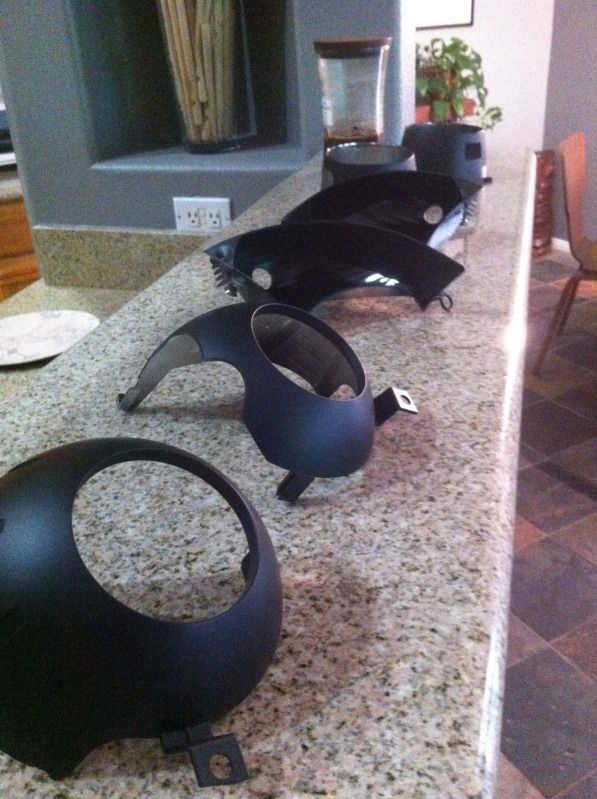
Peignez tout ce que vous voulez peindre. Assurez-vous de sable et d'apprêt ou il s'écaillera.
11. Partie facile. Epoxy l'oeil d'ange intérieur Umnitza juste au-dessus de l'ancien. J’ai fait cela parce que j’avais besoin de l’œil d’ange intérieur pour monter la lumière dans les virages. Si vous regardez le thread OSS, cela ressemble à la façon dont Luis le fait aussi.
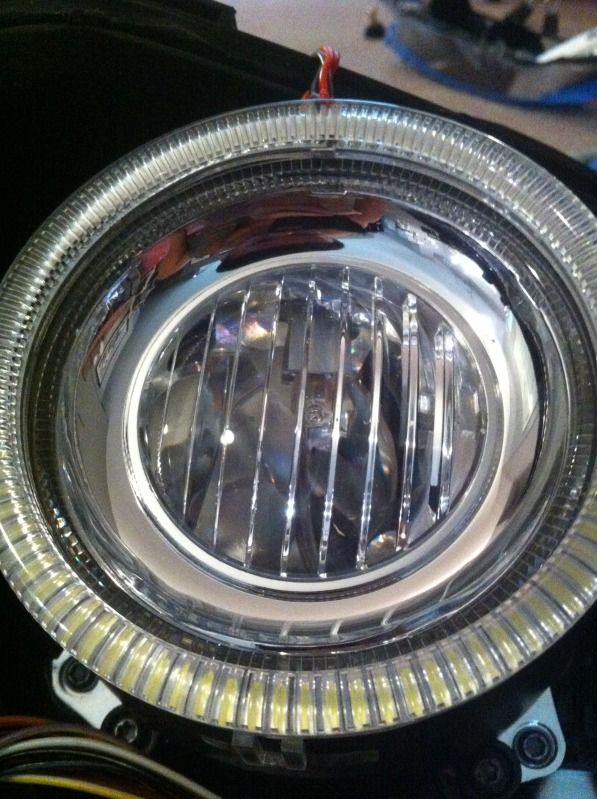
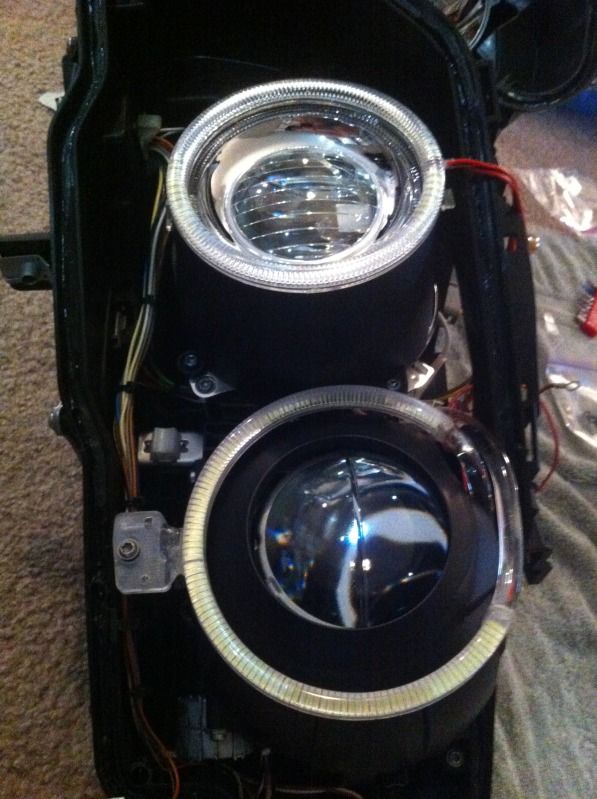
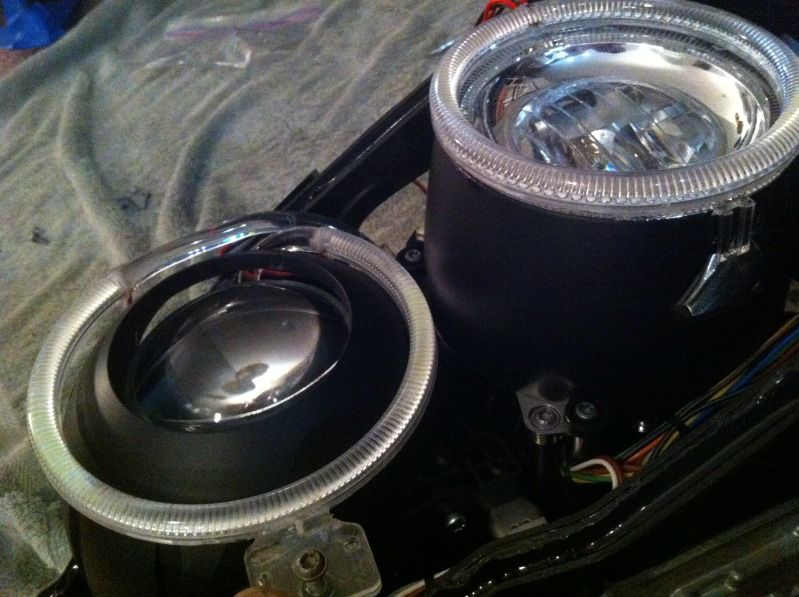
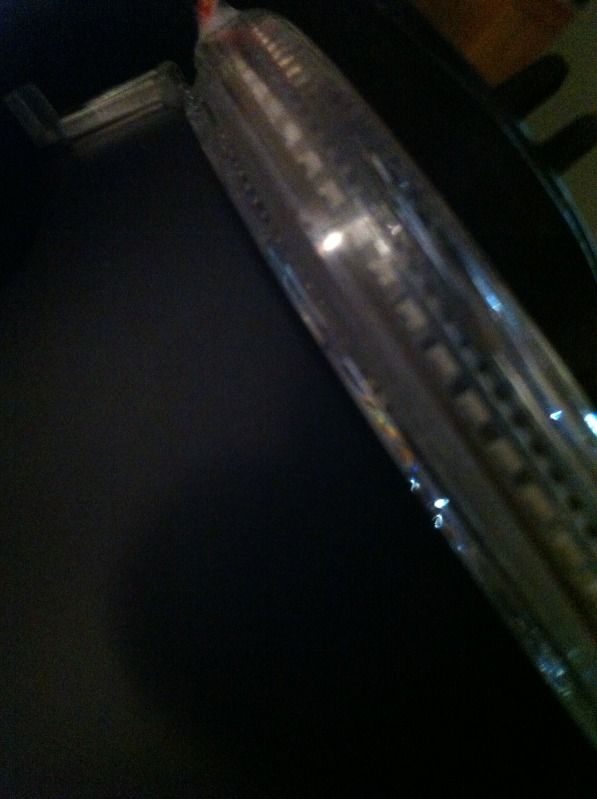
12. OK donc je n'ai pas de photos pour le câblage, mais tout ce que vous avez à faire est de taper sur le fil brun et le fil rouge au harnais d'ampoules Angel Eye H8. Le reste blanc se raccorde à la puissance du faisceau de croisement sur le ballast au xénon. Une fois câblé, vous devez réinstaller temporairement et mettre la voiture sous tension pour voir si cela fonctionne.
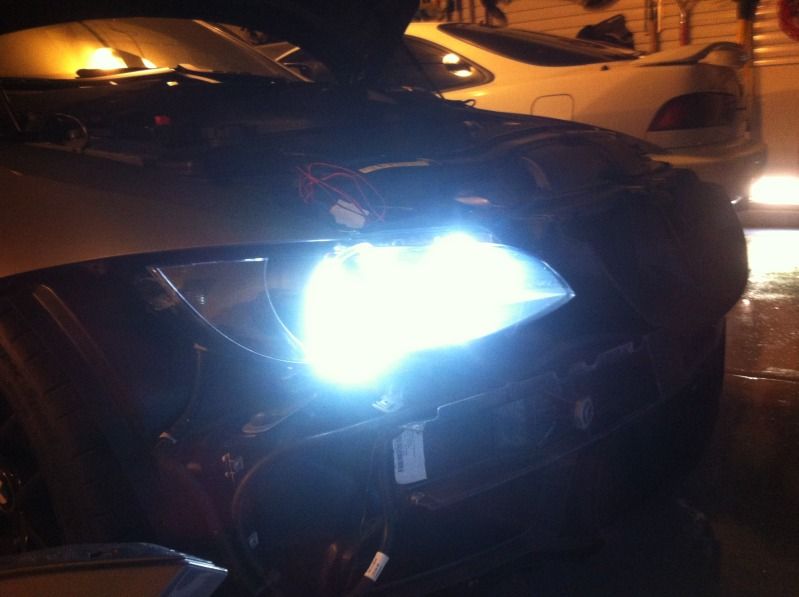
13. Placez le couvercle du phare autant que vous pouvez sur le boîtier et re-cuit.
14. Appuyez fermement sur les deux moitiés ensemble. Assurez-vous que les onglets sont bien verrouillés. Ensuite, visser la vis du logement d'angle.
15. Tout devrait être fait maintenant. Tout ce que vous avez à faire est de réinstaller les phares! Assurez-vous de réaligner les phares la nuit.
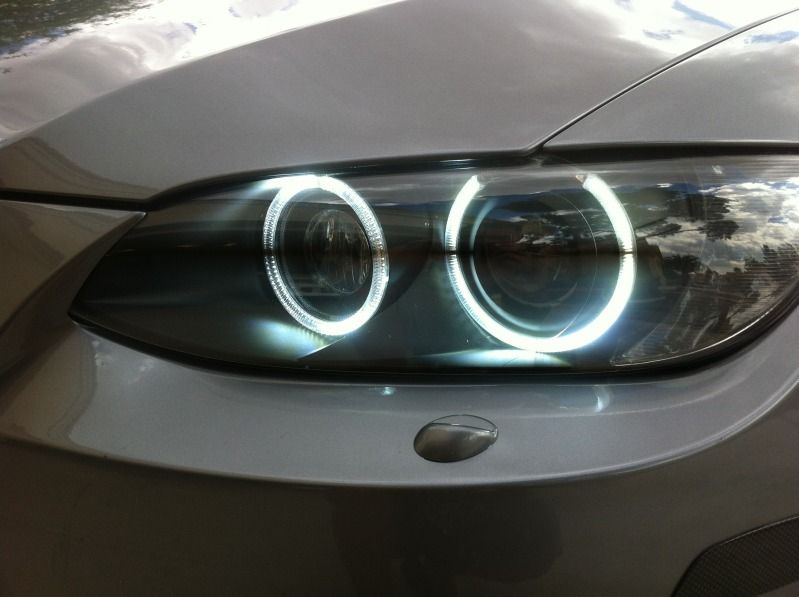
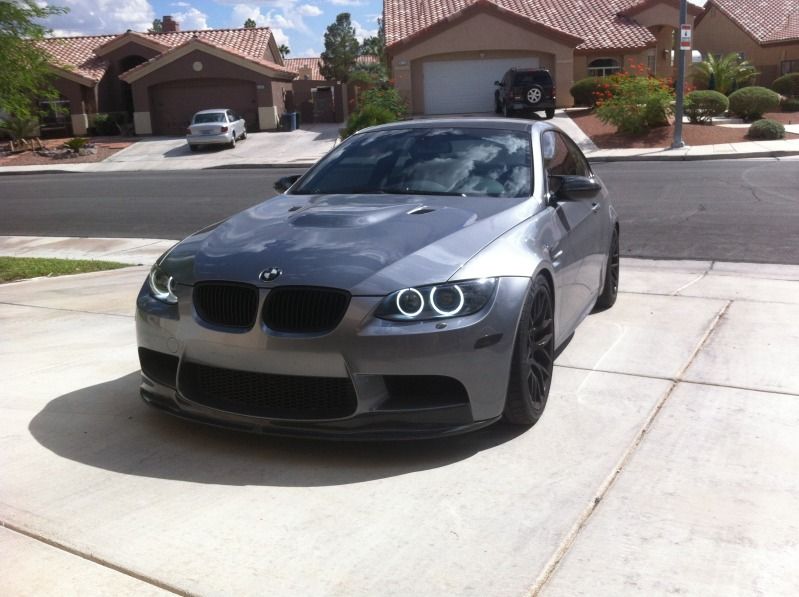
Pour toute question ou aide, pm moi!
Pare-chocs/ enlèvement des phares -
10mm
Torx, 30
Travaux phares -
Torx 20
couteau à mastic/grattage
ciseau
couteau à beurre
(choisissez votre arme)
Tout ce que j'ai utilisé était le couteau à mastic
1. La première chose, c'est d'abord ! Retirez le pare-chocs avant et les phares
2. Dévissez la vis sur le coin du phare en dessous de l'évent. Enlevez l'évent aussi. Mettez-les de côté et il serait sage de séparer la quincaillerie pour chaque phare. Enlevez également la cale du phare située au-dessus du phare.
3. Réglez le four sur 215. Vous allez les cuire pendant 8 minutes. J'ai couvert le phare avec du ruban adhésif, car je suis assez maladroit et je vais probablement finir par les gratter. vous pouvez enlever les ampoules et couvrir les orifices avec du ruban adhésif, mais je viens de quitter les ampoules à l'exception de l'ampoule clignotante.
4. Pry! Il n'y a que 2 zones où il est sûr de le faire. C'est en haut et en bas des phares. C'est le seul endroit où un outil s'adapte. Une fois que vous avez votre outil là-dedans, tournez lentement le couteau à mastic. Une fois qu'il commence à se séparer sur le dessus, retournez le phare et faites-le de l'autre côté. Une fois qu'ils se sont suffisamment séparés, déplacez les onglets sur la serrure ou vous ne pourrez pas les séparer. Voir ci-dessous.
5. Maintenant, vous devriez avoir 2 morceaux. À ce stade, vous pouvez séparer le boîtier du clignotant et peindre n'importe quelle pièce que vous voulez. Vous pouvez également choisir de "supprimer" la LED d'angle ou de souder dans une LED blanche.
6. Retirer/dévisser l’œil de l’ange extérieur. Vous allez réutiliser ces pièces pour modifier les yeux des anges Umnitza. Dévissez les enveloppes extérieures et intérieures si vous voulez les peindre.
Voici la lumière de virage. Dévissez le sol et débranchez la fiche de l'ampoule H8.
7. Dremel vers le bas de l'œil extérieur d'ange Umnitza au point où les fils sont à peine sortir.
8. Maintenant, c'est là que ça devient difficile: vous devez découper l'œil d'ange extérieur pour l'intégrer à l'oeil d'ange Umnitza. Placez l'oeil d'ange Umnitza sur l'œil d'ange de stock et marquez où le stock doit être coupé. si c'est trop court, tout ce que vous avez à faire est juste d'utiliser de l'époxy pour remplir l'espace. Utilisez du ruban adhésif pour vous moquer si tout va bien.
9. Une fois que c'est moqué, vous utilisez l'onglet inférieur de l'œil d'ange stock et époxy sur l'oeil d'ange Umnitza. Vous finirez par dremeling un peu hors de l'onglet pour le faire tenir depuis l'oeil d'ange Umnitza est un peu plus grand que stock
10. Placez du carton entre l'œil d'ange pour ne rien avoir sur le boîtier chromé. Si vous obtenez du ruban adhésif sur le boîtier, il décollera le chrome alors soyez prudent. C'est pourquoi j'ai fini par devenir complètement black-out
Grand succès ! Maintenant, tout devrait être expliqué! Retirez tout ce que vous avez à inspecter et époxyssez le dos et remplissez les zones que vous avez manquées.
Peignez tout ce que vous voulez peindre. Assurez-vous de sable et d'apprêt ou il s'écaillera.
11. Partie facile. Epoxy l'oeil d'ange intérieur Umnitza juste au-dessus de l'ancien. J’ai fait cela parce que j’avais besoin de l’œil d’ange intérieur pour monter la lumière dans les virages. Si vous regardez le thread OSS, cela ressemble à la façon dont Luis le fait aussi.
12. OK donc je n'ai pas de photos pour le câblage, mais tout ce que vous avez à faire est de taper sur le fil brun et le fil rouge au harnais d'ampoules Angel Eye H8. Le reste blanc se raccorde à la puissance du faisceau de croisement sur le ballast au xénon. Une fois câblé, vous devez réinstaller temporairement et mettre la voiture sous tension pour voir si cela fonctionne.
13. Placez le couvercle du phare autant que vous pouvez sur le boîtier et re-cuit.
14. Appuyez fermement sur les deux moitiés ensemble. Assurez-vous que les onglets sont bien verrouillés. Ensuite, visser la vis du logement d'angle.
15. Tout devrait être fait maintenant. Tout ce que vous avez à faire est de réinstaller les phares! Assurez-vous de réaligner les phares la nuit.
Pour toute question ou aide, pm moi!