103.1KVIEWS
21REPLIES
30APPRECIATES
07-18-2026LAST POST
So if any of you are SOL where your vehicle production dates falls OUTSIDE of SI B61 26 16, then read on.

My vehicle was showing classic symptoms of a bad battery cable, shook the fuse box and everything came to life. See my thread:

http://www.m3post.com/forums/showthread.php?t=1356590

Here's a simple DIY, finally documented. Have to say thanks to dmppdx's user avatardmppdx for pointing everyone including myself in the right direction.

Let's get started (FYI, I am unsure of the Torx sizes, any corrections I will edit them later):

What you need:
10MM socket
3mm? Hex
Torx in various sizes (Don't remember the exact ones)
Phillips screwdriver
Hydraulic Crimp
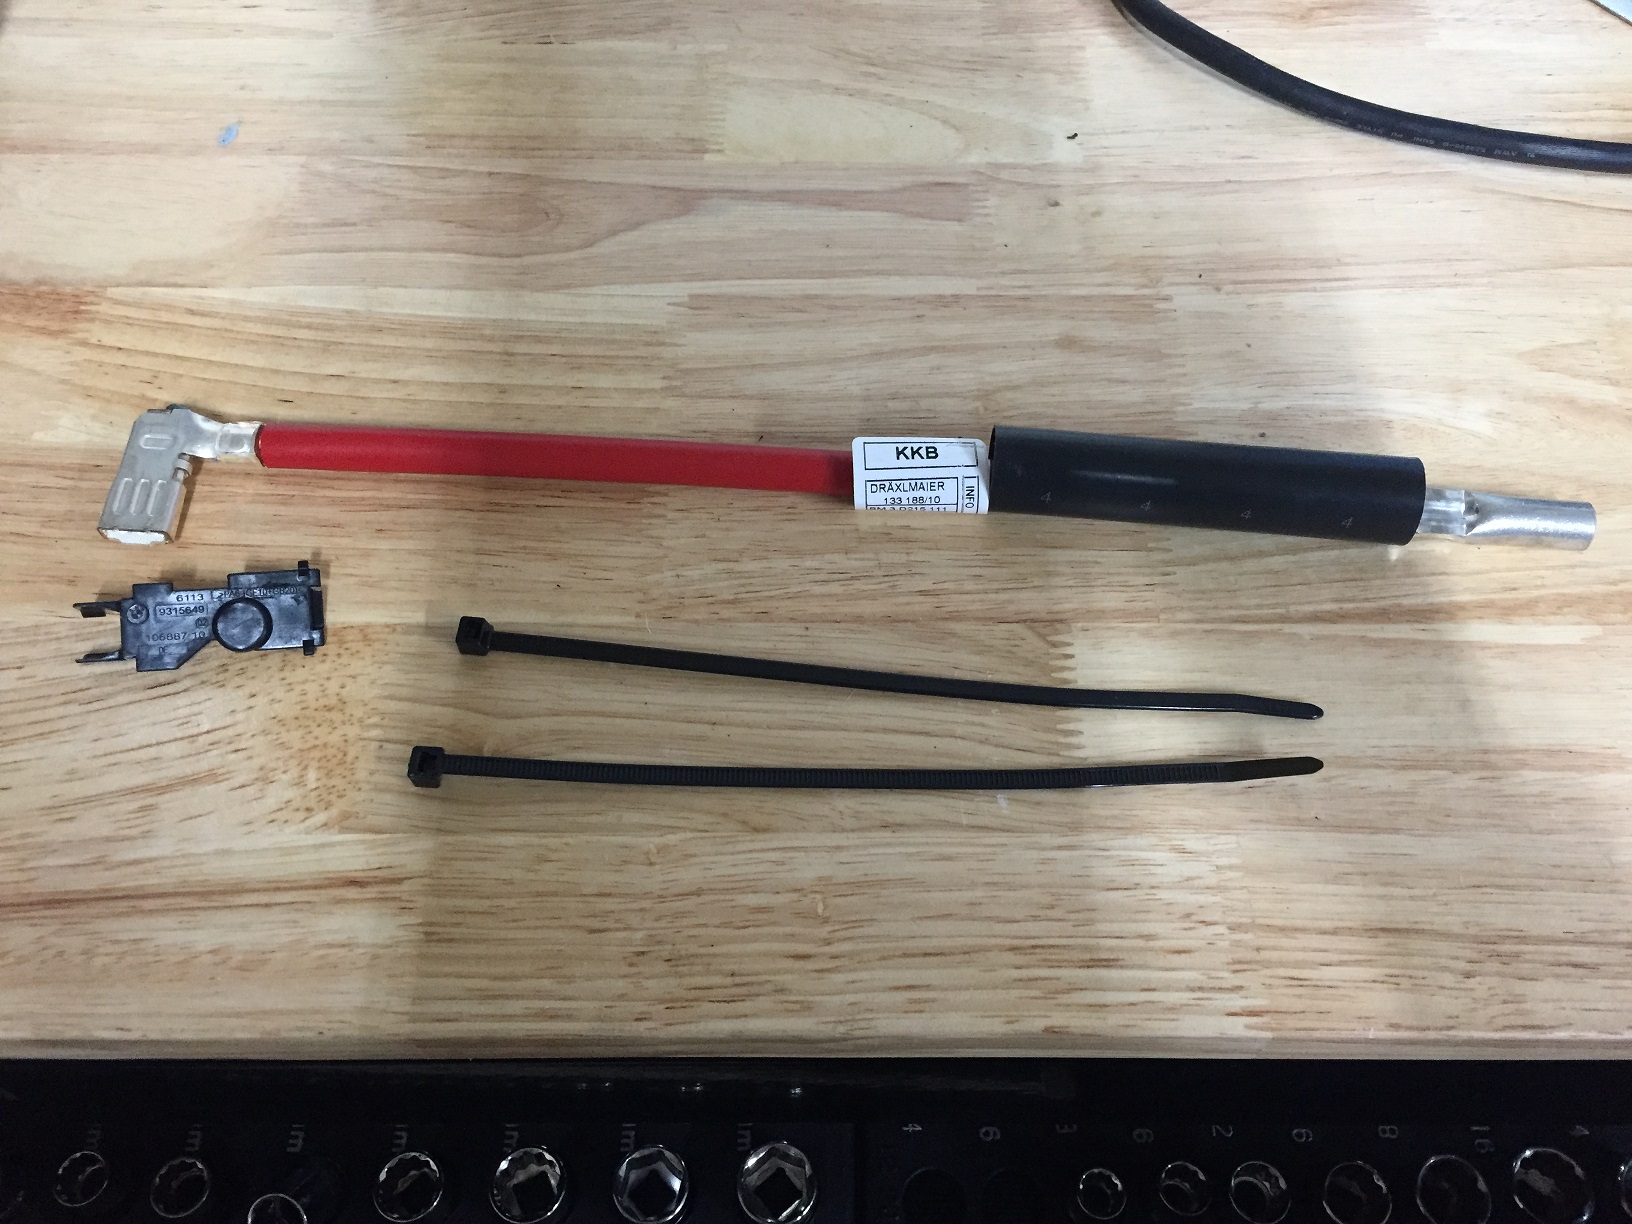
And, of course, the cable 61129312133
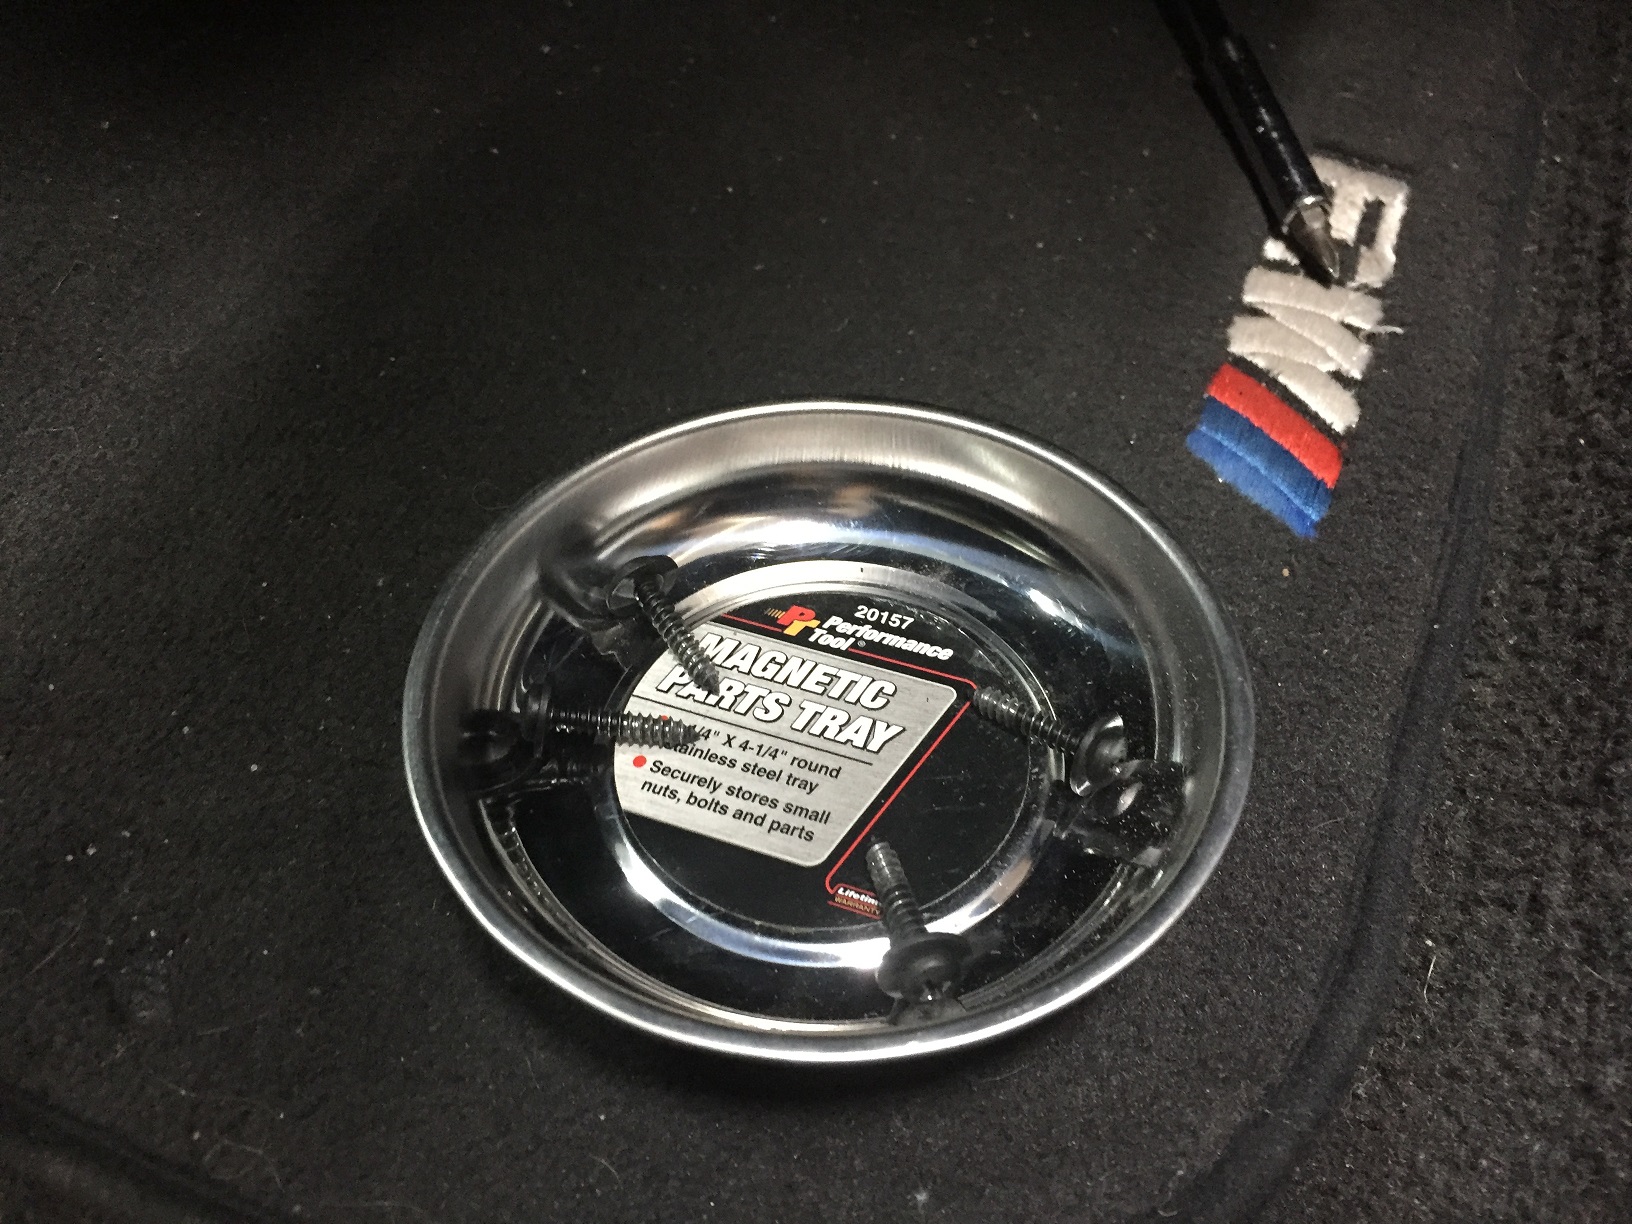
OPTIONAL: Magnetic tray holder, makes life easier.

Steps:
1) Disconnect the battery and leave your trunk open. If you have split seats, I highly recommend you fold them down just in case :)

2) Remove cup holders. Use a trim tool to gently pry open the compression tabs

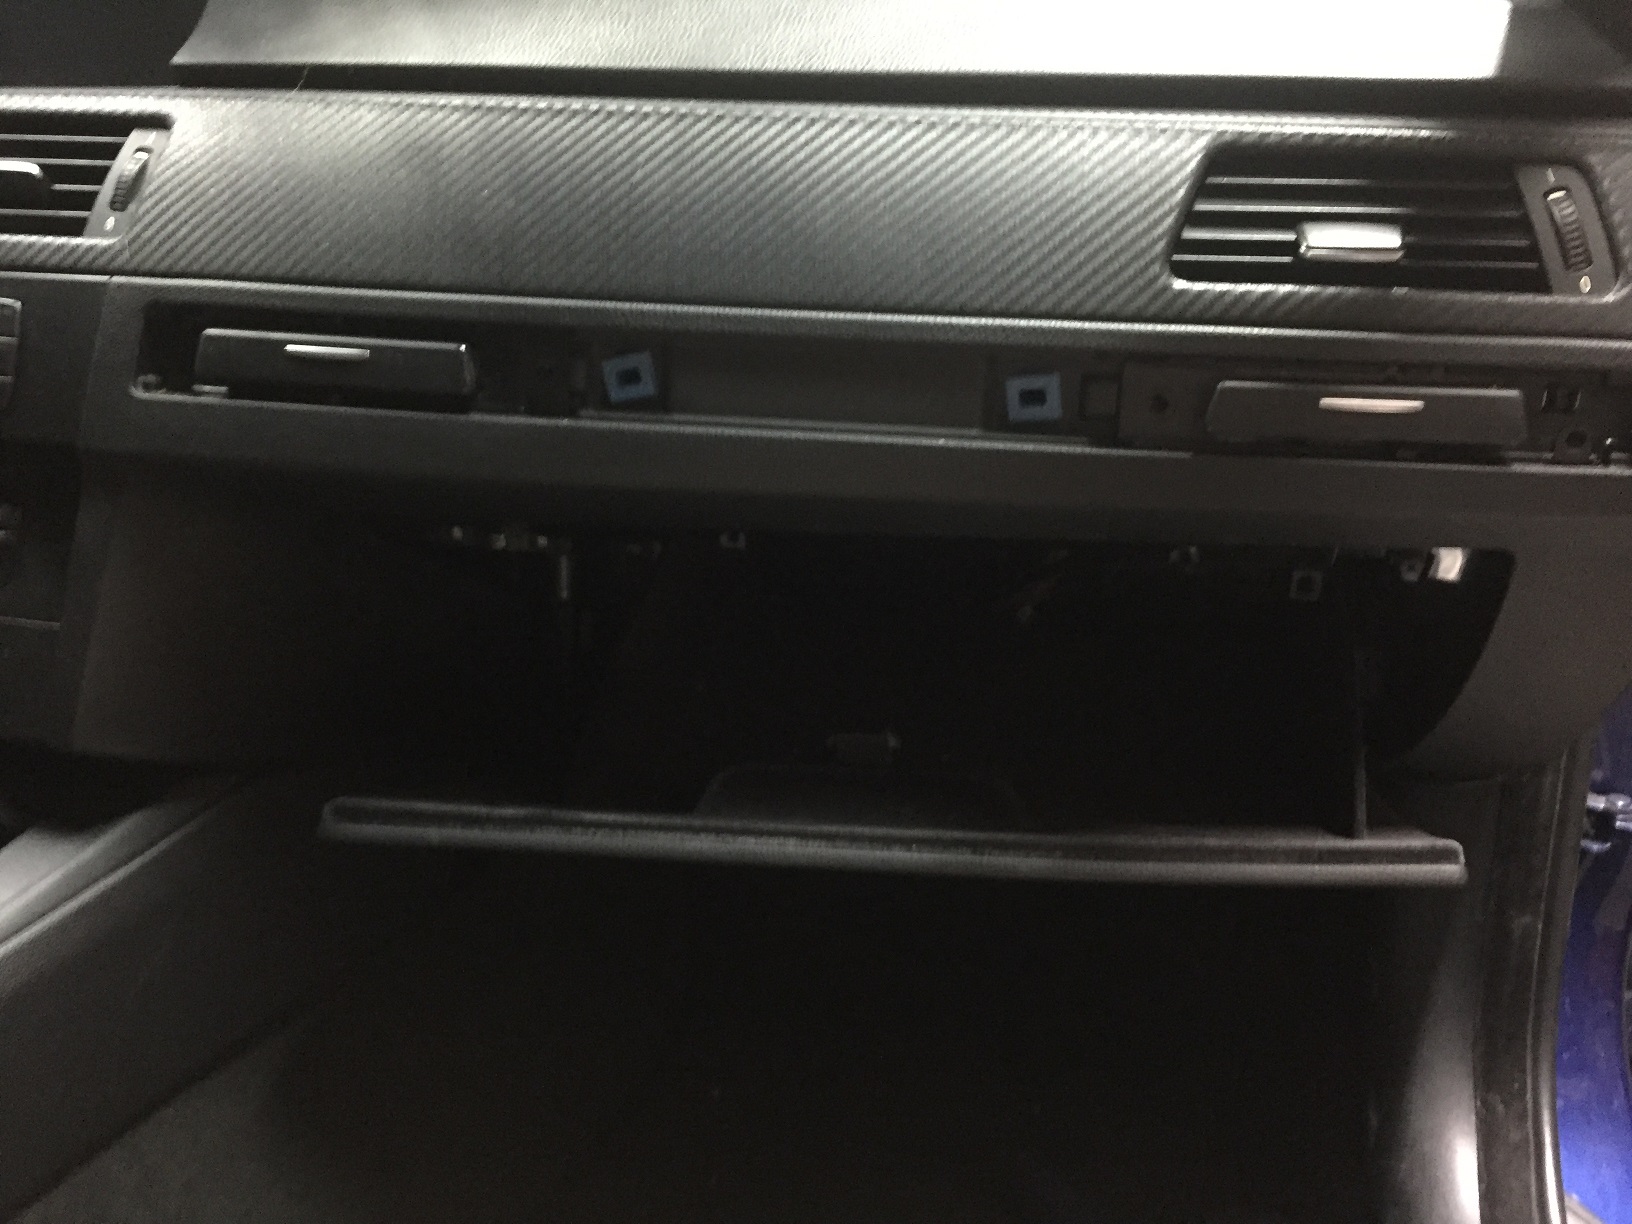
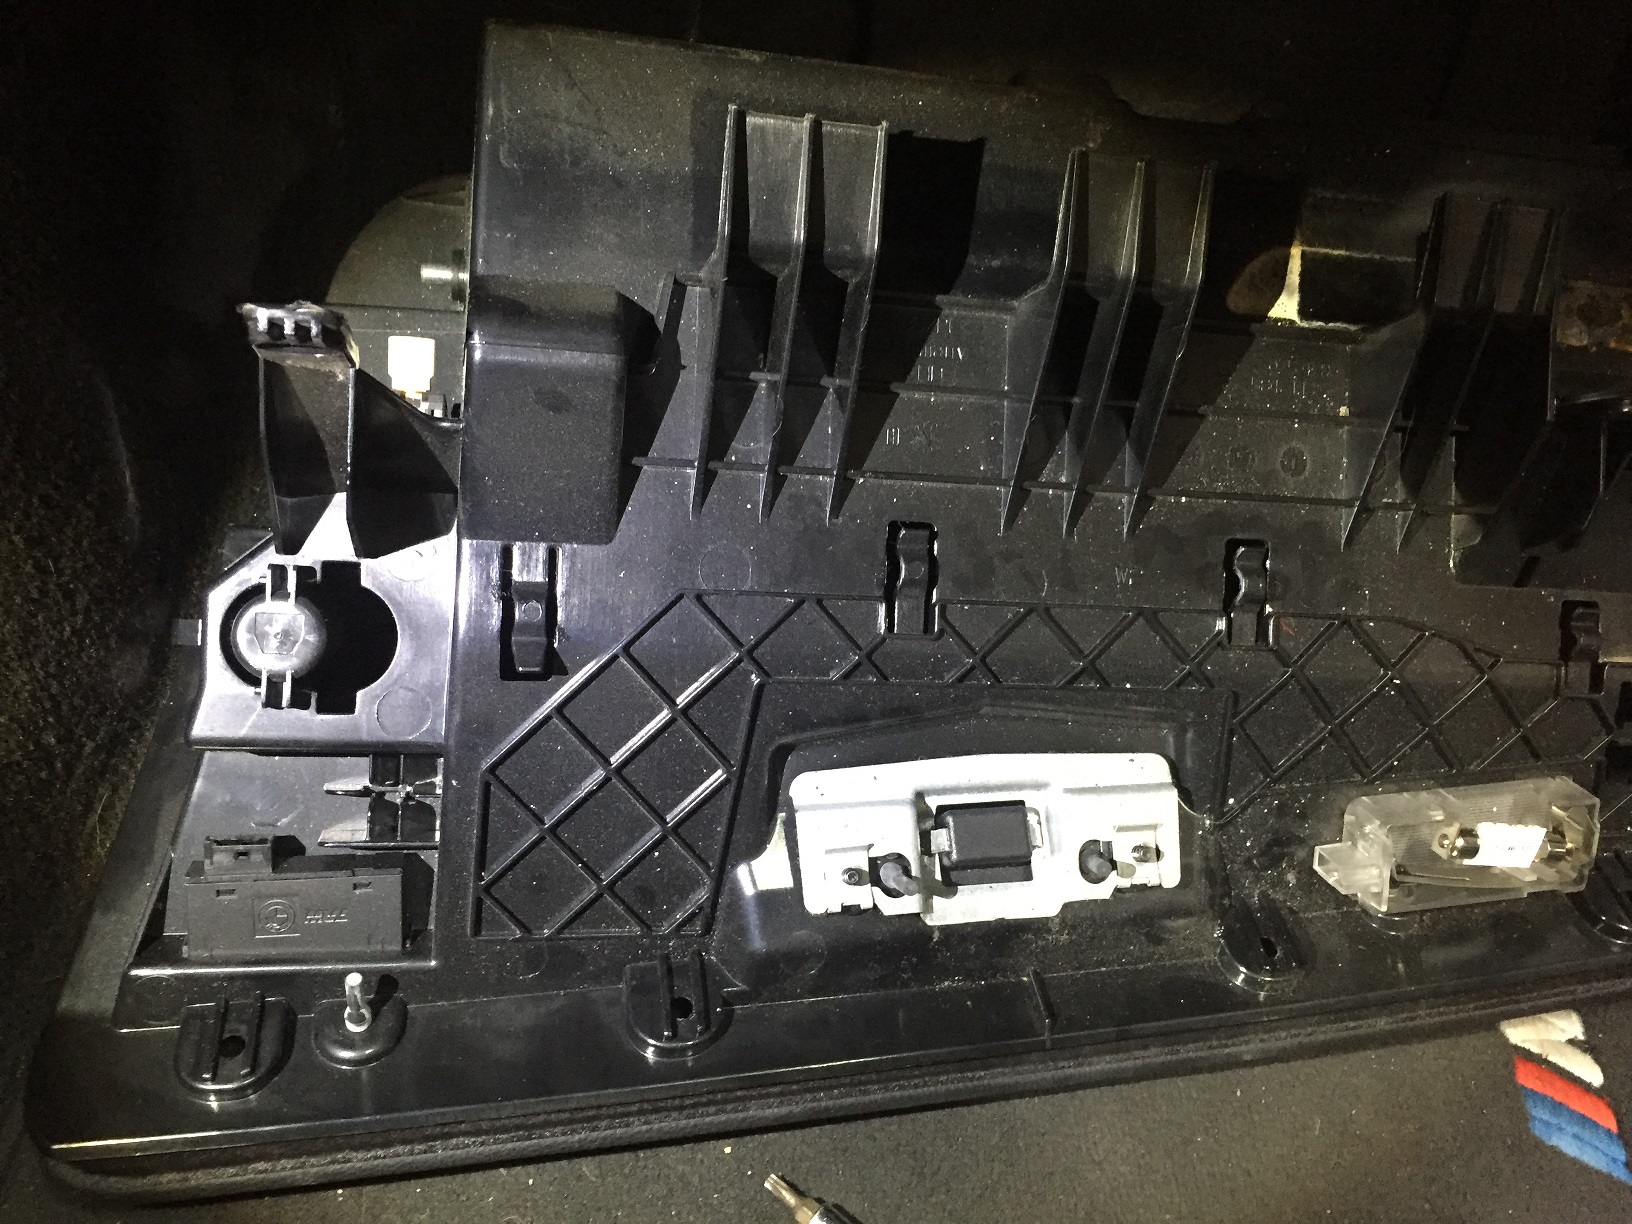
3) Remove glove box. There are 6 T25 bolts, four at the top, and two on each side. Caution, watch out for the 3 connections (USB, light, & trunk)

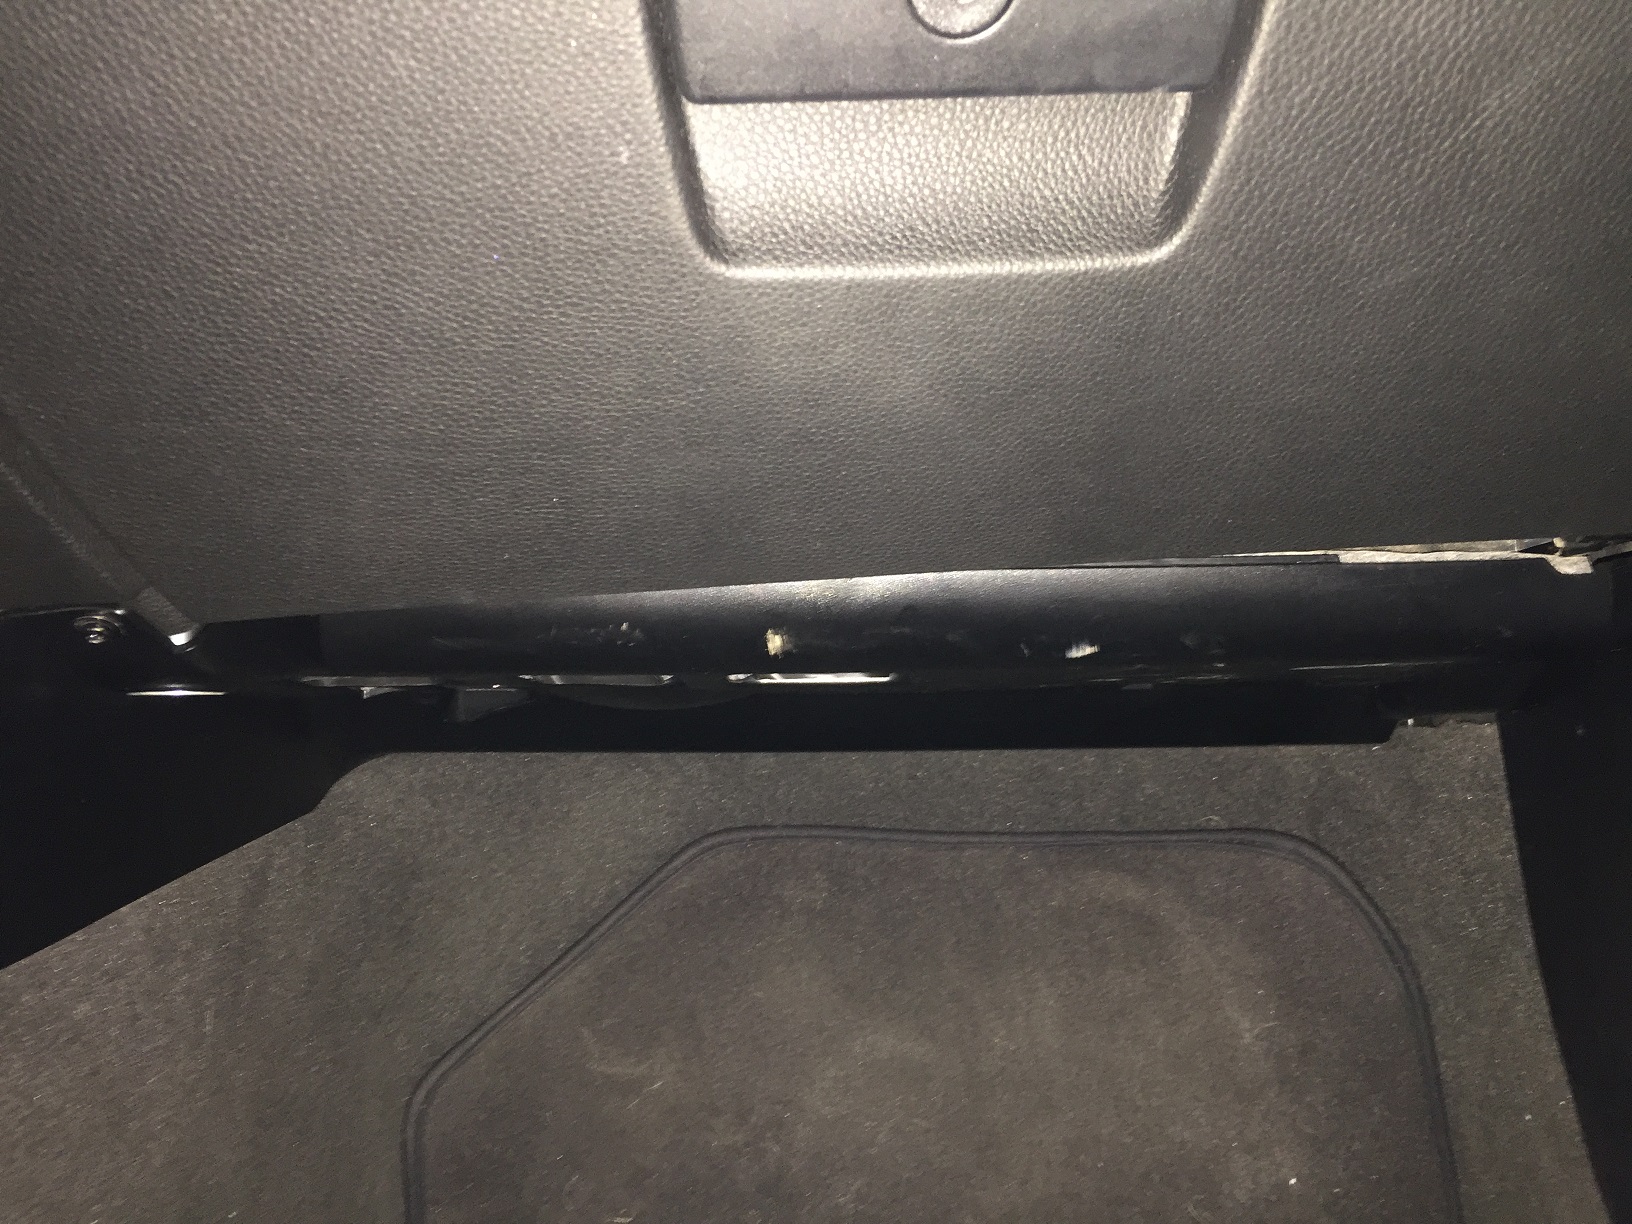
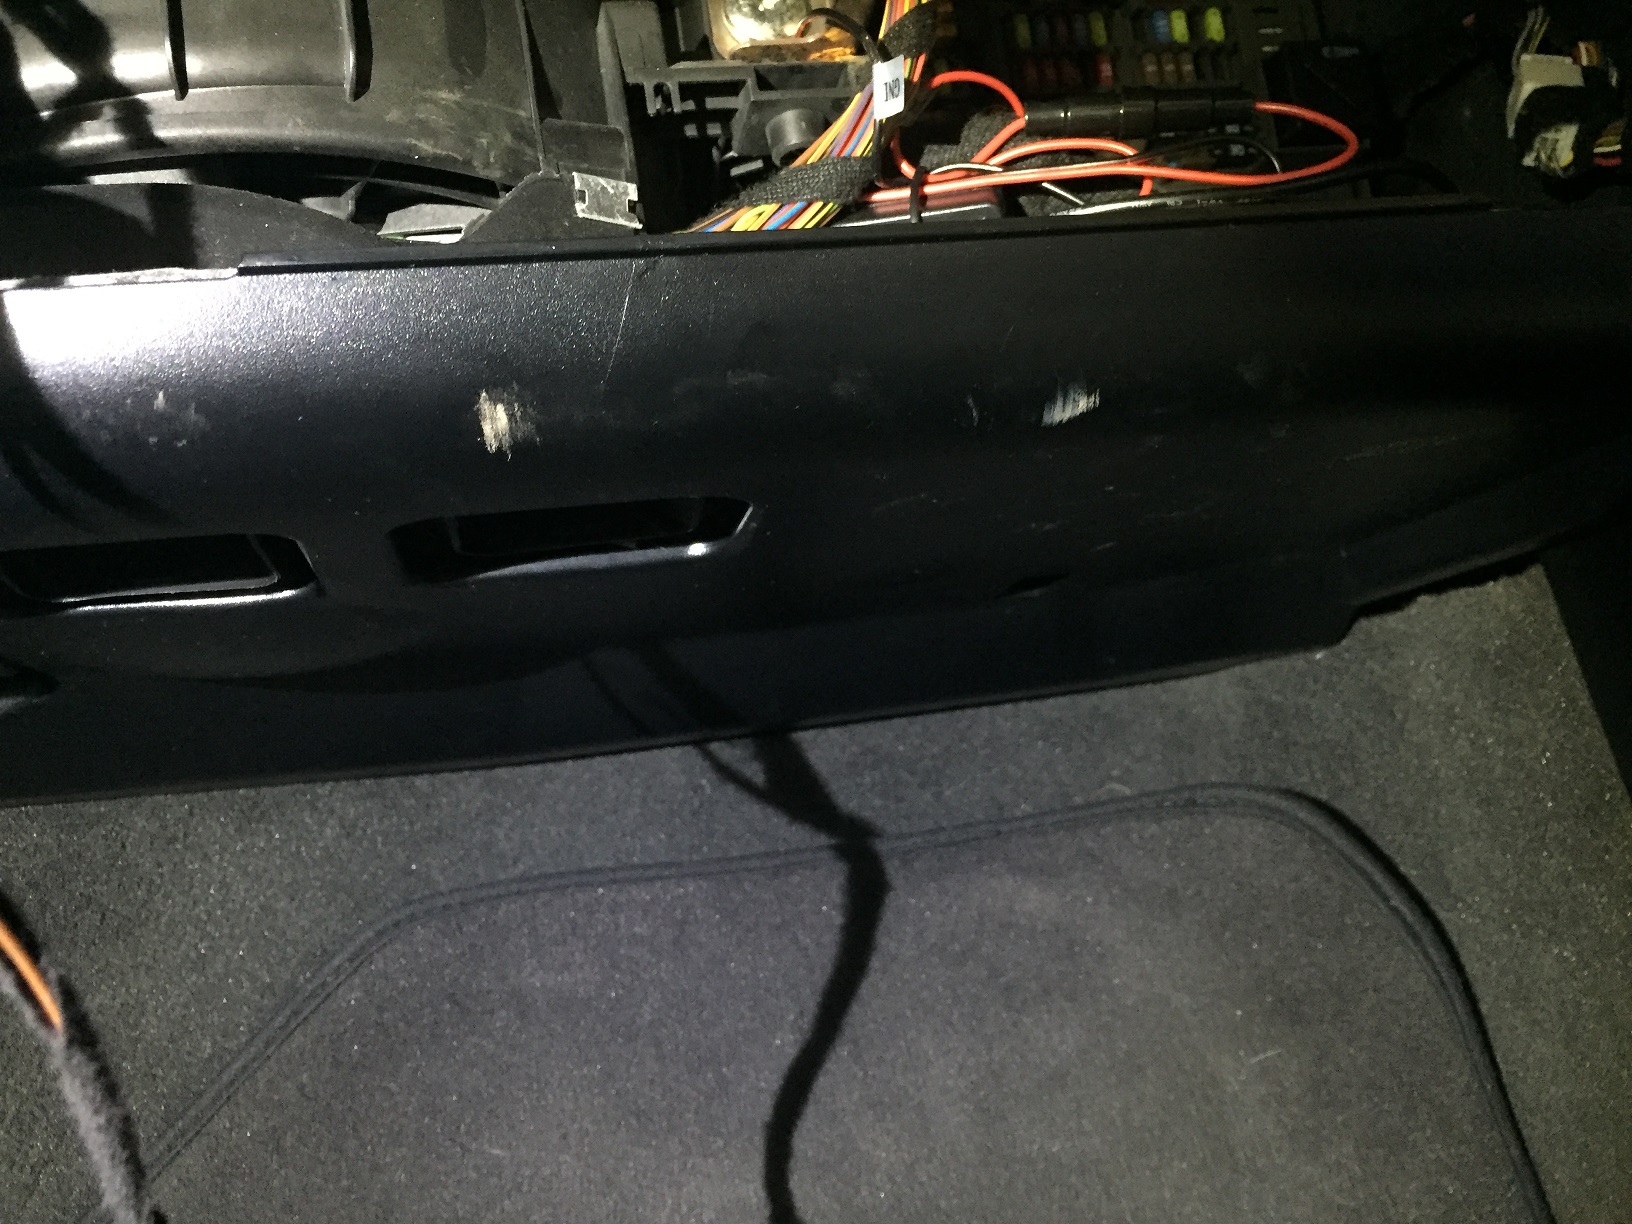
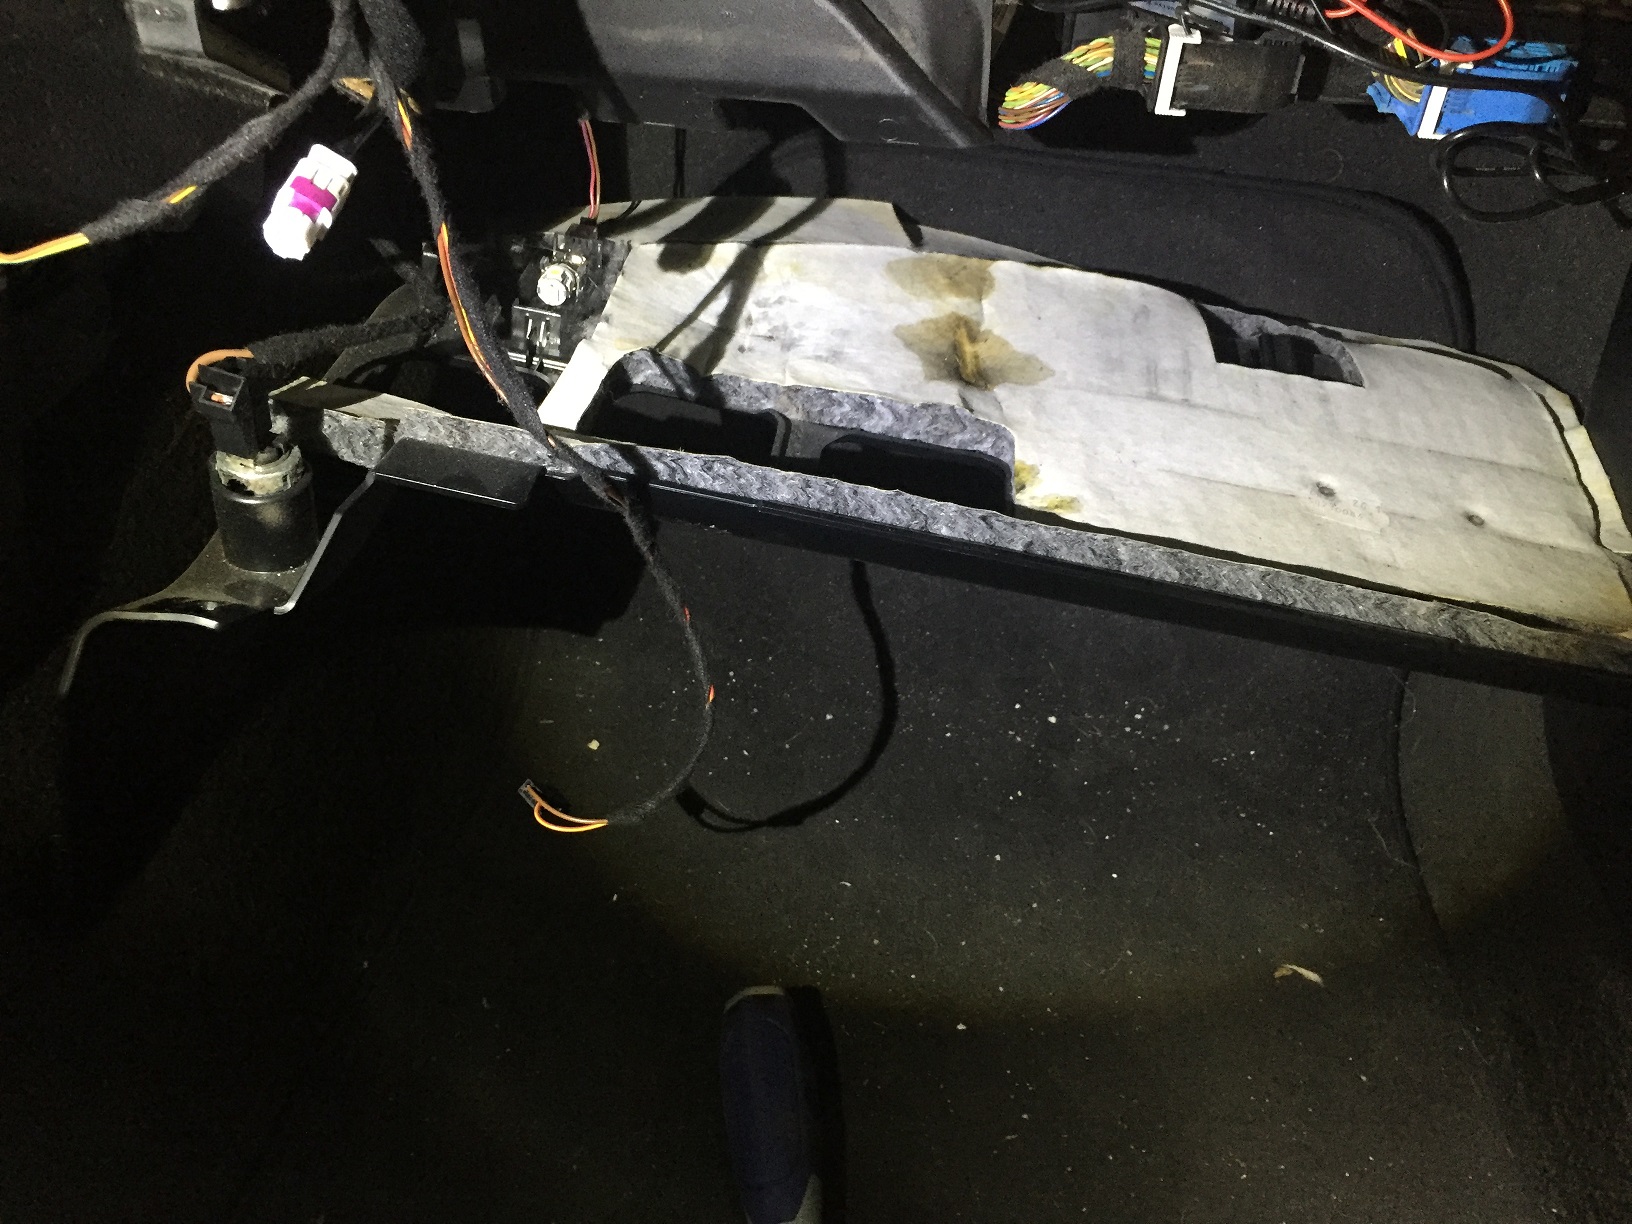
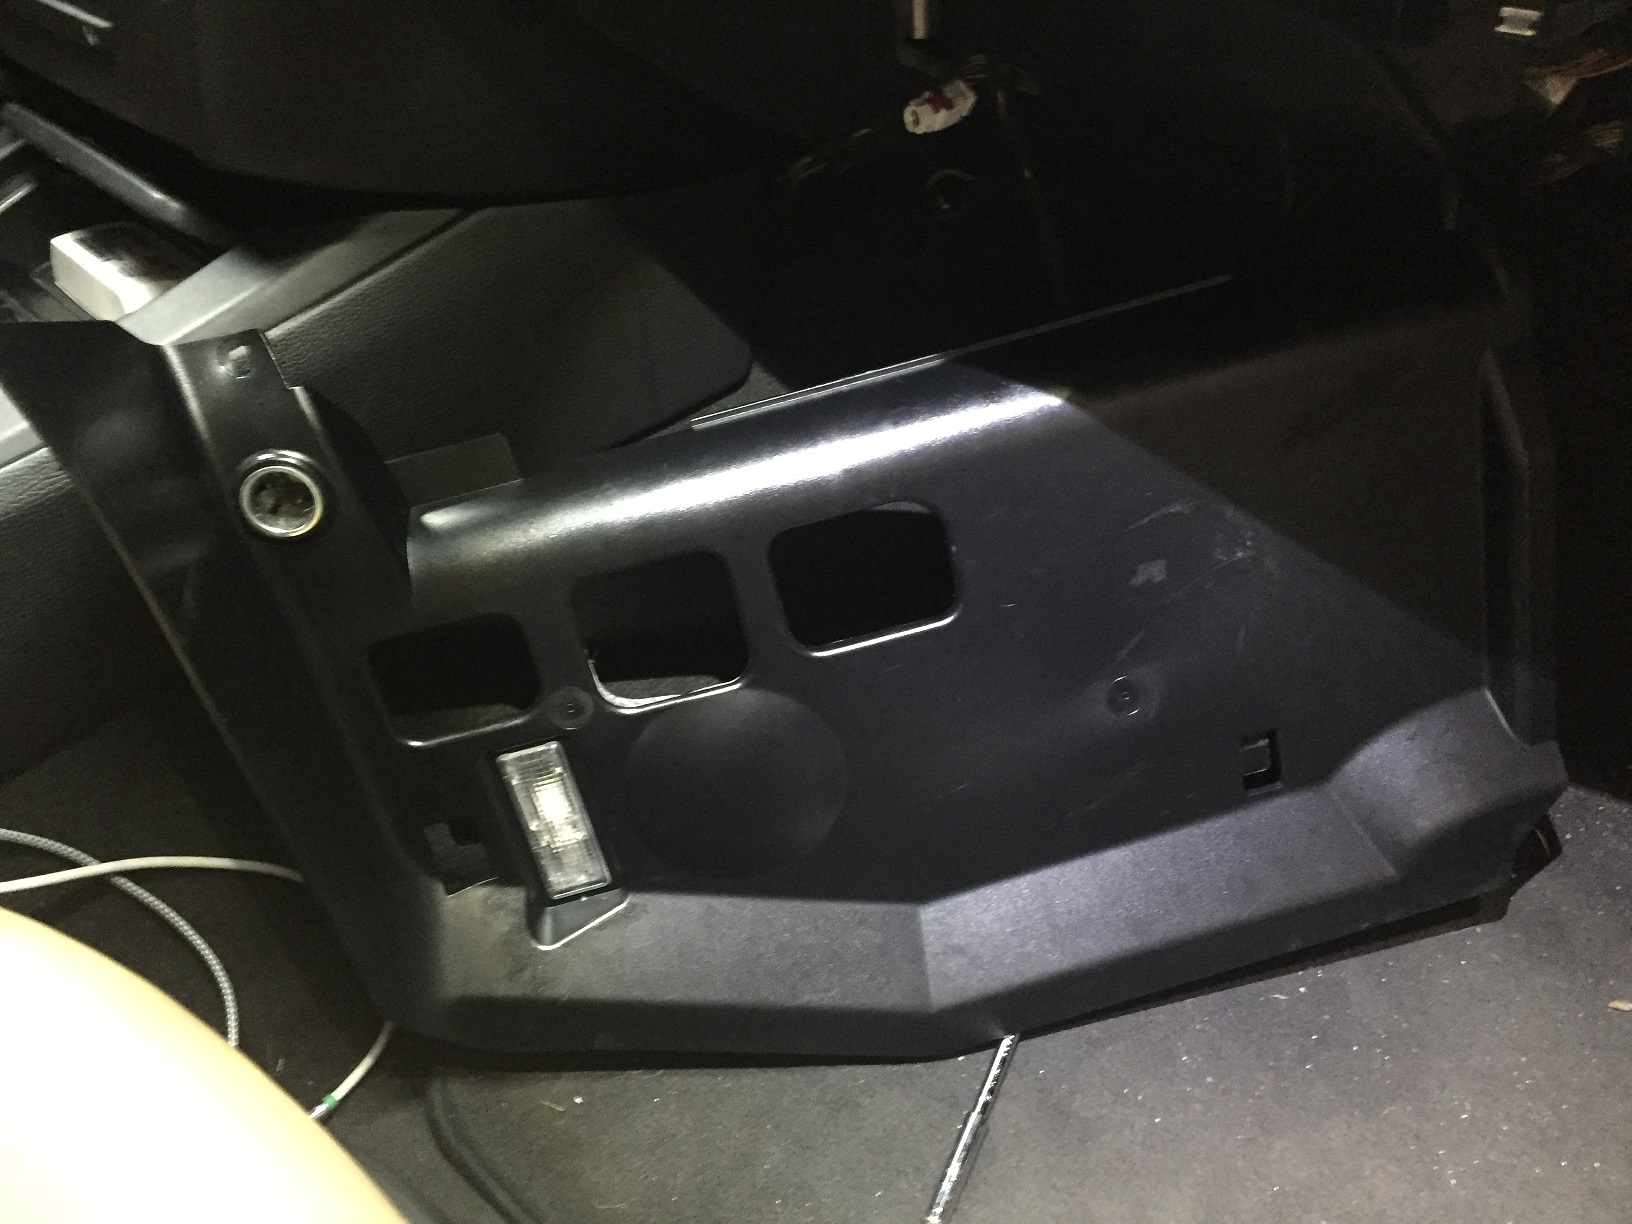
4) Remove the underpanel. There are 2 T25 bolts, one on each side.
Sidenote: I had no idea I had an extra usable cigarette lighter lighter :D
Disconnect the connectors attached to the under panel

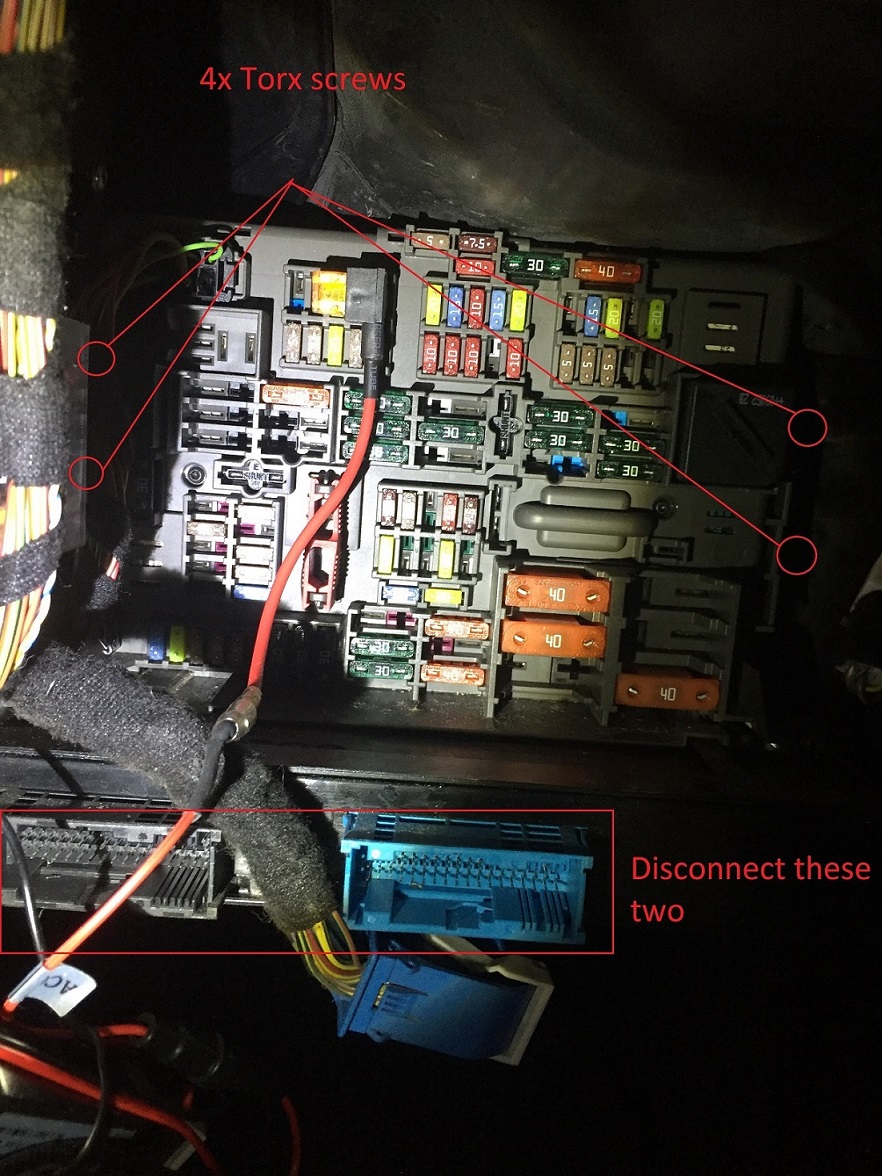
5) Disconnect the JBBF connections on the front to make more space. Push down on the connection and the white flip things should automatically slide over.

6) Remove the 4x Torx bolts, two on each side, of the fuse box. They're a challenge to get to, especially the ones on the left because it is blocked by the blower assembly. Recommend a flex screwdriver if you have one. IGNORE the two small Torx bolts right on the fuse box. Once all 4 torx bolts are removed, the fuse box should easily dislodge

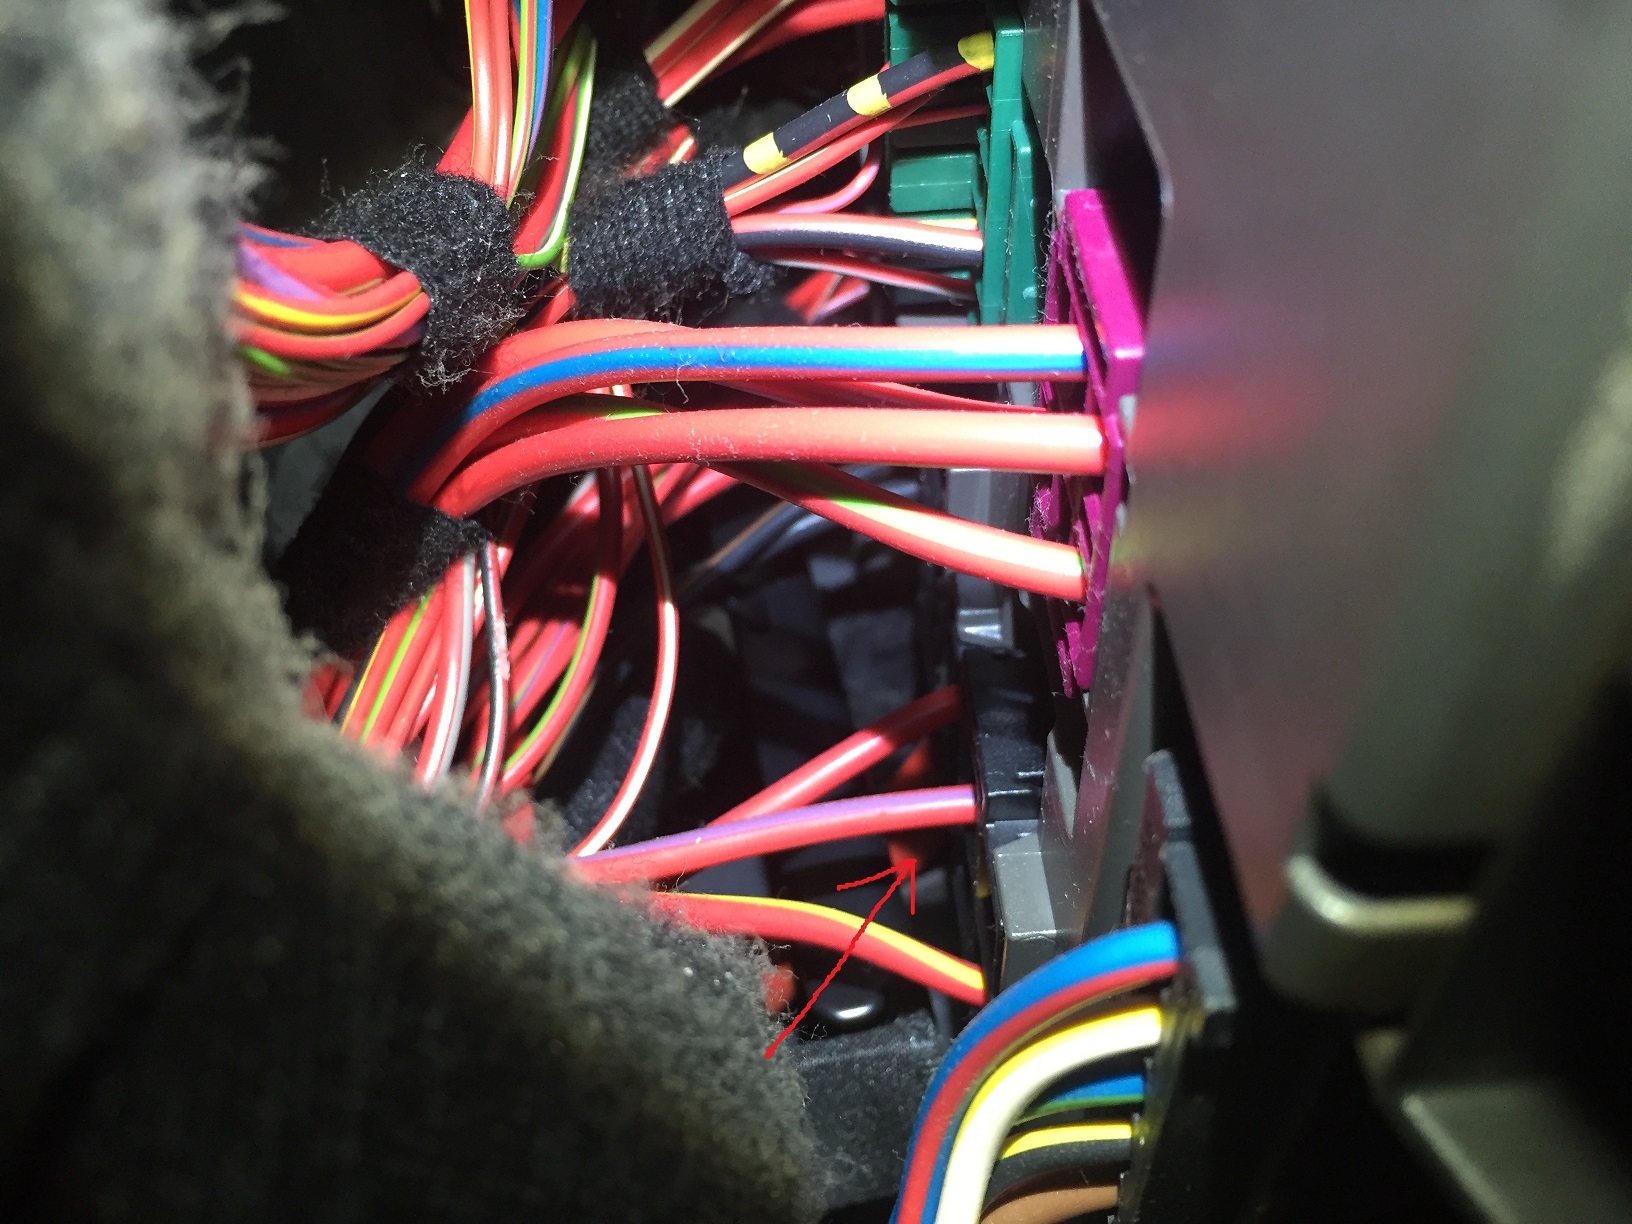
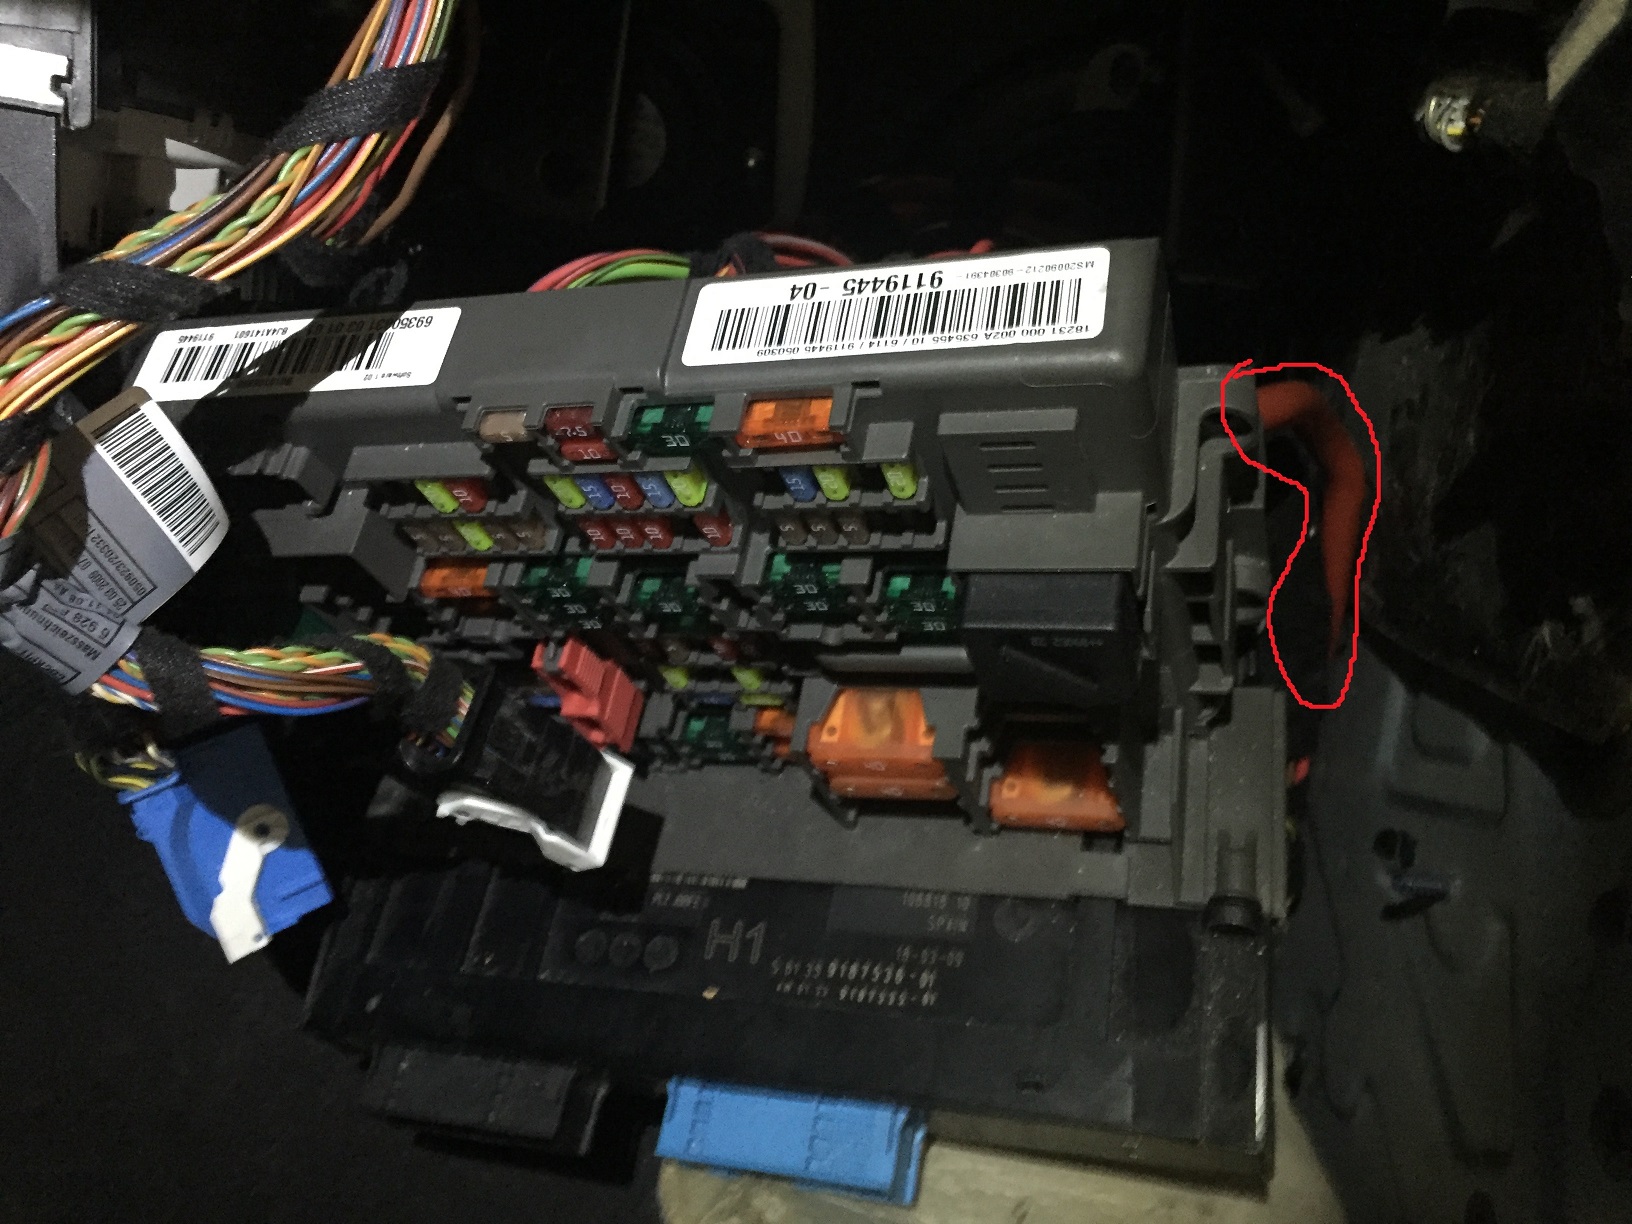
7) On the rear, look for zip ties and cut them. This will enable you have the working space needed to cut and crimp. Make note how the red battery cable is routed so that the fuse box can easily go back in once you're done.

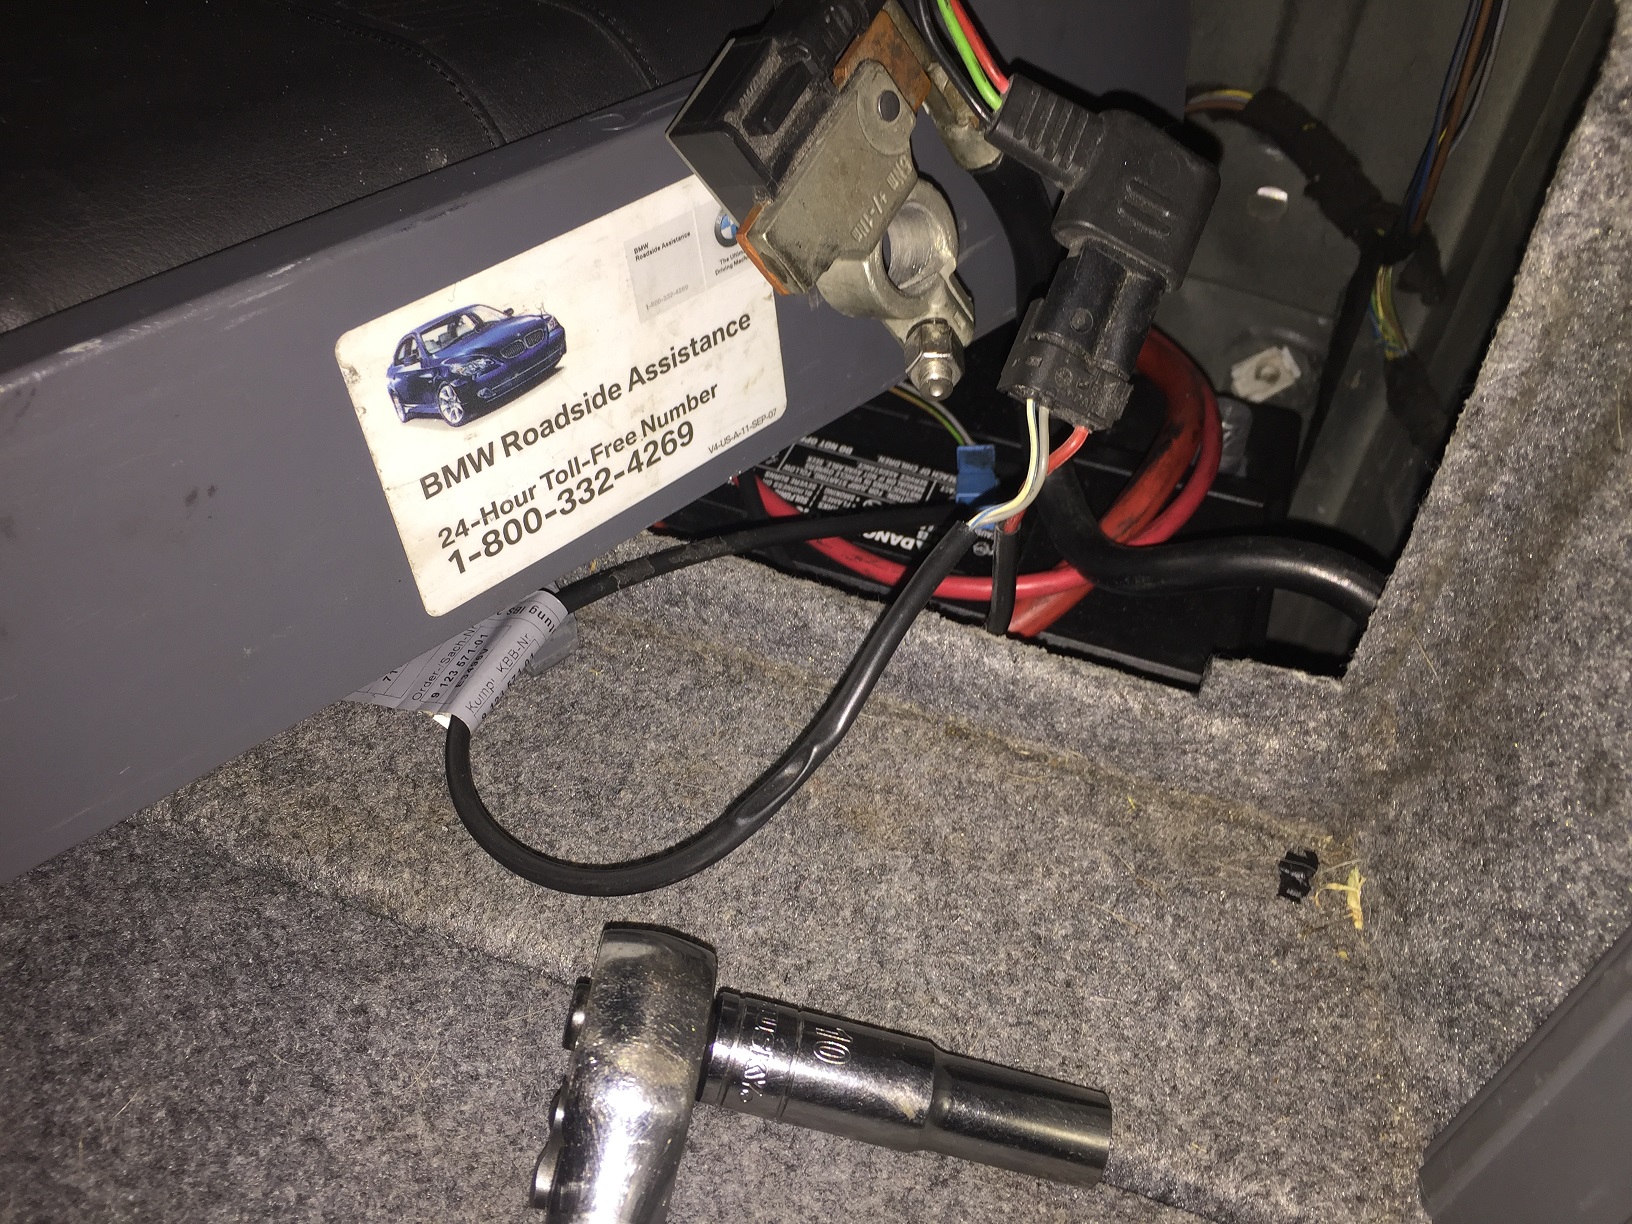
8) At this point, you should be able to pull the fuse box down, exposing the back of it. Unplug the battery cable. Grab your new one you just bought that has the hex screw and make appropriate length cut. I just sliced the head off of the old wire. I forgot to grab a pair of wire cutters so I used a sharp scissor to cut the jacket and then the copper wires.

9) Take your hydraulic wire crimp (I used 0 AWG adapters) and crimp the newly cut existing cable with the replacement one. I used a small BBQ lighter to heat the heatshrink (carefully :lol:) Insert the connector into the fuse box and tighten the hex bolt

10) Reassemble everything back and make sure your fuses didn't come loose while you were wrestling the box. Reattach the battery and grab yourself a drink.
Attached imageAttached imageAttached imageAttached imageAttached imageAttached imageAttached imageAttached imageAttached imageAttached imageAttached imageAttached image
Post referenced by WingZeroX5 in Help! Car is COMPLETELY dead - Not battery related 02-24-2017
Can't believe the bmw dealer quoted you $2000 but I guess they would have guided a new cable harness from battery connector to junction box without any cut.
Would have been good to show a picture of your hydraulic crimp tool. To get an idea.
JoeM3SSII wrote
Can't believe the bmw dealer quoted you $2000 but I guess they would have guided a new cable harness from battery connector to junction box without any cut.
Would have been good to show a picture of your hydraulic crimp tool. To get an idea.
Yeah they wanted to run an entirely new wire. 11hrs of labor @ $199/hr plus the $120 part

It's the one from harbor freight
Attached image
Thread referenced by WingZeroX5 in Car Died While Driving 03-07-2017
Thread referenced by WingZeroX5 in M3 Shut Off While Driving 03-10-2017
Wow. The screw on the top of the left side of the fuse box is no joke. Anyone who is able to get that out must have some kind of magical powers.
So Glad this post came up. Been trying to piece together how to do this for months now. Could you explain how to remove the B+ wire from the back of the fuse box? It seems to have a plastic cover over it.
MTROUBLE93 wrote
So Glad this post came up. Been trying to piece together how to do this for months now. Could you explain how to remove the B+ wire from the back of the fuse box? It seems to have a plastic cover over it.
Mine just popped out with a flat screwdriver. The new kit should come with one so if you have to pry it open and destroy it, the new one should fit right in
Thread referenced by WingZeroX5 in battery cable recall? 05-31-2017
I had to do this repair yesterday as my cable went bad on Saturday. The write-up is great and very helpful so thank you for posting it.

The top-left screw is difficult to get to and I found that the easiest way to do it was with a 1/4" drive universal, an extender going out to the ratchet and a deep socket with the small Torx T20 adapter in the other end. The screw is surprisingly far behind the blower bracket that is directly in your way of everything that you try to do.

Harbor Freight also sells a cheap cable cutter that worked perfectly in cutting and stripping the cable:

https://www.harborfreight.com/10-in-cable-cutters-61422.html

This was one of those jobs that took me about 2 hours the first time and could be done in significantly less time if I had to do it again.
Thread referenced by WayneM3 in Fusebox behind glovebox - How to Remove Connectors? 10-26-2017
Thread referenced by eatsleepboost in Engine died while driving, bad battery or altenator? 11-06-2017
Nice DIY. I used this as a guide, thank you. Couple of things I learned:

- For removal of the 4 screws that hold the fuse box in place (step #6), I believe the screws are actually 3mm hex and not T20 Torx (though I can't find official documentation).

- For anyone who doesn't already know this repair is now covered for free under a recall.

- There are also two "snap in" tabs on the two upper screw holes that need to be pried out of place before you can pull the fuse box towards you.

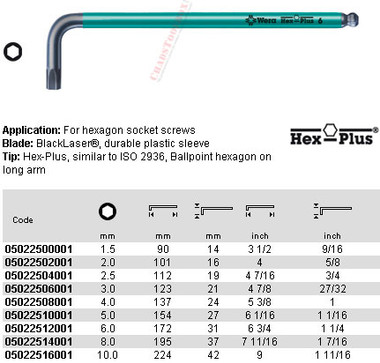
- I used the long side (123mm) with the ball end of the 3mm hex wrench pictured below to just barely reach the furthest screws with a straight shot, no extensions or adapters needed. Magnetize the end to better manage the screws as you uninstall/re-install them.

Image hosted on: cdn3.bigcommerce.com

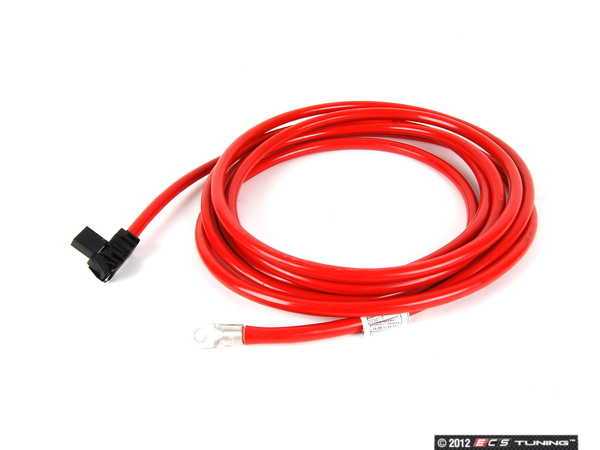
- If you choose to replace the entire cable (BMW Part# 61129269907) from the fuse box to the battery in the trunk, in my E92 coupe, the replacement cable ended up being about 6" longer than the original.

Image hosted on: c1552172.ssl.cf0.rackcdn.com
Theodore wrote
- For removal of the 4 screws that hold the fuse box in place (step #6), I believe the screws are actually 3mm hex and not T20 Torx (though I can't find official documentation).
I am 99.99% sure it is a T20 and not a hex. I did this recently (to correct the horrible recall work done by my local dealer) and looked at all the screws that came out.

The dealer's handiwork:
Attached image

There were several things the dealer failed to do in accordance with BMW's instructions for the recall. They did not use the zip tie to hold the repair cable to the fuse box, they kinked the battery cable (as seen in the photo), they did not insert the battery-end of the cable sufficiently into the crimp, etc. It was quite appalling.

Recall Redone:
Attached image

Because the dealer cut the cable too short, I was unable to make a loop as per the instructions. However, straightening out the cable before going into the crimp removes any stress on the crimp. FYI, I bought the BMW crimping tool to make sure the crimp was done correctly. It's a really nice crimper, but very expensive.
Theodore wrote
- Replacing the entire cable (BMW Part# 61129269907) from the fuse box to the battery in the trunk, in my E92 coupe, the replacement cable ended up being about 6" longer than the original.
I was going to replace the entire cable as well but...take a look at the date of manufacture of the replacement cable. Both of the "new" cables I inspected (from 2 different dealers) were manufactured in 2012, which precedes the date of the first recall, I believe. Also, if you inspect the fuse box side fitting on the new cables and your old cable, they are the same. Compare them with the fitting provided on the repair kit, and it is very different. It has a bolt that you need to tighten, which moves a wedge against the fuse box connector, making it impossible to work loose.

I concluded that the "new" battery cables that dealers are supplying have to have the repair kit installed on them anyway. Because of that and because it was going to be very difficult to remove the old cable and install the new one, I decided to just install a new repair kit.
Post referenced by rantarM3 in Recall Notice - Power Supply System 09-10-2019
rantarM3 wrote
There were several things the dealer failed to do in accordance with BMW's instructions for the recall. They did not use the zip tie to hold the repair cable to the fuse box, they kinked the battery cable (as seen in the photo), they did not insert the battery-end of the cable sufficiently into the crimp, etc. It was quite appalling.
That's motivation to DIY.
rantarM3 wrote
Also, if you inspect the fuse box side fitting on the new cables and your old cable, they are the same. Compare them with the fitting provided on the repair kit, and it is very different. It has a bolt that you need to tighten, which moves a wedge against the fuse box connector, making it impossible to work loose.
Great info, I was not aware of the "additional screw" design before purchase. And to think that I thought BMW wouldn't sell me a new battery B+ cable with a connector subject to a safety recall.

Image hosted on: dyw03owr7vs3n.cloudfront.net
rantarM3 wrote
I bought the BMW crimping tool to make sure the crimp was done correctly. It's a really nice crimper, but very expensive.
Can you post a photo? None of the vendors have an image online for that tool.
Theodore wrote
Can you post a photo? None of the vendors have image online for that tool.
Here you go:
Attached image

Attached image

Attached image

Attached image

The tool itself is separate from the dies (you need a specific size to perform the recall) so you actually have to order two "tools." The crimper is quite clever because you repeatedly press the handle and when the crimp reaches the proper compression, the tool releases automatically.
Thread referenced by inTgr8r in What is this fuse for? Weird problem. does everyone have this? 12-25-2017
Thread referenced by msan in Strange battery behavior, randomly dies? 01-29-2019
Sandye90m3 wrote
Ugh! I tried hard to get this through BMW, but they said "nothing we can do as my VIN doesn't show up..."

But a good read and did some analysis. We share the exact same parts with the 3 series and attached they sent out a recall thing for 2011-2013 BMW M3s, yet what happened to the 2008-2009 lol.
It's pretty straightforward diy. You only need the $120 cable. The dealership has them and comes with the shrinks, ties, and the appropriate length. All you need is a crimper from HF

Edit: don't think that's the right cable in your pic
Thread referenced by msan in anti-theft issue 08-04-2019
Thread referenced by WingZeroX5 in Recall Notice - Power Supply System 11-21-2019
rantarM3 wrote
I am 99.99% sure it is a T20 and not a hex. I did this recently (to correct the horrible recall work done by my local dealer) and looked at all the screws that came out.

The dealer's handiwork:
Attached image

There were several things the dealer failed to do in accordance with BMW's instructions for the recall. They did not use the zip tie to hold the repair cable to the fuse box, they kinked the battery cable (as seen in the photo), they did not insert the battery-end of the cable sufficiently into the crimp, etc. It was quite appalling.

Recall Redone:
Attached image

Because the dealer cut the cable too short, I was unable to make a loop as per the instructions. However, straightening out the cable before going into the crimp removes any stress on the crimp. FYI, I bought the BMW crimping tool to make sure the crimp was done correctly. It's a really nice crimper, but very expensive.


I was going to replace the entire cable as well but...take a look at the date of manufacture of the replacement cable. Both of the "new" cables I inspected (from 2 different dealers) were manufactured in 2012, which precedes the date of the first recall, I believe. Also, if you inspect the fuse box side fitting on the new cables and your old cable, they are the same. Compare them with the fitting provided on the repair kit, and it is very different. It has a bolt that you need to tighten, which moves a wedge against the fuse box connector, making it impossible to work loose.

I concluded that the "new" battery cables that dealers are supplying have to have the repair kit installed on them anyway. Because of that and because it was going to be very difficult to remove the old cable and install the new one, I decided to just install a new repair kit.
I have an unrelated electrical issue but found this post looking for info about taking out the fuse box. Are these grounding connections under the fuse box? Or is that in the trunk? I wanted to check centralized ground points like this first. Thanks!
Thanks for the DIY bro, i just had this happen to me about a month ago and finally stumbled upon your thread, and it's the exact issue with mine too. I'll be doing the DIY soon, since my car is an early 08 and not covered for the recall.
I just had this recall performed by Budd's BMW Oakville on my 2008 M3 Cabrio. The car's clock resets while I am driving, and iDrive shows power loss. My glove box is now locked also and can only be opened with a key (they did the airbag recall at the same time). Previous owner bought the car in California back in 2009 and never performed a single recall as he was not getting notices since it was a US vehicle. I should have done this darn recall myself, now I have to bring it back to them to further hack my car.
I had this done to my car last year in the US sometime in July. I got the car finally here in Europe last month and last week had some issues with my car having its alarm going off and weird starting issues. Took it to the dealer here and they found out that the 4 screws holding the fusebox to the bracket were missing, the battery cable wasn't even fastened down all the way and found out the previous dealer had used ELECTRICAL TAPE to cover the connection point on the Battery Cable. Unbelievable, I have never seen this sort of work being performed at an official BMW dealer before. It would be safe to assume not even a local Mom and Pop shop would be this sloppy. Be careful with Dealers people! I would ask them to give you photographic evidence of their work. Luckily I found the culprit before anything crazy happened...

See below what the dealer here in Europe found. Crazy a dealer had to fix another dealers poor repair.

Freakin Electrical Tape...there is supposed to be a Plastic Cover that comes with the Recall Repair Kit from BMW.

Image hosted on: live.staticflickr.com

and as you can see...the cable isn't even tightened down at all. Pretty large fire hazard and safety relevant recall and they decide to do a piss poor job. Ridiculous...

Image hosted on: live.staticflickr.com
Hi Col,
I believe I have the same or similar issue. Do you know what type of diagnosis I can do to verify if my car has the same issue.

thanks,
Ruben
Rubenhg wrote
Hi Col,
I believe I have the same or similar issue. Do you know what type of diagnosis I can do to verify if my car has the same issue.

thanks,
Ruben
shake the fuse box
WingZeroX5 wrote
shake the fuse box
How do you shake the fuse box? Not only is it deep into the glove box and hard to reach, but it's held tight by screws.
Bumping this older thread so people can be aware. It's a good DIY thread. WingZeroX5's user avatarWingZeroX5 Thanks for making this thread.
DrFerry wrote
Bumping this older thread so people can be aware. It's a good DIY thread. WingZeroX5's user avatarWingZeroX5 Thanks for making this thread.
:thumsup:

For everyone else, when I said shake the fuse box, it obviously does not shake because it's held securely...but the connection is so loose that any movement on the fuse box will likely bridge the connection.