
are0lies wroteI think so. It's not what I would have done, BUT if I hadn't seen the before, then I wouldn't have thought of making it lighter. Excellent.Is this any better?


are0lies wroteI think so. It's not what I would have done, BUT if I hadn't seen the before, then I wouldn't have thought of making it lighter. Excellent.Is this any better?
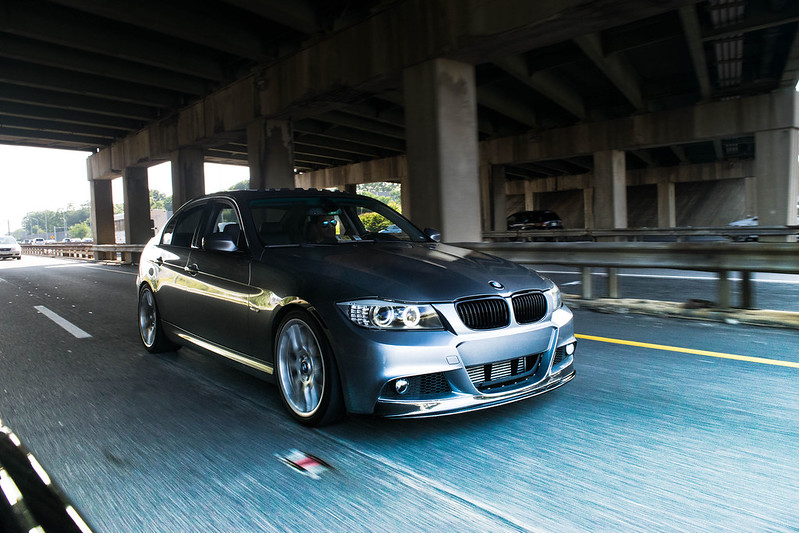
are0lies wroteNo. The car has no tints and it looks fake, the window needs reflections.Is this any better?
recycledAlva wrote
I went out and bought my first camera yesterday. So my experience is 0. But it was fun taking a few photos and doing a bit of post. Any tips and tricks are welcome!

 What color is that?
are0lies wroteAs I said at first, you have to clone it out if you want to get a good result. No use in doing that as the image won’t be used for anything anymore. The easiest solution to cover it up a bit is just to use curves on it but as I do this for practice it makes no sense in doing that.Reflections.
are0lies wroteI was just saying the edits you did were not good enough as you need to clone it out to make it look decent and I didn't bother doing it myself the quick way as it doesn't look good and the image won't be used anyway. I just shoot these to practice my post processing on stuff outside what I usually retouch but to remove the reflections in a good way takes too much work as I just posted it on Instagram. I also said I didn't have a polarizer on the lens I took this photo with - hence the reflection.What are you talking about.
are0lies wroteBest windshield, by far, so far.Reflections.
dcstep wroteWell, since it is the only edit its not that hard...Best windshield, by far, so far.

are0lies wroteNot really the best way to insert another interior into the car. It is better to just clone it out. But for the 100th time, for real work we use polarizers so this won't be an issue, this was just a test for personal use.I was only showing a method I would have used. But as I mentioned, it is best to be more careful with your shoot, instead of dedicating too much time in post-processing. And I'm sure you already use RAW, files for post-processing.
P1et wroteLOL.Are we really arguing about reflections in a windshield? My opinion: editing photos has gone too far. If the reflection was there in real life, then leave it there. If you don't want a reflection, then take the photograph in such a way that you wouldn't have a reflection in the first place.
dcstep wroteOops. Missed that part.LOL.
Maybe you've lost your way. This is a post-processing thread.

sirdaft1 wroteAny good tutorials/tips for adding the fake sun?One quick tip for any newer photographers. Shoot in RAW every opportunity you get and spend time getting to know Lightroom. If you have questions, feel free to ask. Those two tips should be prerequisites for anyone passionate about upping their photo game
Before (thanks SmugMug for low res versions):
After:
Antetokounmpo wroteI like this method:Any good tutorials/tips for adding the fake sun?
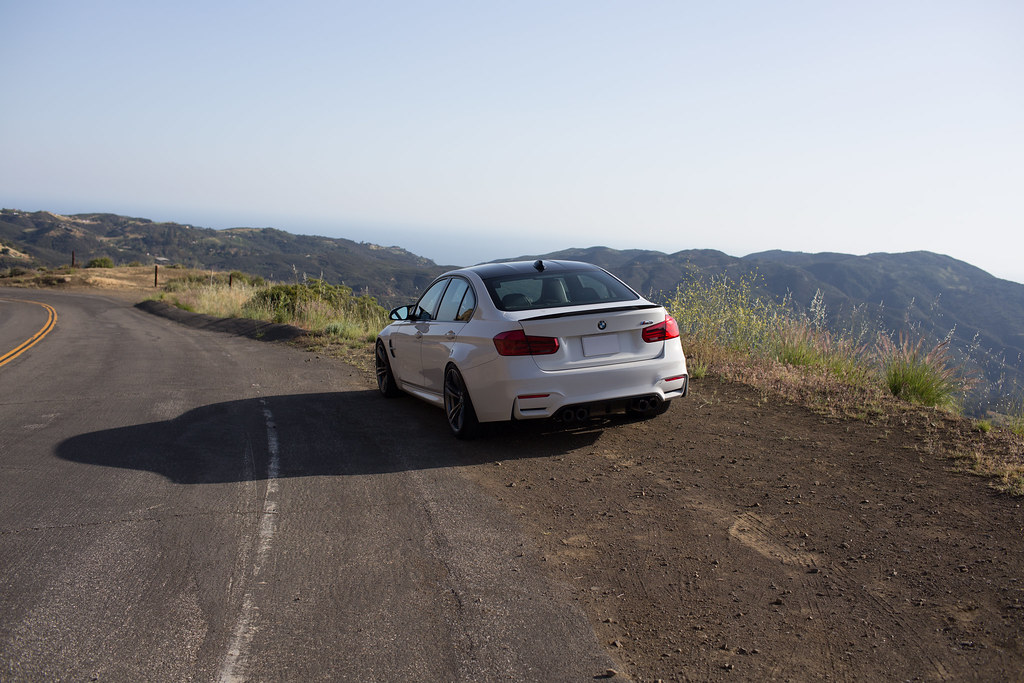 Lunch Break - RAW by JMG, on Flickr
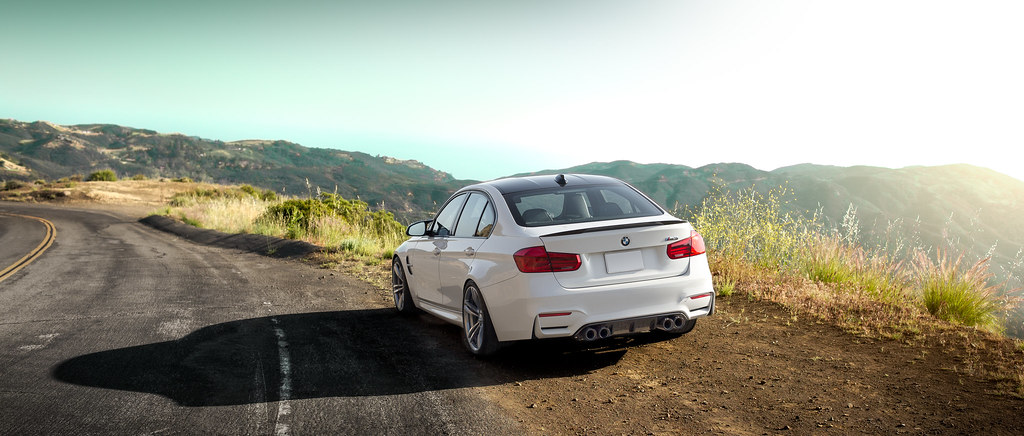 Lunch Break V2 by JMG, on Flickr
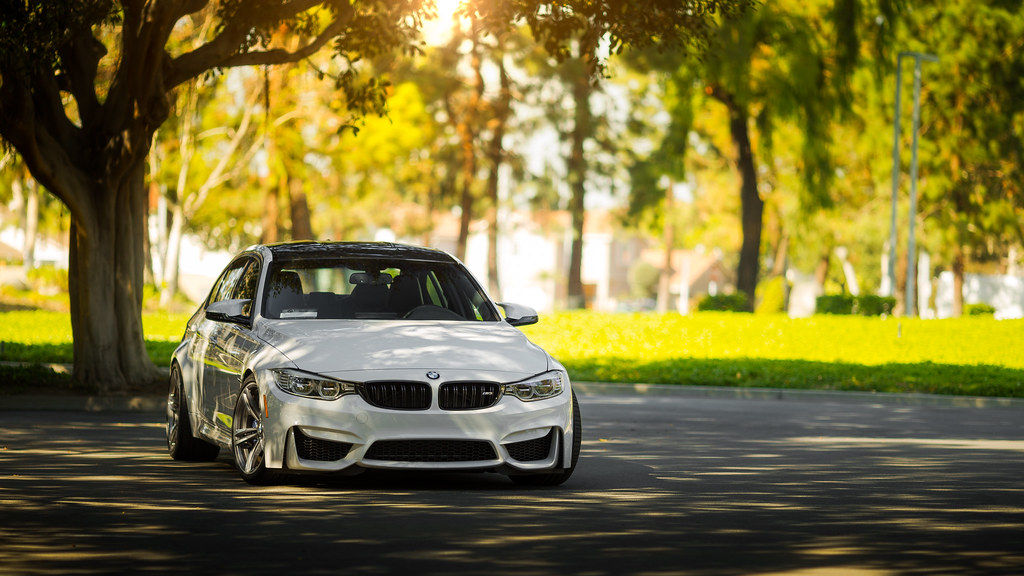 Fall by JMG, on Flickr

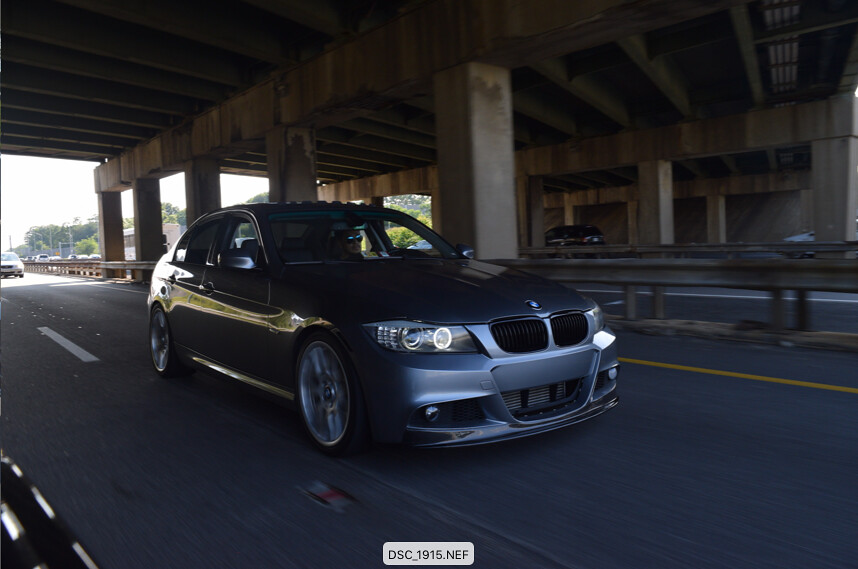 Screen Shot 2017-08-02 at 7.32.54 PM by reynaldo reynaldo, on Flickr
 DSC_1915 by reynaldo reynaldo, on Flickr
jmg wroteI prefer using a radial gradient instead if just a colored brush, you get a bit more control of the falloff and it is easier to mix in colors in it. Try it if you haven't already.I like this method:
Which leaves you with a lot of flexibility in changing the color and effects. It's a good starting point. I also save the flare for use in other photos.
metrickid wroteYes, I've replaced the brush with a radial gradient, thanks for reminding me. I should also note that I made a master of this on a giant canvas so I can re-use it in other photos and scale down for the photo. That way, the gradient doesn't deteriorate.I prefer using a radial gradient instead if just a colored brush, you get a bit more control of the falloff and it is easier to mix in colors in it. Try it if you haven't already.
And also, the most important thing when adding a "new" sun is the make sure your shadows match the position of the sun. I've seen so many examples of shadows in the wrong direction and the eye picks up on that in an instant.
That wasn't a remark for your photo, just a general suggestion for everyone.
Zing wroteYour two crops make the eye go to the black part of the image, and not the girl/headphones.



