

Here's a quick edit. Feedback welcome.

1.5MVIEWS
233REPLIES
259APPRECIATES
02-16-2026LAST POST
FMLYSDN wroteI like the edit as the original was a bit over exposed. The only thing I'd do a little differently would be to keep some of that overexposure in the black wheel. I know black wheels can be really tough to photograph and get definition from anyways, but the original had a bit more definition while parts of the wheel get lost in darkness with the edit. Perhaps a quick retouch with the local adjustment brush can bring up some of that underexposure. And that's being totally nit-pickyHere's a quick edit. Feedback welcome.
 . Otherwise looks clean.
FMLYSDN wroteJust a suggestion. What I do is, make a layer of the original, then use that layer to adjust the exposure to what I want. After this, use the masking tool for that layer and then, using the brush tool, set the opacity to about 30%. Now you just paint out what looks overdone. The blacks in the original are awesome, but you added too much greys in the edit. Unfortunately, you resixed your edit, or I would show you what I mean. Here's a rough idea. Ask if you need more clarification.Here's a quick edit. Feedback welcome.
are0lies wroteI have an idea of what you mean. Here is a minor tweak. It is a little better perhaps. Bring out a bit more definition in the spokes.FMLYSDN wroteJust a suggestion. What I do is, make a layer of the original, then use that layer to adjust the exposure to what I want. After this, use the masking tool for that layer and then, using the brush tool, set the opacity to about 30%. Now you just paint out what looks overdone. The blacks in the original are awesome, but you added too much greys in the edit. Unfortunately, you resixed your edit, or I would show you what I mean. Here's a rough idea. Ask if you need more clarification.Here's a quick edit. Feedback welcome.
FMLYSDN wroteI think this one is a tad better....are0lies wroteI have an idea of what you mean. Here is a minor tweak. It is a little better perhaps. Bring out a bit more definition in the spokes.FMLYSDN wroteJust a suggestion. What I do is, make a layer of the original, then use that layer to adjust the exposure to what I want. After this, use the masking tool for that layer and then, using the brush tool, set the opacity to about 30%. Now you just paint out what looks overdone. The blacks in the original are awesome, but you added too much greys in the edit. Unfortunately, you resixed your edit, or I would show you what I mean. Here's a rough idea. Ask if you need more clarification.Here's a quick edit. Feedback welcome.
FMLYSDN wroteBeautiful!!I think this one is a tad better....
Just tweak it how you like. I use this method a lot. Another method is also the lowering the opacity on the layer, but I much prefer the method I explained because it gives you the better of both edits. Good job!!
There you go, much cleaner!
are0lies wroteThat is not a smart thing to do as you retain all the image data in that layer. So if you later on want to change something or clone something out you have image data in two separate layers.Just a suggestion. What I do is, make a layer of the original, then use that layer to adjust the exposure to what I want. After this, use the masking tool for that layer and then, using the brush tool, set the opacity to about 30%. Now you just paint out what looks overdone. The blacks in the original are awesome, but you added too much greys in the edit. Unfortunately, you resixed your edit, or I would show you what I mean. Here's a rough idea. Ask if you need more clarification.
Just use an adjustment layer (curves) and the layer mask instead, it is totally non destructive.
metrickid wroteI was just stating the method I use. If I want to change anything later, I just save the image as a .psd file. But what works for me may not work for anyone else. I just do it this way because it is easier, and it lets me select the features I want to emphasize. Curves may not bring out all the definitions as you would want, therefore I always use layers, along with the masking tool.That is not a smart thing to do as you retain all the image data in that layer. So if you later on want to change something or clone something out you have image data in two separate layers.
Just use an adjustment layer (curves) and the layer mask instead, it is totally non destructive.
are0lies wroteDestructive editing should be avoided, but if you want to do it that way I won’t stop you. If you can’t get to where you want with curves you are not using it right.I was just stating the method I use. If I want to change anything later, I just save the image as a .psd file. But what works for me may not work for anyone else. I just do it this way because it is easier, and it lets me select the features I want to emphasize. Curves may not bring out all the definitions as you would want, therefore I always use layers, along with the masking tool.

This was shot at IMSA at Road America. This Porsche was clearly driven by a less experienced driver as it was far behind the pack. The bummer is that only a couple of minutes after this photo was taken, this Porsche was pinched by two other cars at the notorious kink going 120mph+. Straight into the concrete barriers. You couldn't even recognize the car afterwards. It was such a beautiful car too.
Before

Post color correction

Before
Post color correction
sirdaft1 wroteWhere's the "AFTER AFTER" shot?This was shot at IMSA at Road America. This Porsche was clearly driven by a less experienced driver as it was far behind the pack. The bummer is that only a couple of minutes after this photo was taken, this Porsche was pinched by two other cars at the notorious kink going 120mph+. Straight into the concrete barriers. You couldn't even recognize the car afterwards. It was such a beautiful car too.
Before
Post color correction

infinitekid2002 wrotelolWhere's the "AFTER AFTER" shot?
sirdaft1 wrotelol
The falls colors are just perfect for editing

Roller of my friend's GTR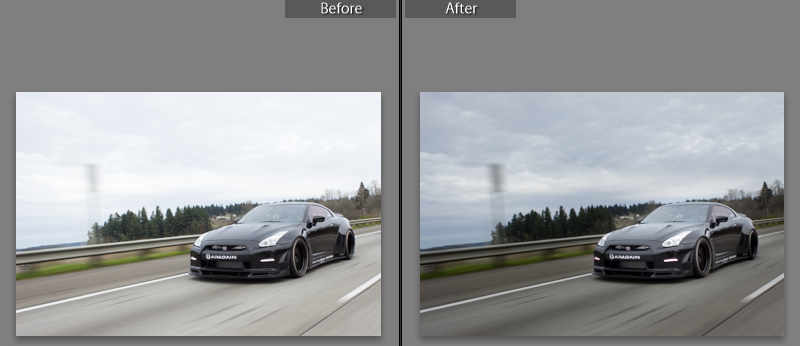
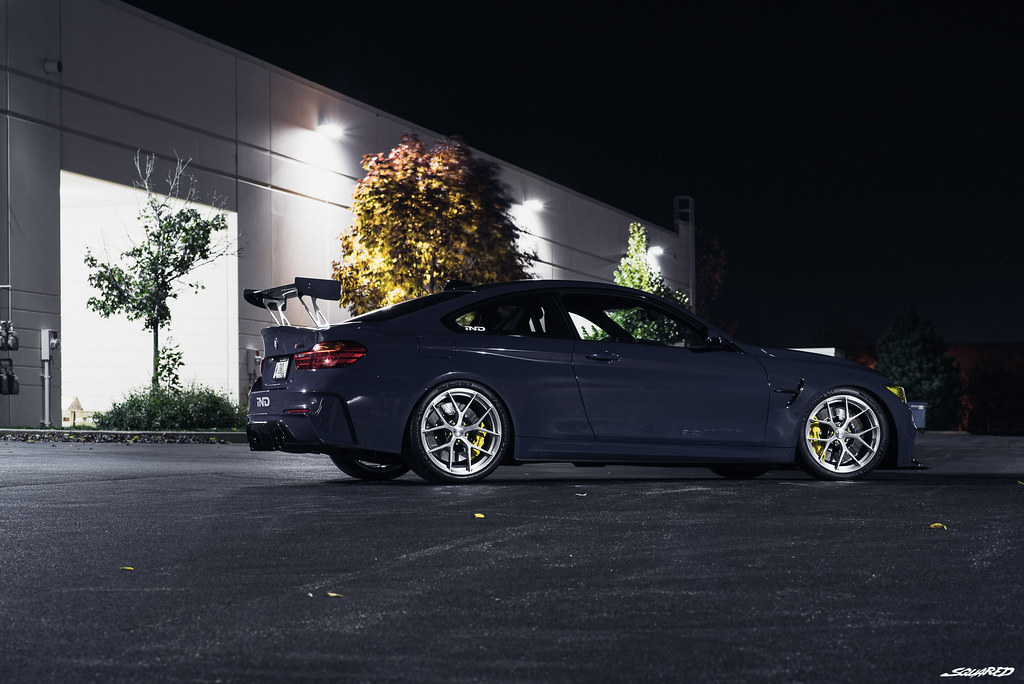
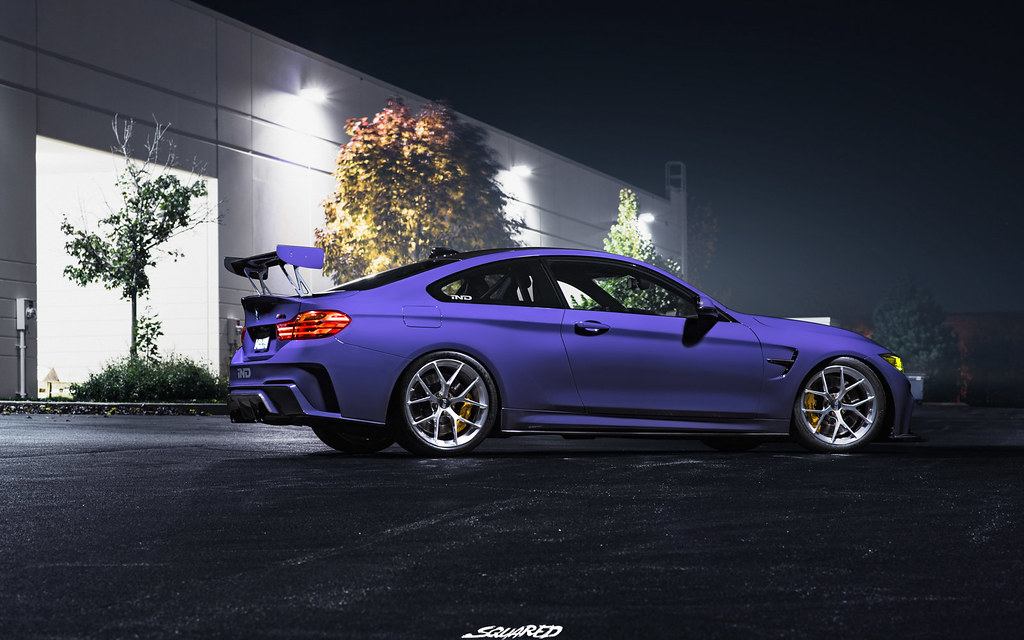
Yay a thread i can enjoy!


I only know how to use lightroom for adjusting lighting and photoshop to crop minor things out, i need to learn how to use photoshop, if anyone has any videos or tips please let me know! Feedback would be appreciated!
I only know how to use lightroom for adjusting lighting and photoshop to crop minor things out, i need to learn how to use photoshop, if anyone has any videos or tips please let me know! Feedback would be appreciated!
Mr.F30 wroteokay im officially confused how to upload anything on to this forum... don't i click the little image of the mountain and put in the flickr link? nothing is showing for me when i view my post???Yay a thread i can enjoy!
I only know how to use lightroom for adjusting lighting and photoshop to crop minor things out, i need to learn how to use photoshop, if anyone has any videos or tips please let me know! Feedback would be appreciated!
squaredphoto wroteWhoa. Care to describe your process?
Mr.F30 wroteJust click the share button in flicker and copy paste the link.okay im officially confused how to upload anything on to this forum... don't i click the little image of the mountain and put in the flickr link? nothing is showing for me when i view my post???
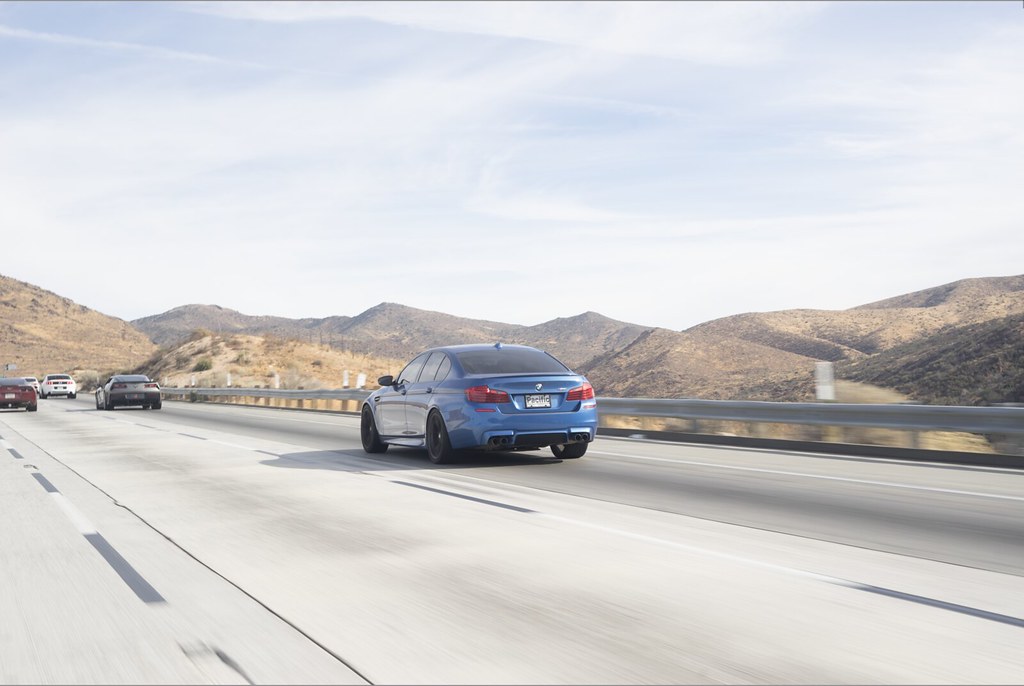 Screen Shot 2018-01-10 at 5.07.32 PM by bshahrooz, on Flickr
 Screen Shot 2018-01-10 at 5.07.53 PM by bshahrooz, on Flickr
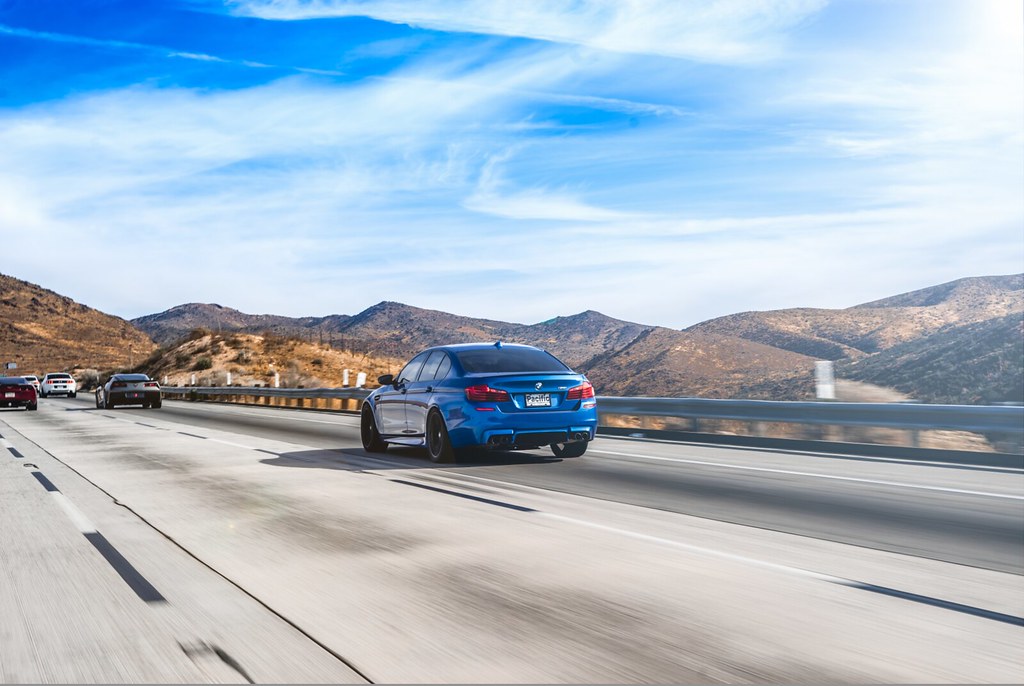
Question for anyone and everyone using Lightroom, whats the best way to darken to the road only?
