127KVIEWS
186REPLIES
84APPRECIATES
01-15-2026LAST POST
Brian_Fantana wrote
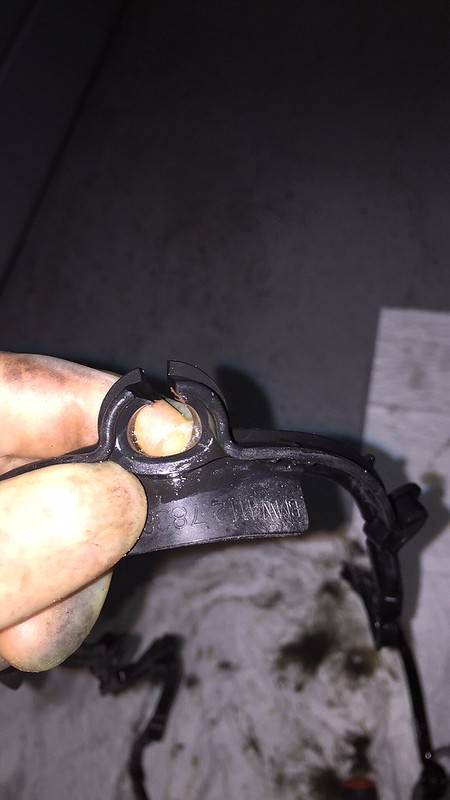
In case anyone is interested I found the part number on the Bolt/Grommet

11127841217

BMW told me they dont stock the E9X valve cover gaskets nor this bolt because they never leak. I asked why I had oil on my spark plug threads. He response was "you should just pay and have it diagnosed." He wasn't aware I just picked my car up on Friday after BMW had kept my car for 3 weeks. #hardpass
Ha! I see traces of oil just below the intake plenum which looks like coming from gasket. I also see traces around the bolts holding the cover. I don't think oil is coming from somewhere else :confused2
What's the deal with oil on the spark plug threads? I recently changed mine for the first time and noticed the bottom 1/4 of the threads were brown. Is that oil or just heat?
gfisher99 wrote  
What's the deal with oil on the spark plug threads? I recently changed mine for the first time and noticed the bottom 1/4 of the threads were brown. Is that oil or just heat?
If it's wet its oil, if it's dry could be just heat. I had to replace my spark plug tubes as well when I redid my gaskets. They were hardened and leaking too.
Move Over wrote
If it's wet its oil, if it's dry could be just heat. I had to replace my spark plug tubes as well when I redid my gaskets. They were hardened and leaking too.
Is this a sign of a bad valve cover gasket?
GeorgeA wrote
Is this a sign of a bad valve cover gasket?
Yes it is very likely
I just replaced mine. Here are some pictures.
Attached imageAttached imageAttached imageAttached imageAttached imageAttached image
cmtemauricio wrote
I just replaced mine. Here are some pictures.
Damn those were leaky lol
Dang those covers look rough. Thanks for the pictures though. Did you happen to document the process?
BzsBimmer wrote
Dang those covers look rough. Thanks for the pictures though. Did you happen to document the process?
I can do a DIY write up if all you need is documentation. I've done it twice now.

I'll put together something shortly, I'll consider it a parting gift to the forum. :thumbdown:
Please do the DIY! :)
SYT_Shadow wrote
Please do the DIY! :)
Haha when I have an hour I will.
Thread referenced by Theodore in DIY Reference - Common E9X M3 Torque Specs 12-01-2016
Thread referenced by JsL in What does this look like? 01-02-2017
chamba002 wrote
Did you replace the valve cover bolts too? Seems like the logical choice since there is rubber grommet on the bolt itself....

Im guessing its this part? https://www.ecstuning.com/b-genuine-bmw-parts/collar-screw-priced-each/11127841217/
http://www.realoem.com/bmw/en/showparts?id=WD93-USA---E92-BMW-M3&diagId=11_4115

reference this for the part numbers, be sure to get the 2 different type of bolts. There's the longer one that sits in the corner and the others on the cover.
Just bought the valve cover bolts and spark tubes. There was a sale going on at FCP euro. Should arrive next week and hopefully be able to post a DIY.
Remote image:Image hosted on: c1.staticflickr.comUntitled by Chamba, on Flickr

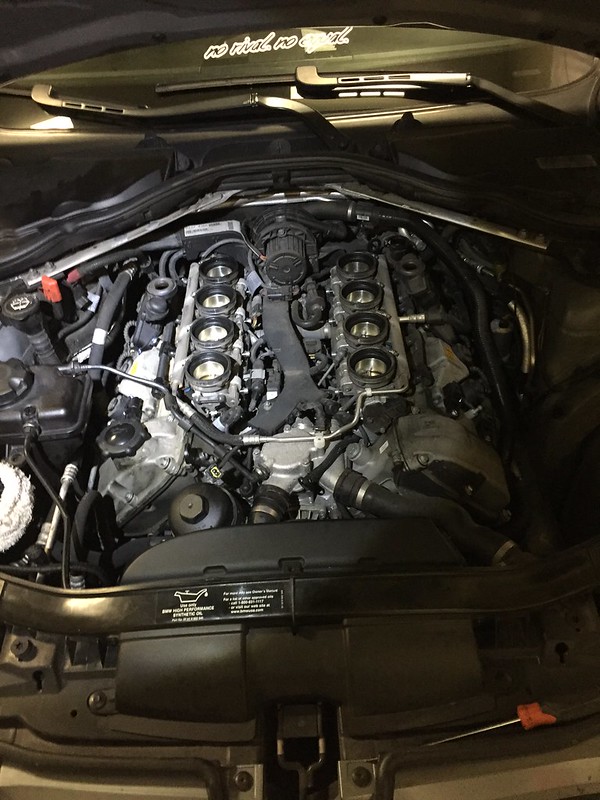
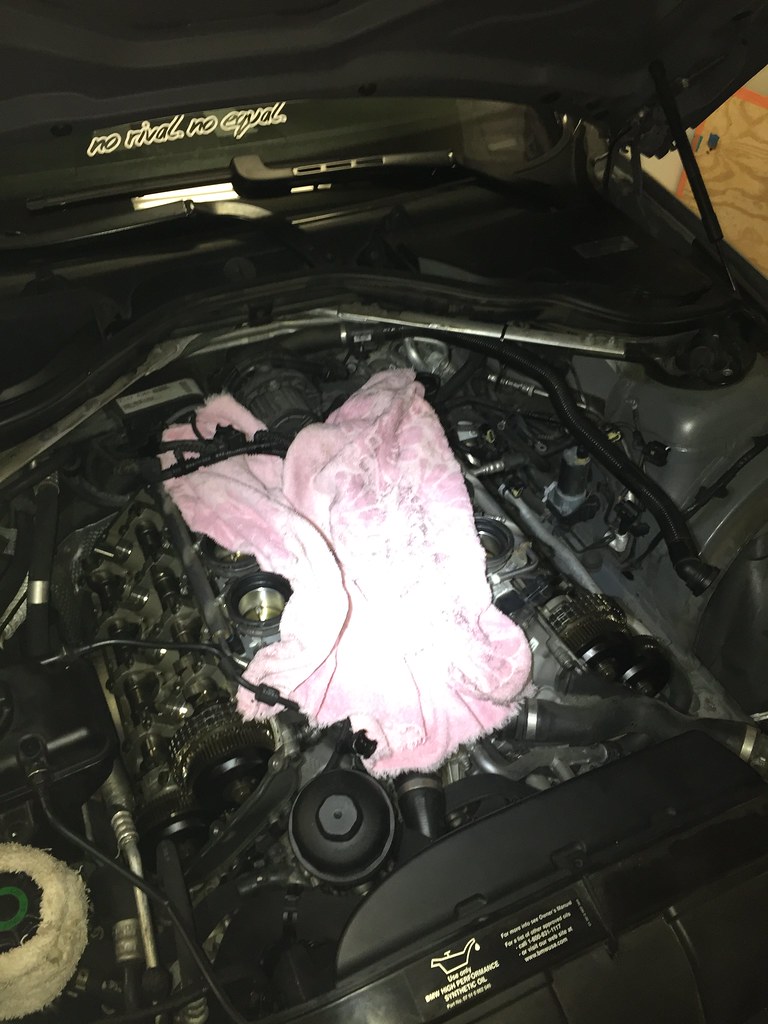
Removed the plenum and intake... took mt 1.5hrs. the hardest was loosing the two rear passenger side itb clamps.

I used this post: http://www.m3post.com/forums/showthread.php?t=1273927 to remove the plenum and airbox.

Im also changing my spark plugs too with the valve cover gasket. First time doing this, and hopefully I'll be able to provide a DIY. Working the next three days so this weekend ill be free to complete it.
Image hosted on: c1.staticflickr.comUntitled by Chamba, on Flickr

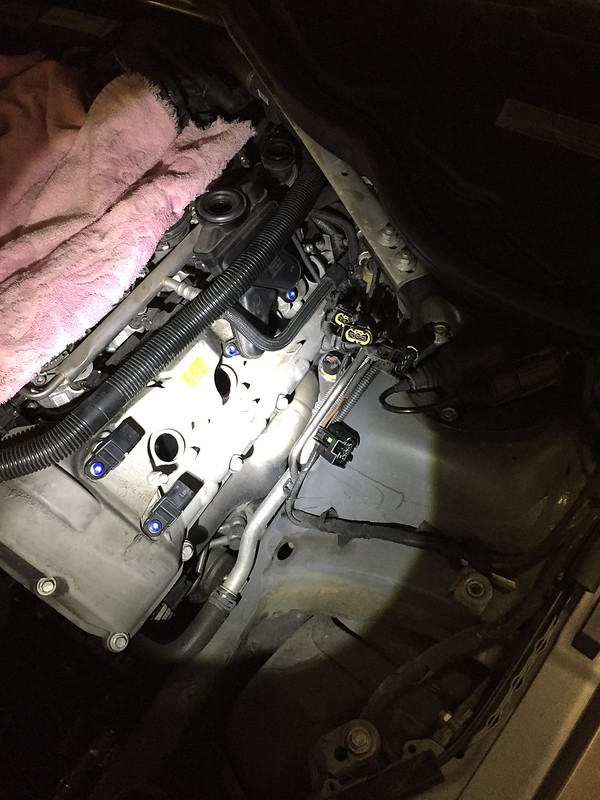
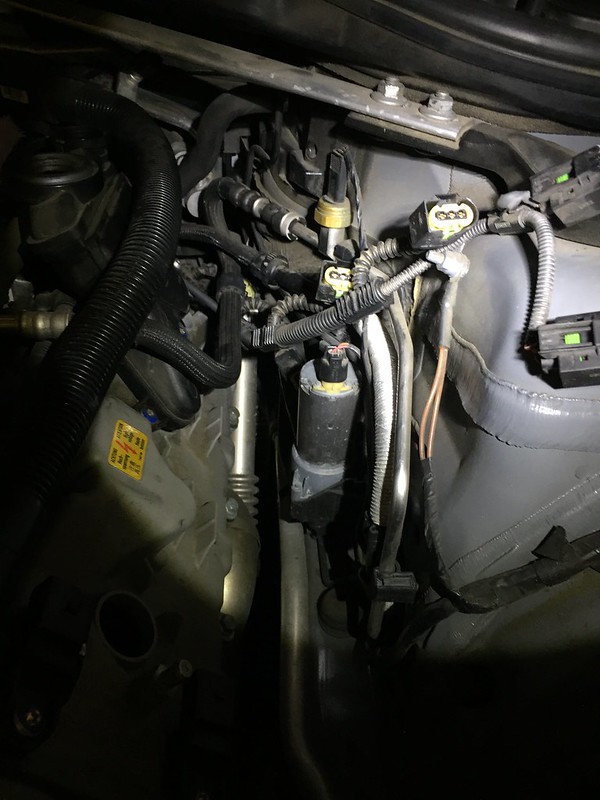
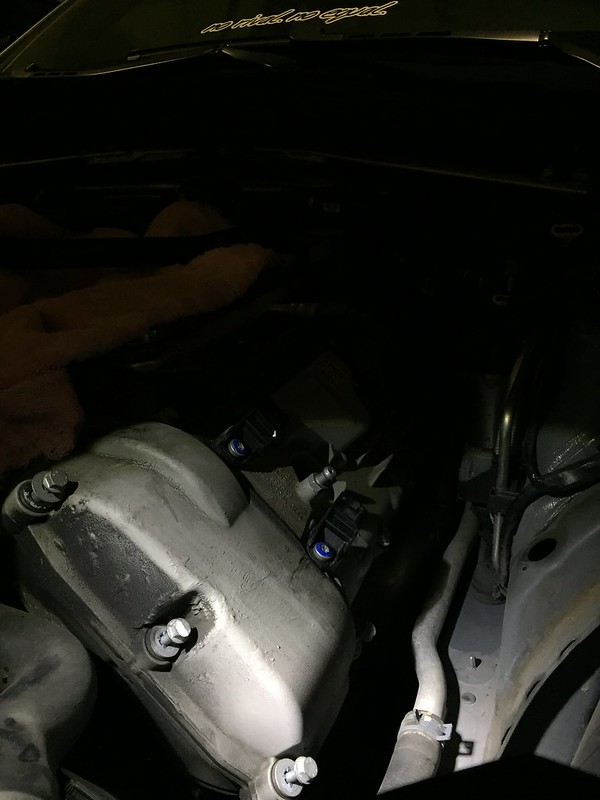
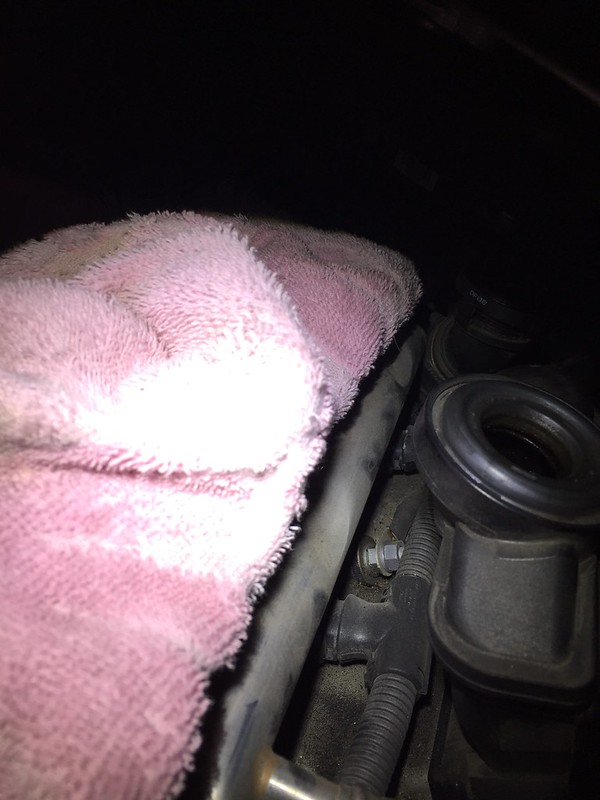
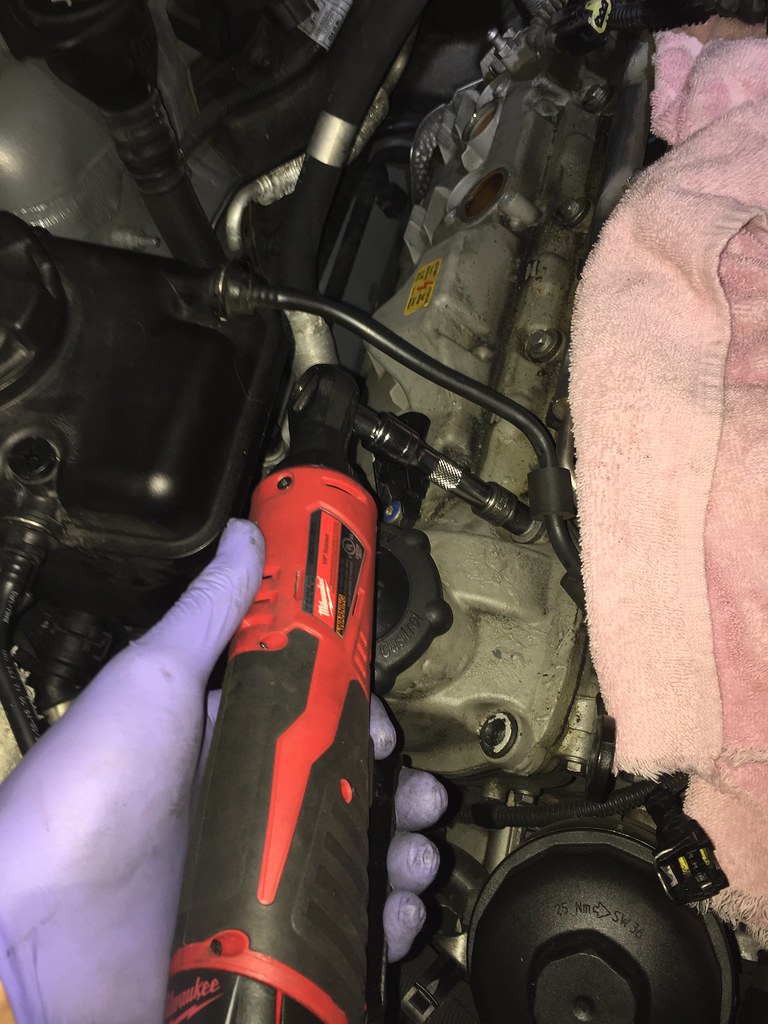
Started working on the drivers side. I removed the coils and coil connectors already. And started undoing the bolts... the two rear bolts are a pain in the ass. I noticed the bolts doesn't completely come off even fully loosen. Is that normal or I have to really pull the valve cover bolts out? Also do you have to remove the electrical connectors to the fuel injectors?

Image hosted on: c1.staticflickr.comUntitled by Chamba, on Flickr

Remote image:Image hosted on: c1.staticflickr.comUntitled by Chamba, on Flickr

Image hosted on: c1.staticflickr.comUntitled by Chamba, on Flickr
Remote image:Image hosted on: c1.staticflickr.comUntitled by Chamba, on Flickr

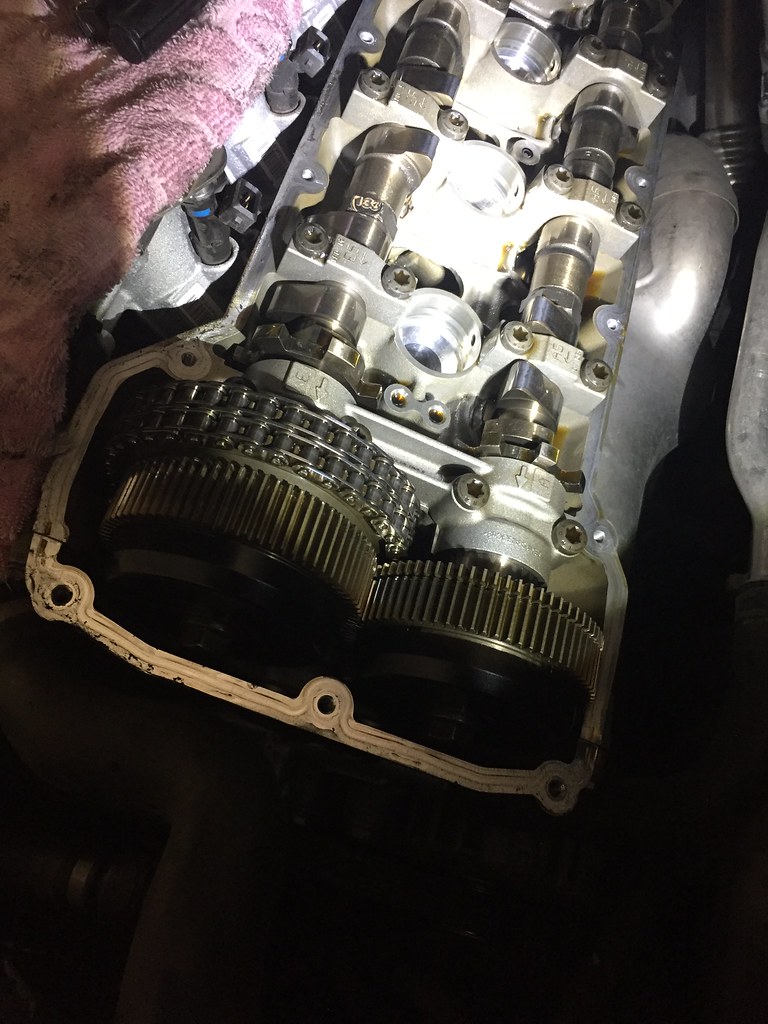
I managed to get the valve cover gasket out!! Power tools really make the job a lot easier!

Image hosted on: c1.staticflickr.comUntitled by Chamba, on Flickr

But I do have a queston....

On the shop manual it says to "Coat contact surfaces of joint (1) with Drei Bond 1209" Reference is in the link: http://workshop-manuals.com/bmw/3_series_e92/m3_s65_coupe/2_repair_instructions/11__engine_(s65)/12__cylinder_head_with_cover/1_ra__removing_and_installing_sealing_left_cylinder_head_cover_(s65)/page_272/

So I just apply Drei Bond on the that specific area or around the whole surface?

Remote image:Image hosted on: c1.staticflickr.comUntitled by Chamba, on Flickr

Remote image:Image hosted on: c1.staticflickr.comUntitled by Chamba, on Flickr

Remote image:Image hosted on: c1.staticflickr.comUntitled by Chamba, on Flickr
had to redo the passenger side valve cover.... It was leaking pretty bad -_- Turns out the valve cover gasket was pinched and caused a tear.

Remote image:Image hosted on: c1.staticflickr.comUntitled by Chamba, on Flickr

Ended up buying another gasket from the dealer. No more leaks!!

The passenger side is the hardest because the gasket keeps on falling off while putting the cover on the engine. I guess its the angle of approach but you don't have much room the work with. I needed an extra hand to make sure the gasket aligned properly to the cover.
Is there an official recommended parts list for this job? I'll be filming this job for my YouTube channel (/taylordjosh) will have this done before my next track day in 4 weeks.

So far it looks like:
1x Valve Cover Gasket Cyl 1-4: 11127838271
1x Valve Cover Gasket Cyl 5-8: 11127838272
8x Spark Plug Tubes: 11127835170 (recommended due to age)
2x Collar Screws M6: 11127841218
24x Collar Screws M6x37.5: 1127841217

All part numbers sourced from http://www.realoem.com/bmw/en/showparts?id=WD93-USA---E92-BMW-M3&diagId=11_4115
You may need Drei Bond, #07589062376.
chamba002 wrote
Remote image:Image hosted on: c1.staticflickr.comUntitled by Chamba, on Flickr

Remote image:Image hosted on: c1.staticflickr.comUntitled by Chamba, on Flickr
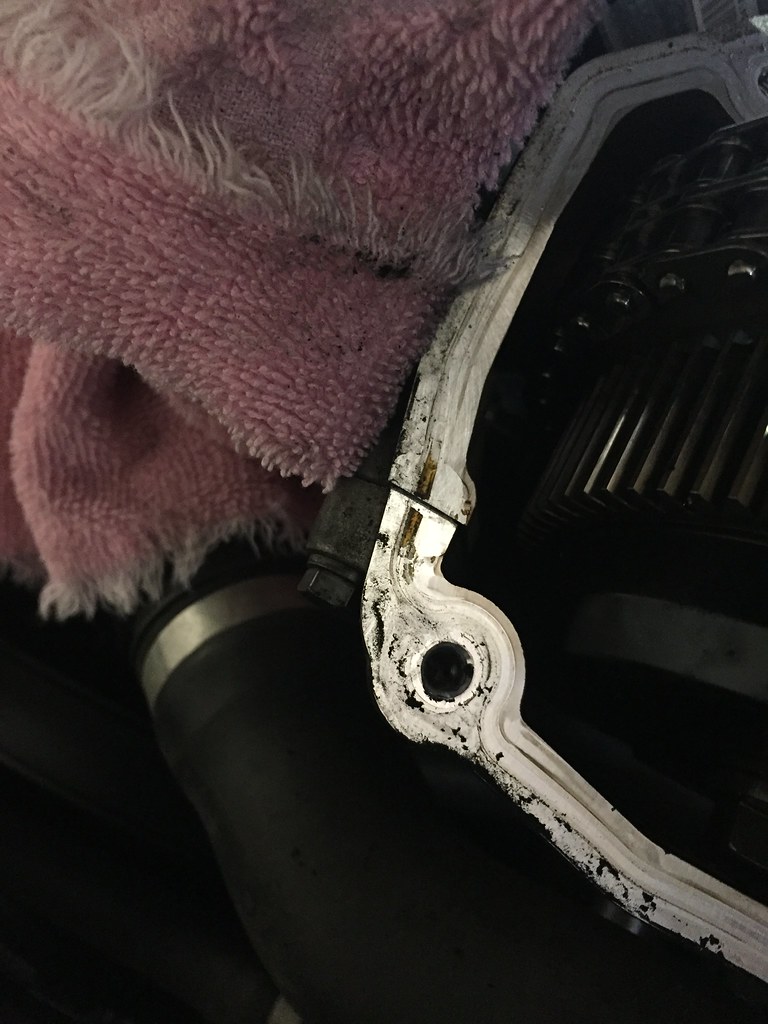
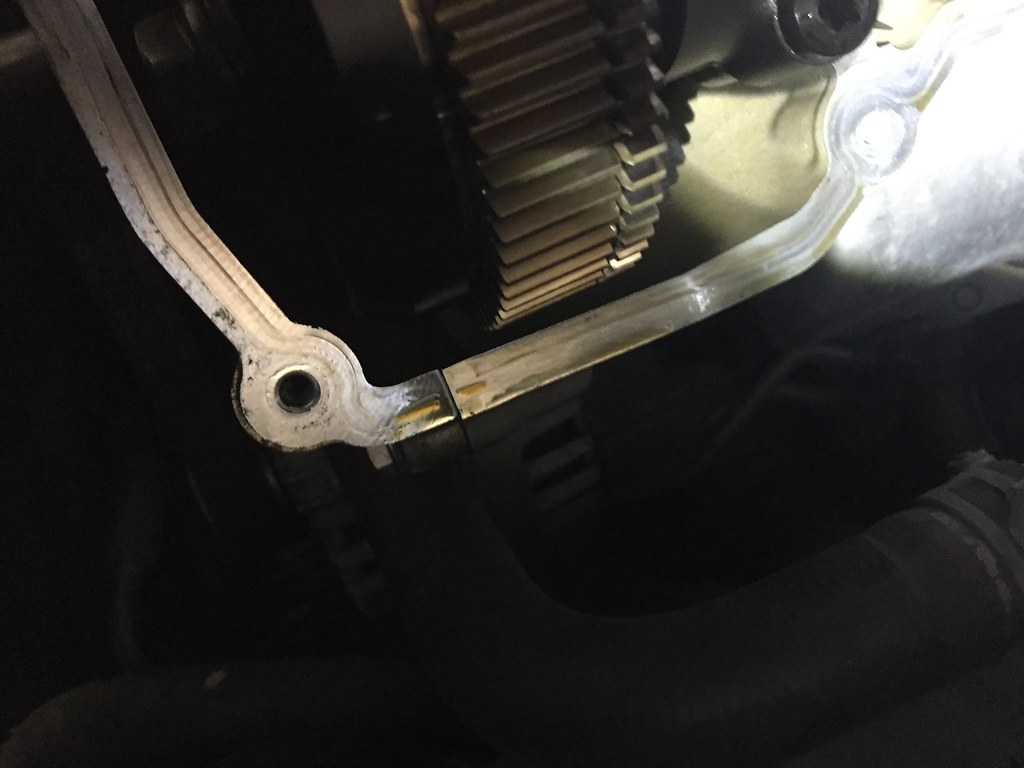
You only need Drei Bond at the splits, as shown in the above 2 pictures. There are other spots, but those are typical.
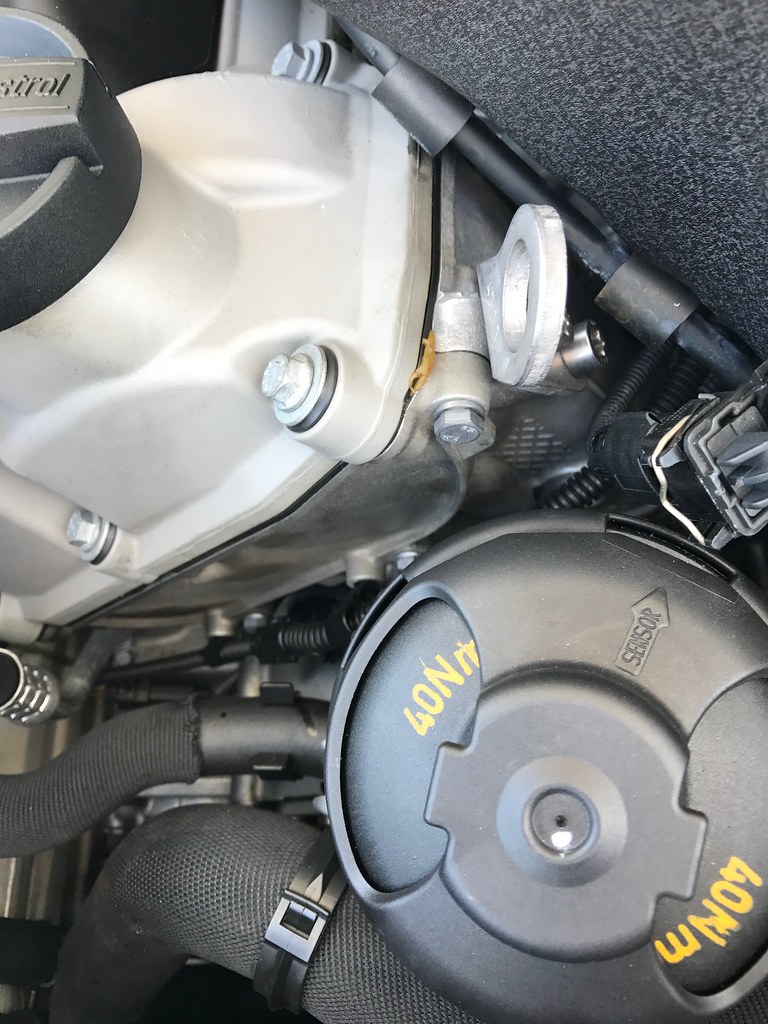
This is the OEM install on mine.

Image hosted on: c1.staticflickr.com