

Paint still in great condition…hoping to get another 2 years before I have to reconditioned M3 paint: X5M should be good for at least 4-5 years since carpro cquartz 3.0 was apply 4 months ago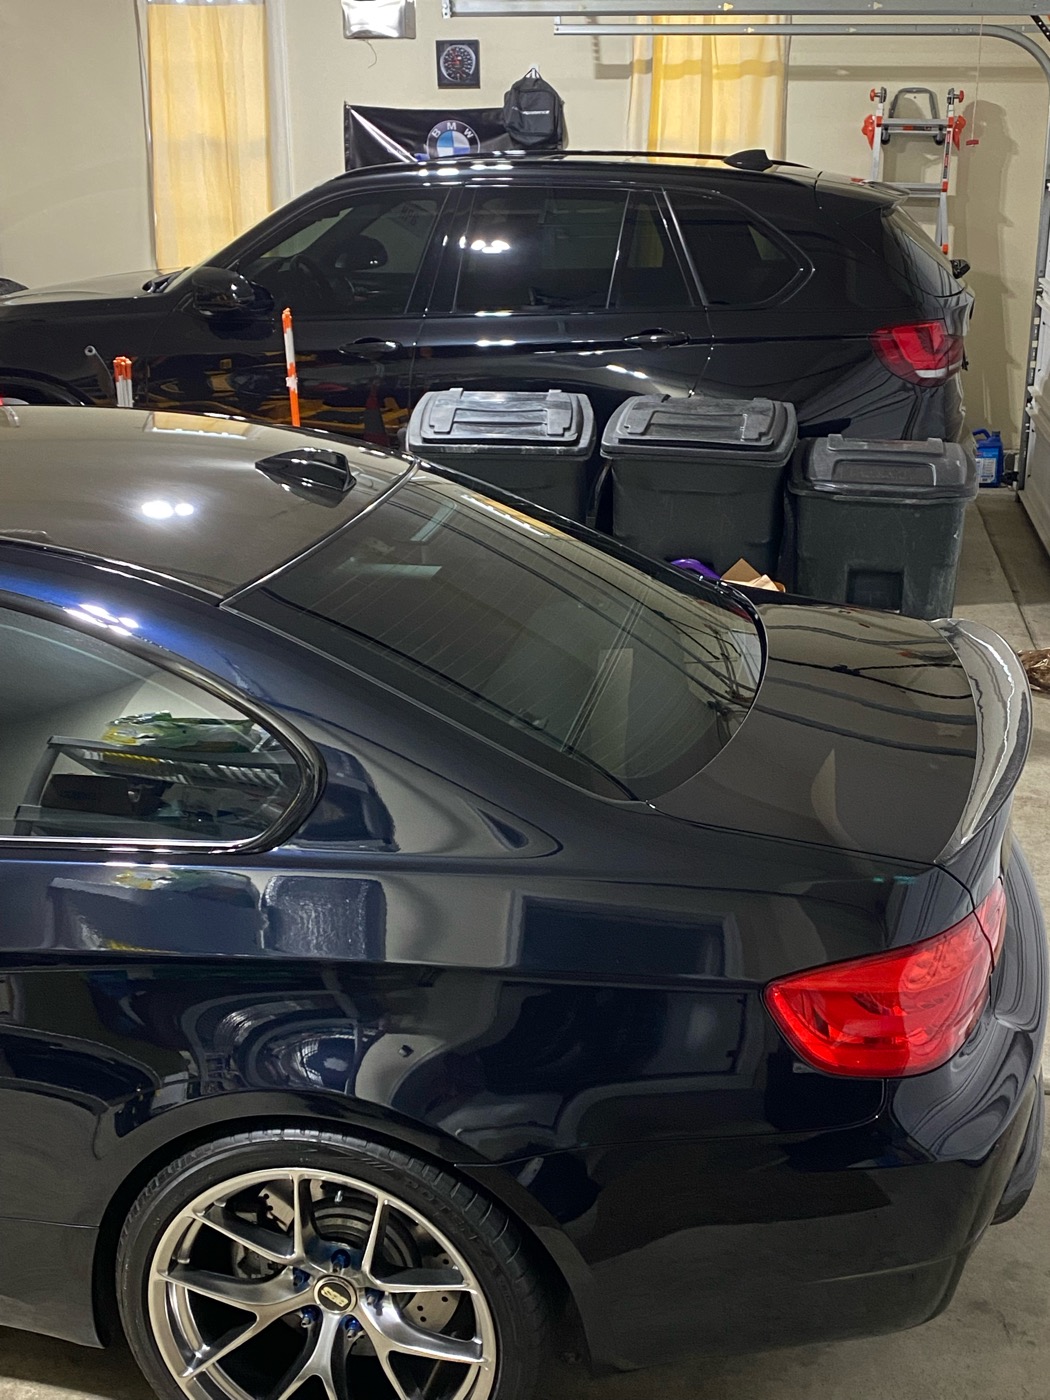
7.3MVIEWS
24KREPLIES
39KAPPRECIATES
YesterdayLAST POST
Davisca455 wroteThere's something to be said about living in the moment and the tech of the day. I keep my i-pod 2nd gen in the 135 up to date.The PO of my '08 left the iPod and cable in the console.
I went to hand it to him and he says "I'm good, you can keep it."
Tons of great music on it.

Kowalski2011 wroteImpressive Work!I was getting condensation in the passenger headlight after every high pressure wash and knew I would need to crack it open for a new seal. Might as well do both and upgrade the halos while I'm in there.
I bought the DTM halo kit from Precision Raceworks which included new butyl rubber seals. Installation was straight forward, everything fit really well.
I'm happy with how it turned out. A few car washes later and NO condensation.
At 100k miles did a lot of work on her the last couple weeks. Did the actuators which failed and while plenum removed anyway did oil filter housing gasket, valve cover gasket, spark plug, fuel injector, fuel breather, water pump, thermostat, coolant flush, hoses, power steering flush. Still need to do valve cover gaskets. Today did Tranny mount, diff tranny fluid, Motor mounts at then gave her a quick wash. Also detailed her last week and topped with ceramic cquartz 3.0. Here’s to hoping this car lasts another 100k. 👌


GotV8? wroteFirst thing you do is to take those fake BBS center caps off those eBay wheels. Then follow through with coatings.Paint still in great condition…hoping to get another 2 years before I have to reconditioned M3 paint: X5M should be good for at least 4-5 years since carpro cquartz 3.0 was apply 4 months ago
Shrike360 wroteRear stepping out on changing lanes at low 50s seems odd to me on ps4s.Well, the car reminded me to respect the supercharger speed and crisper road conditions today (on PS4S'). Very shaded back road morning run, being a little too aggressive. Downhill, medium left turn, came in hot. Hard on the brakes, bleeding them off as I turn in. Front tires grip, then as the rear tires followed, their lateral traction just disappeared. Rear end changes zip codes. Was able to gather it all up, somehow. Expected to do a 180. 275s up front seem to be a necessity to keep it straight. Luckily no oncoming traffic, just walked away with a bruised ego instead of ending up in the ditch. Good reminder to respect the damned thing and not be an idiot.
May also need to re-evaluate if I need some good performance all seasons to keep around for these times of year. Had something similar happen early in the year on a low 50 F day (while NA). Slight steering input to change lane, planted it, and rear end just stepped out. These PS4S' just seem to drop lateral grip as you get close to 50.
Removed the crankshaft from my old broken engine, following the precious thread by deansbimmer:
https://www.m3post.com/forums/showthread.php?t=1504062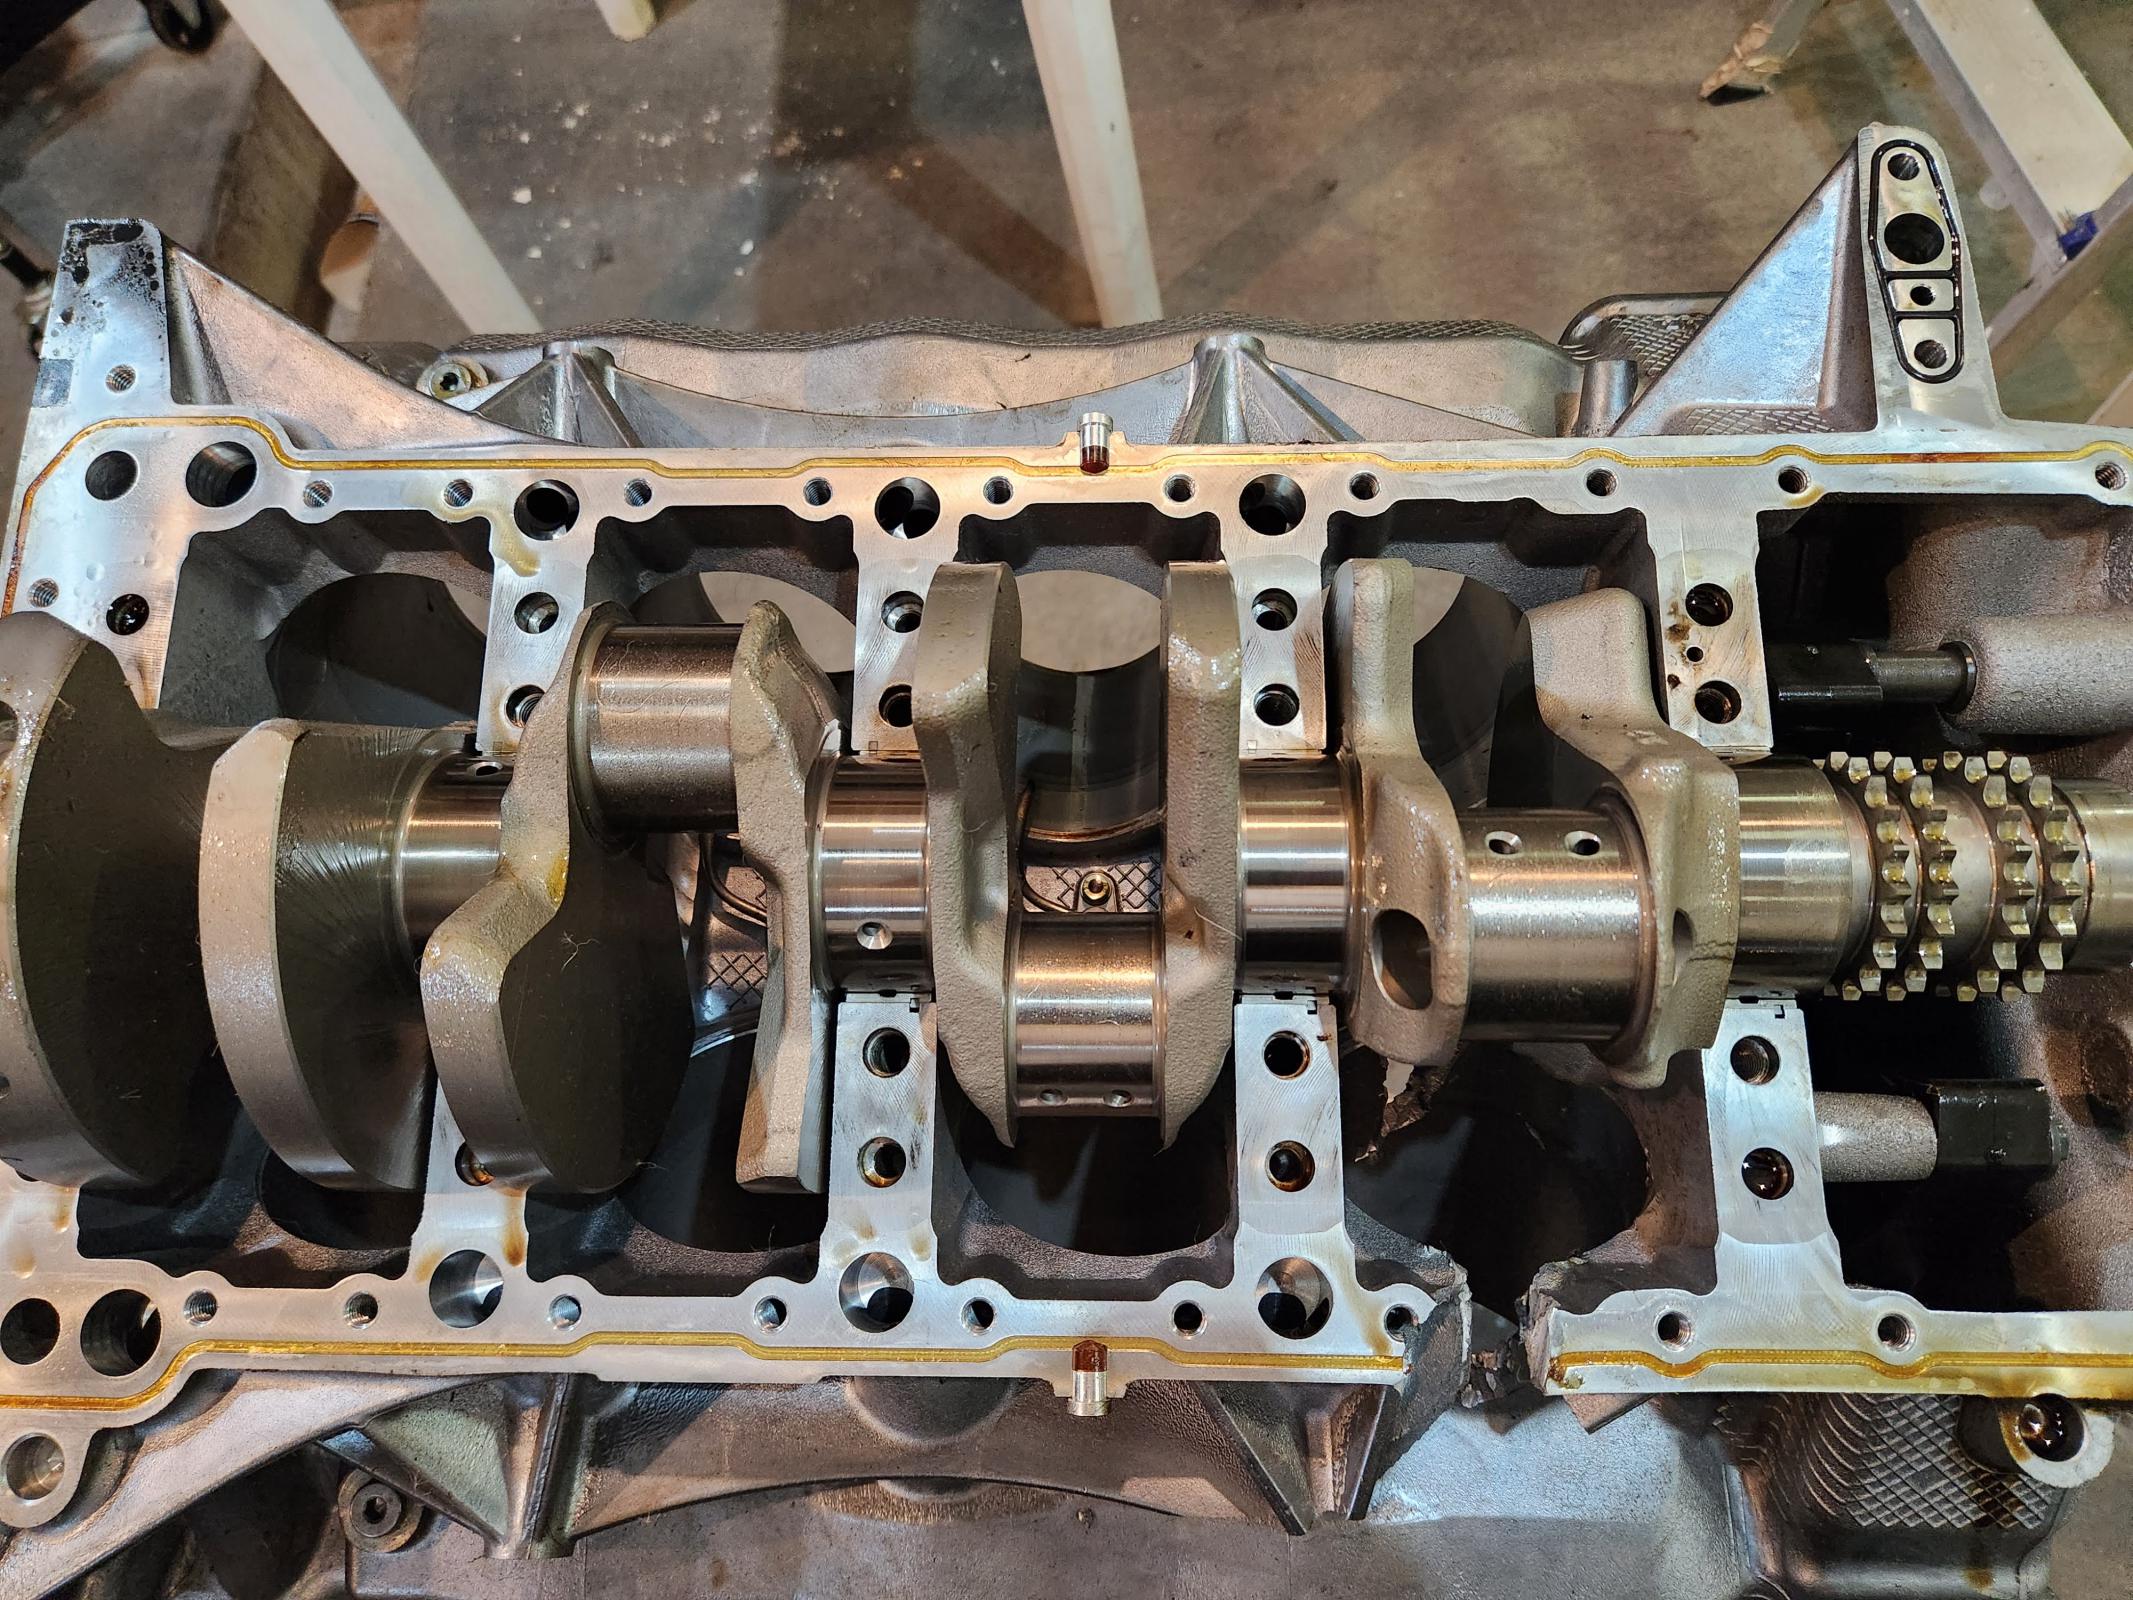
https://www.m3post.com/forums/showthread.php?t=1504062
Also, made a repair on the seat belt extender:
I followed this video instructions:
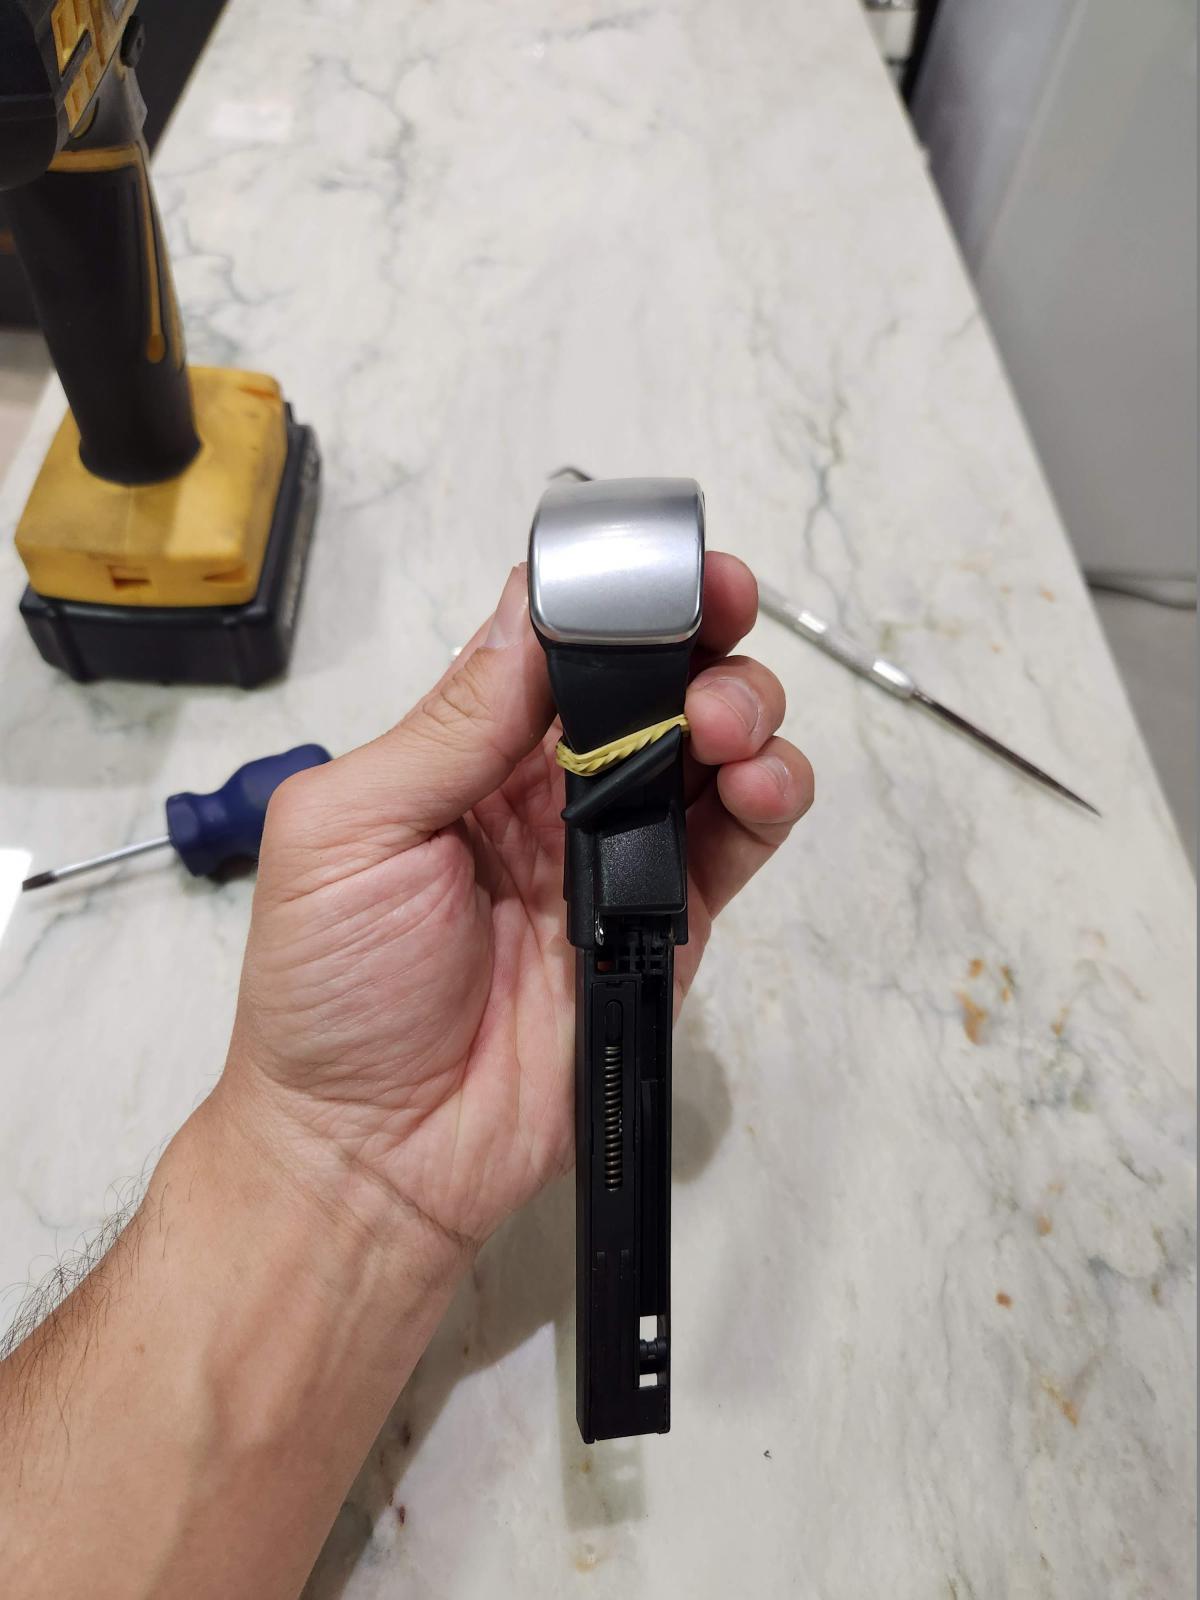
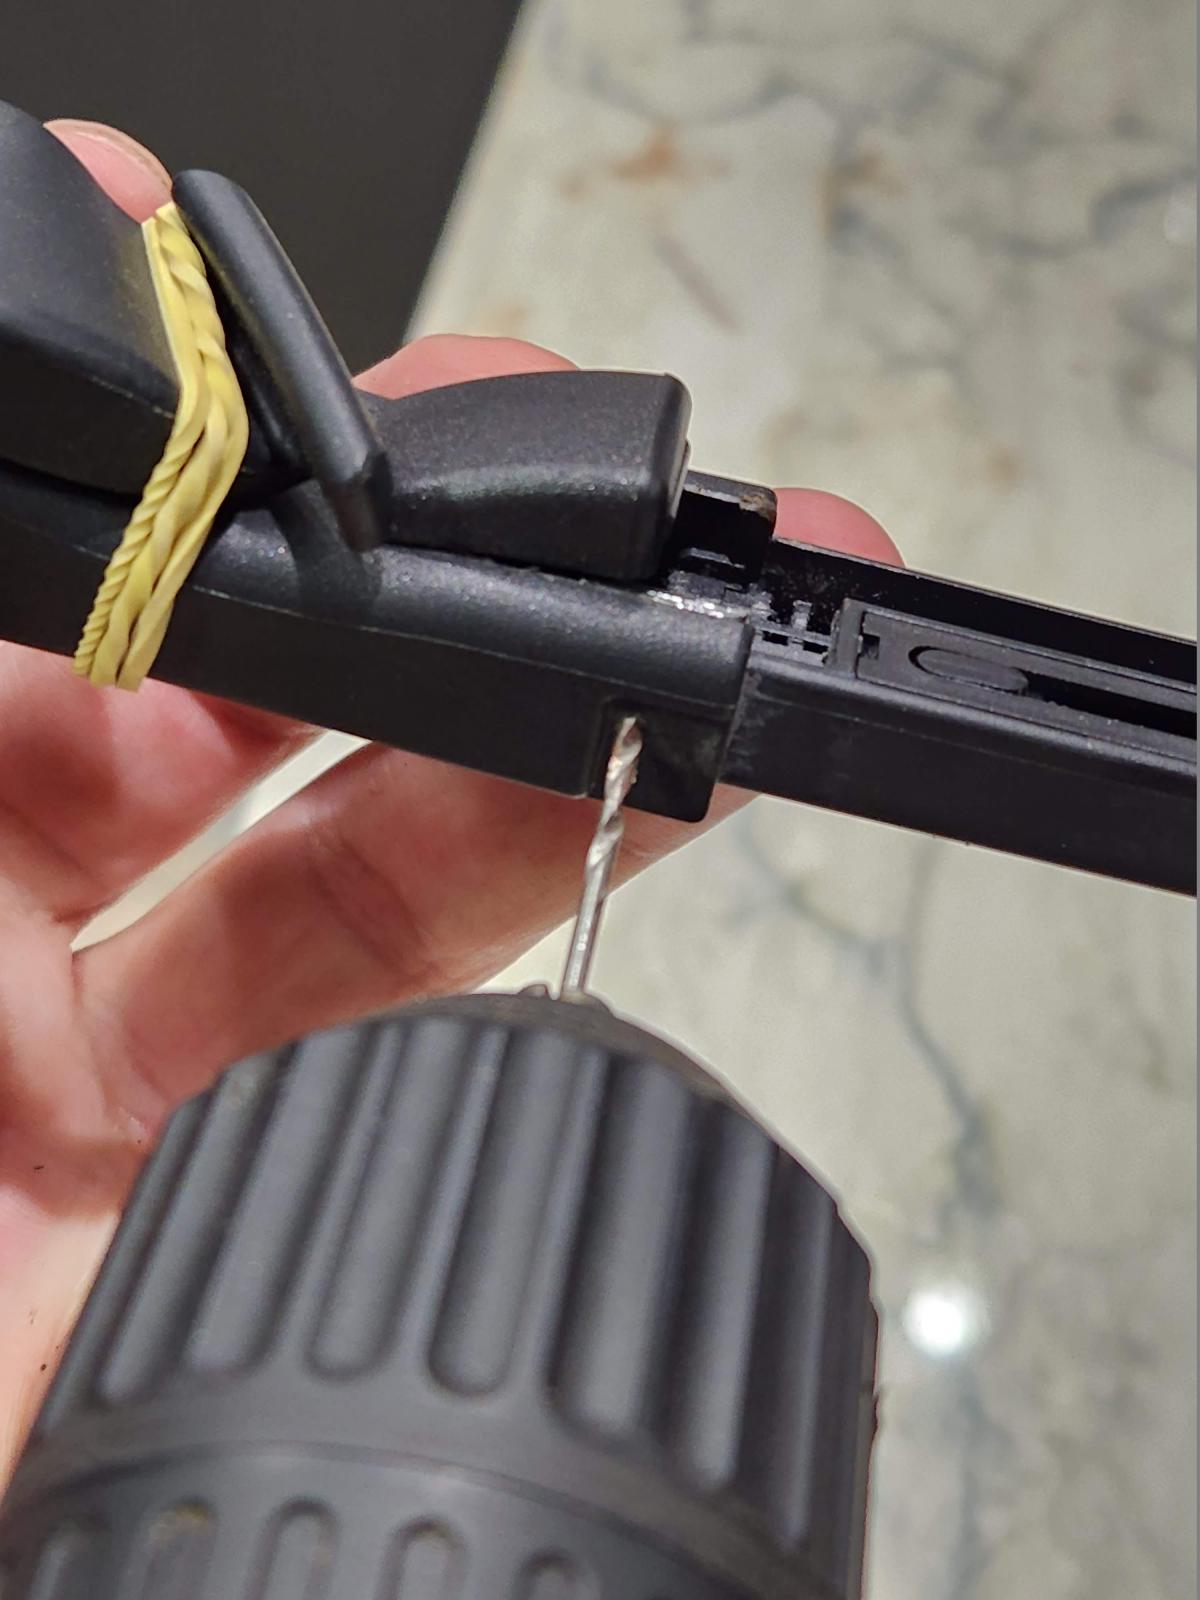
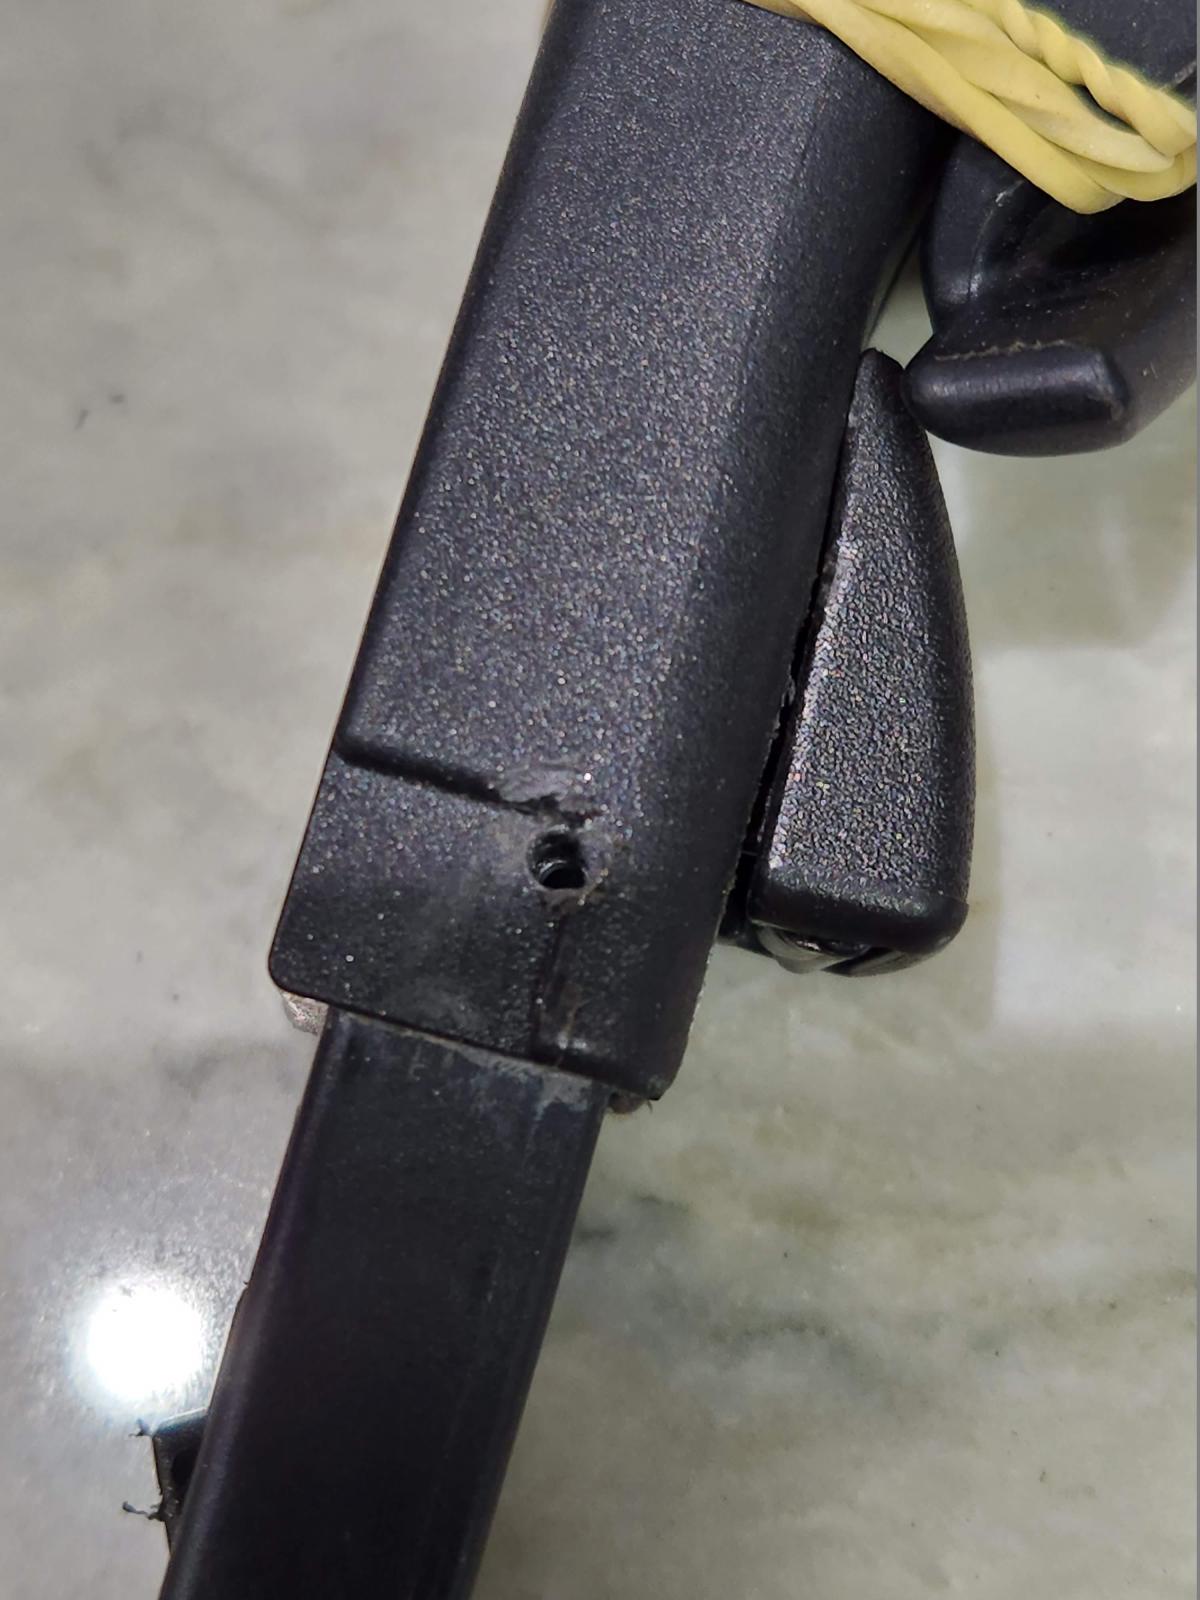
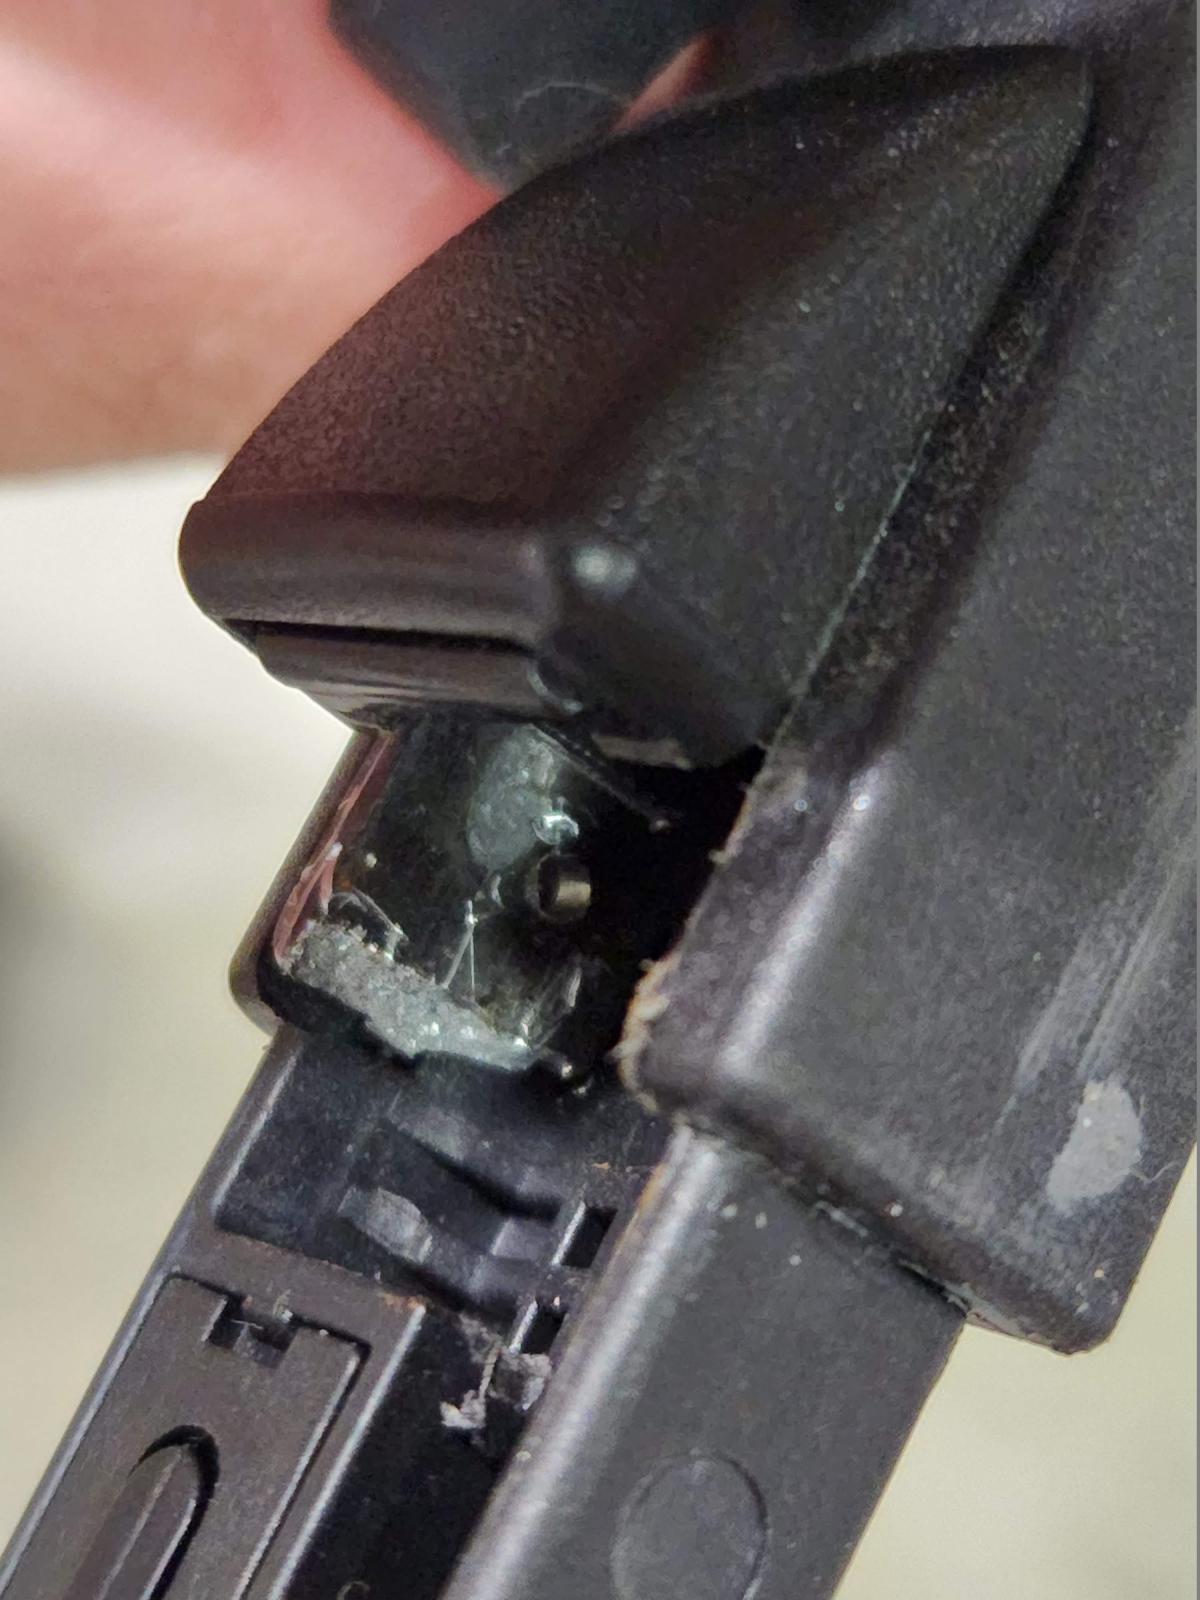
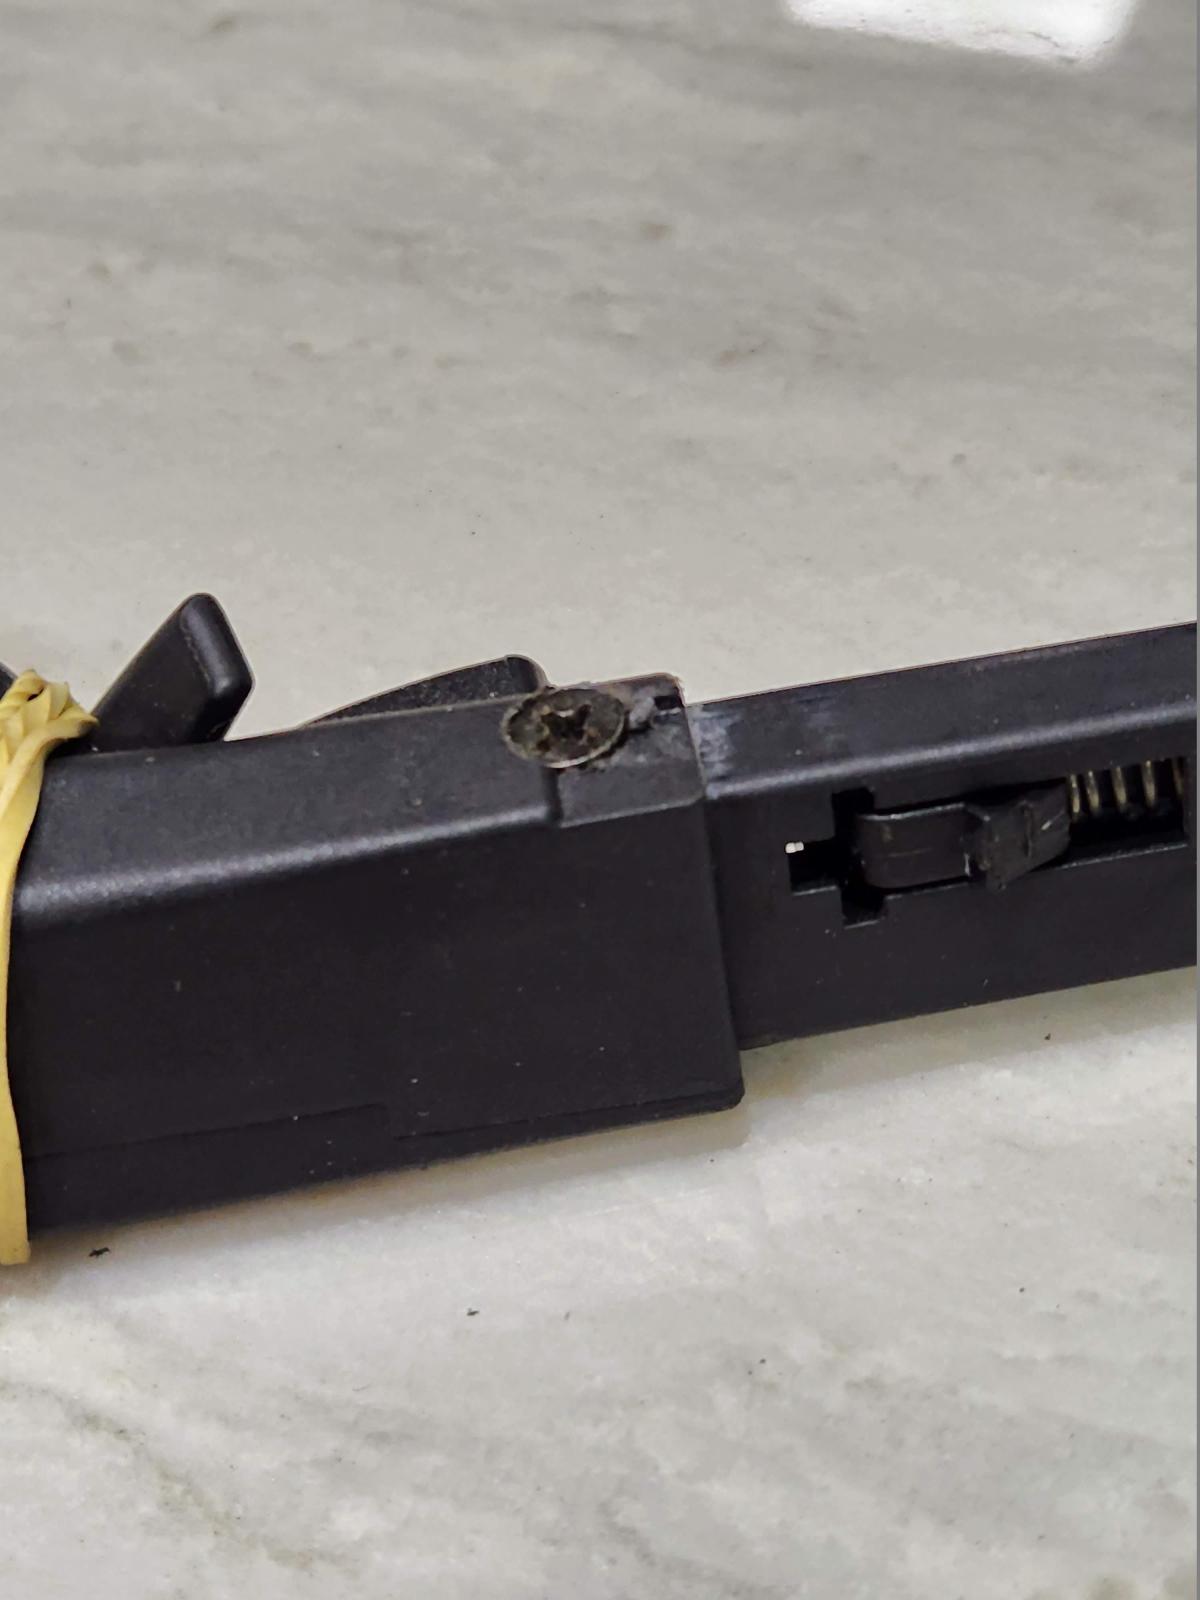
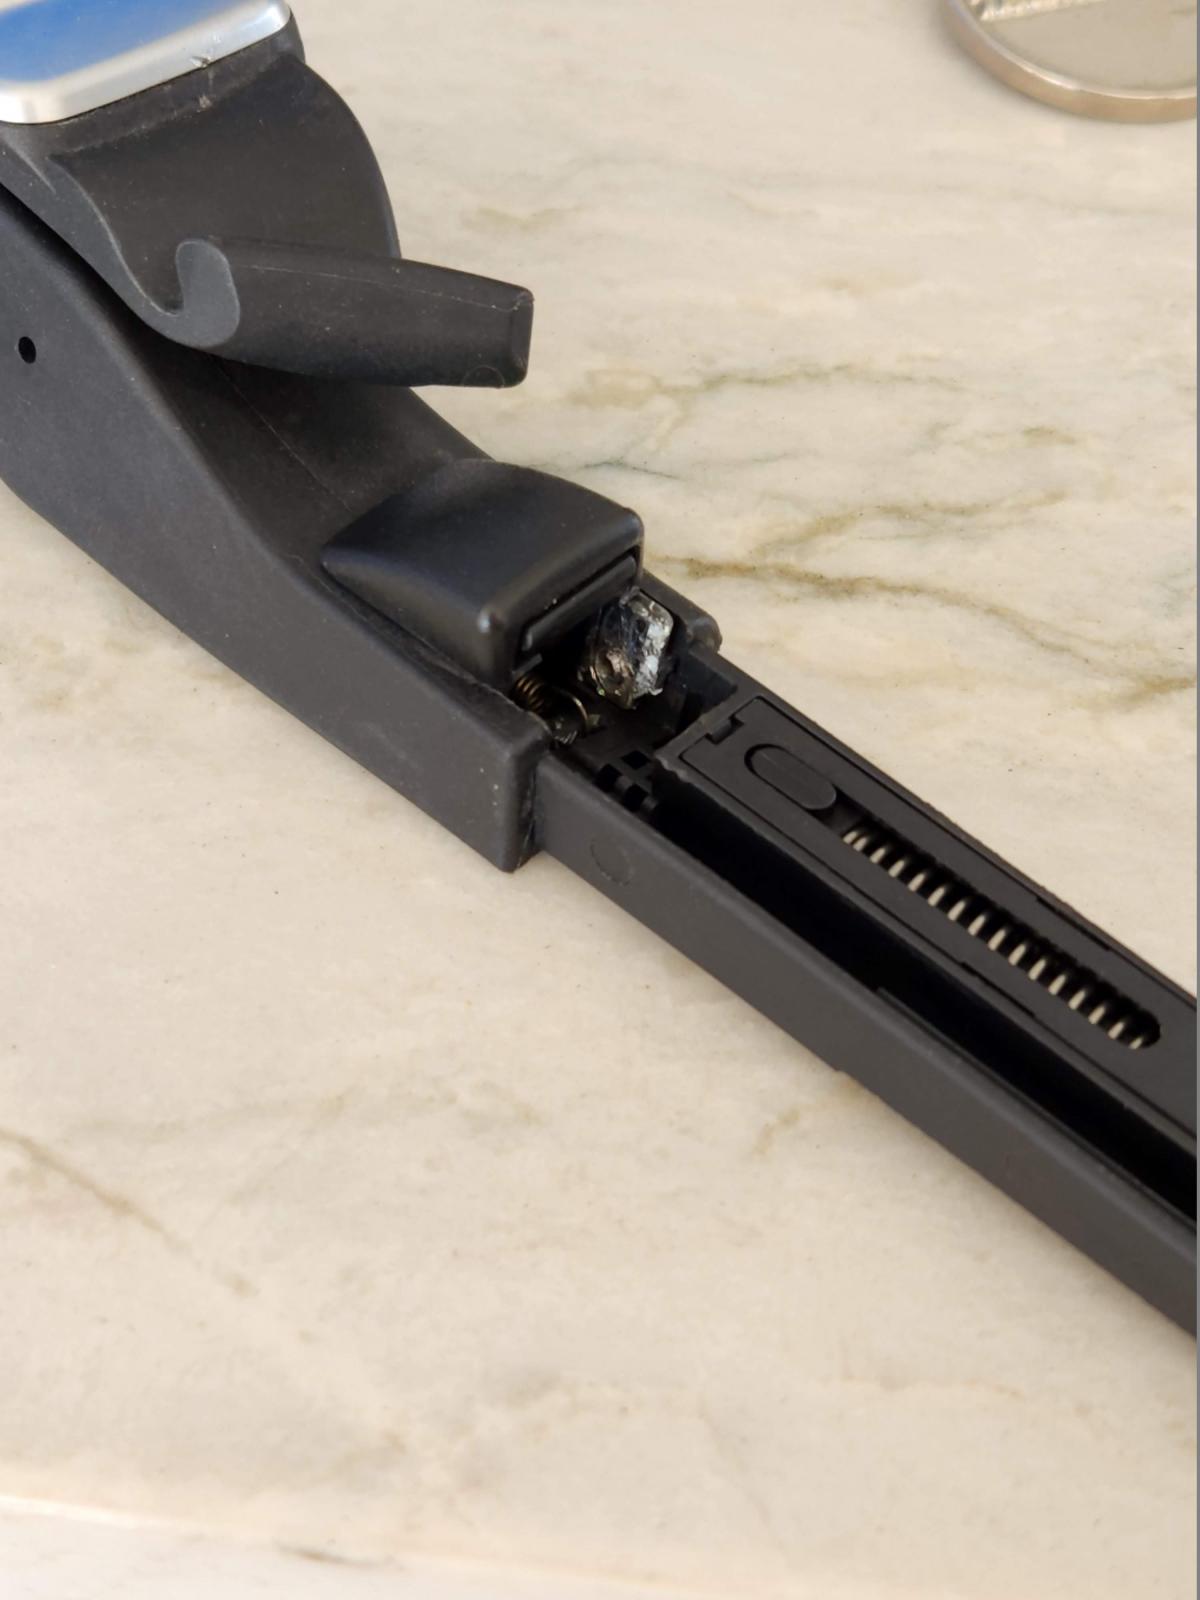
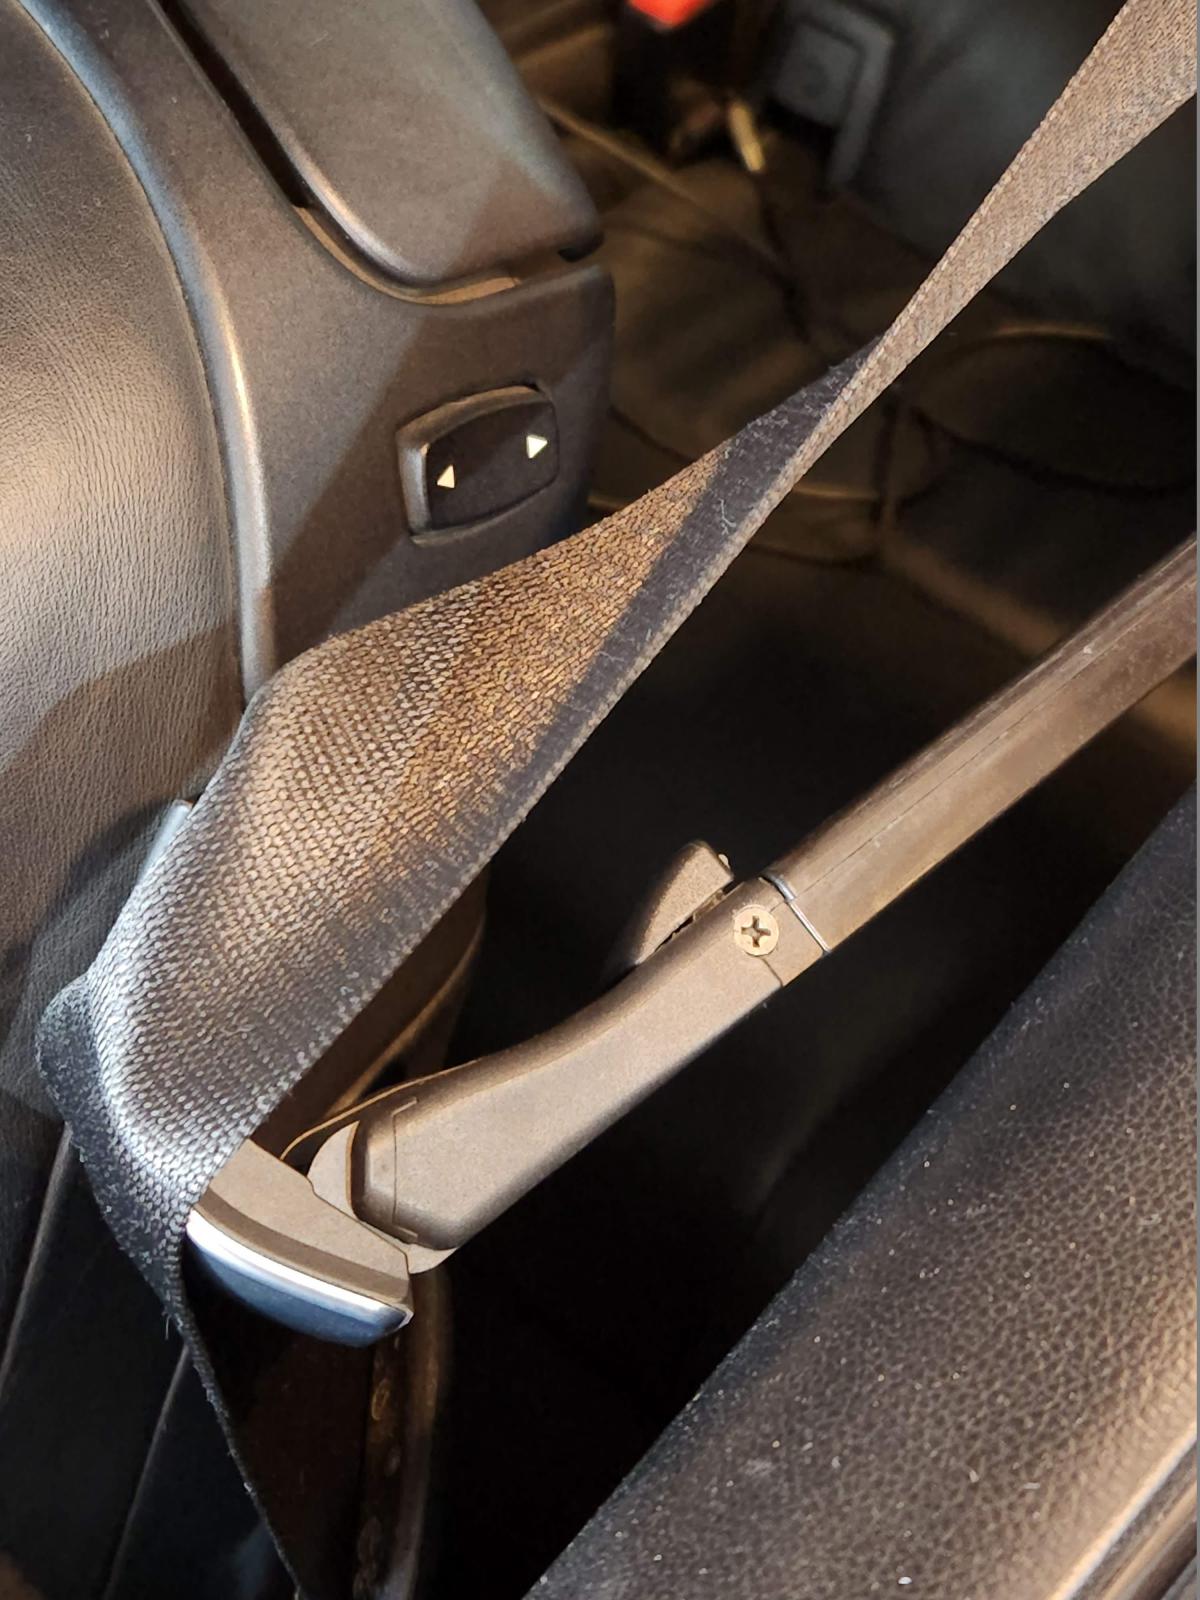
I followed this video instructions:
jvictormp wrotei lol'd at "removed the crank" and "fixed the seat belt extender" in the same breath. nice work!Also, made a repair on the seat belt extender:
I followed this video instructions:
Had a fun time getting the F10 M5 shift boot to fit in the center console. The corners were just overly tight. Had to do some major trimming but happy with the end result.

panda-R wroteoh man. i did that on my e93 and it was a complete pain. couldn't get the trim ring off the old boot, couldn't get the new boot to fit over the trim ring, had the damn thing crack, and even with a lot of dremeling, couldn't get it to fully clip in.Had a fun time getting the F10 M5 shift boot to fit in the center console. The corners were just overly tight. Had to do some major trimming but happy with the end result.
yours looks way better than mine did.
kolosy wroteTook me about 2-3 hours to do this install. Heat gun, exacto knife, patience, binder clips, glue, trial and error and more patience. Rinse and repeat.oh man. i did that on my e93 and it was a complete pain. couldn't get the trim ring off the old boot, couldn't get the new boot to fit over the trim ring, had the damn thing crack, and even with a lot of dremeling, couldn't get it to fully clip in.
yours looks way better than mine did.
kolosy wrotesome guy sells 3d printed shift boot rings on ebay, its expensive but i used that option since I have no patience to try and take off the old ring. Its the dam corners because of the extra thickness from the stitching that messes things up, have to finesse that part.oh man. i did that on my e93 and it was a complete pain. couldn't get the trim ring off the old boot, couldn't get the new boot to fit over the trim ring, had the damn thing crack, and even with a lot of dremeling, couldn't get it to fully clip in.
yours looks way better than mine did.
panda-R wroteyeah, that's where i was trying to shave the leather down. was successful to someone else's eye but i knew where the hidden blemishes were and it p*ssed me off every time. #ocdsome guy sells 3d printed shift boot rings on ebay, its expensive but i used that option since I have no patience to try and take off the old ring. Its the dam corners because of the extra thickness from the stitching that messes things up, have to finesse that part.
panda-R wroteIs this the same guy?some guy sells 3d printed shift boot rings on ebay, its expensive but i used that option since I have no patience to try and take off the old ring. Its the dam corners because of the extra thickness from the stitching that messes things up, have to finesse that part.
https://www.m3post.com/forums/showthread.php?t=1717582
kolosy wroteI'm really happy with the method I worked out. I think most would find it really hard to believe it's not stock.yeah, that's where i was trying to shave the leather down. was successful to someone else's eye but i knew where the hidden blemishes were and it p*ssed me off every time. #ocd
Ccieszyn wroteWhat did you do differently. looks like you have less material under the ring than I did.I'm really happy with the method I worked out. I think most would find it really hard to believe it's not stock.
B8bydesign wroteMine came in bright orange color and was full ring frame. worked good, looked like an exact replica of the original ring.
Had to do a double take
Will never get tired of this face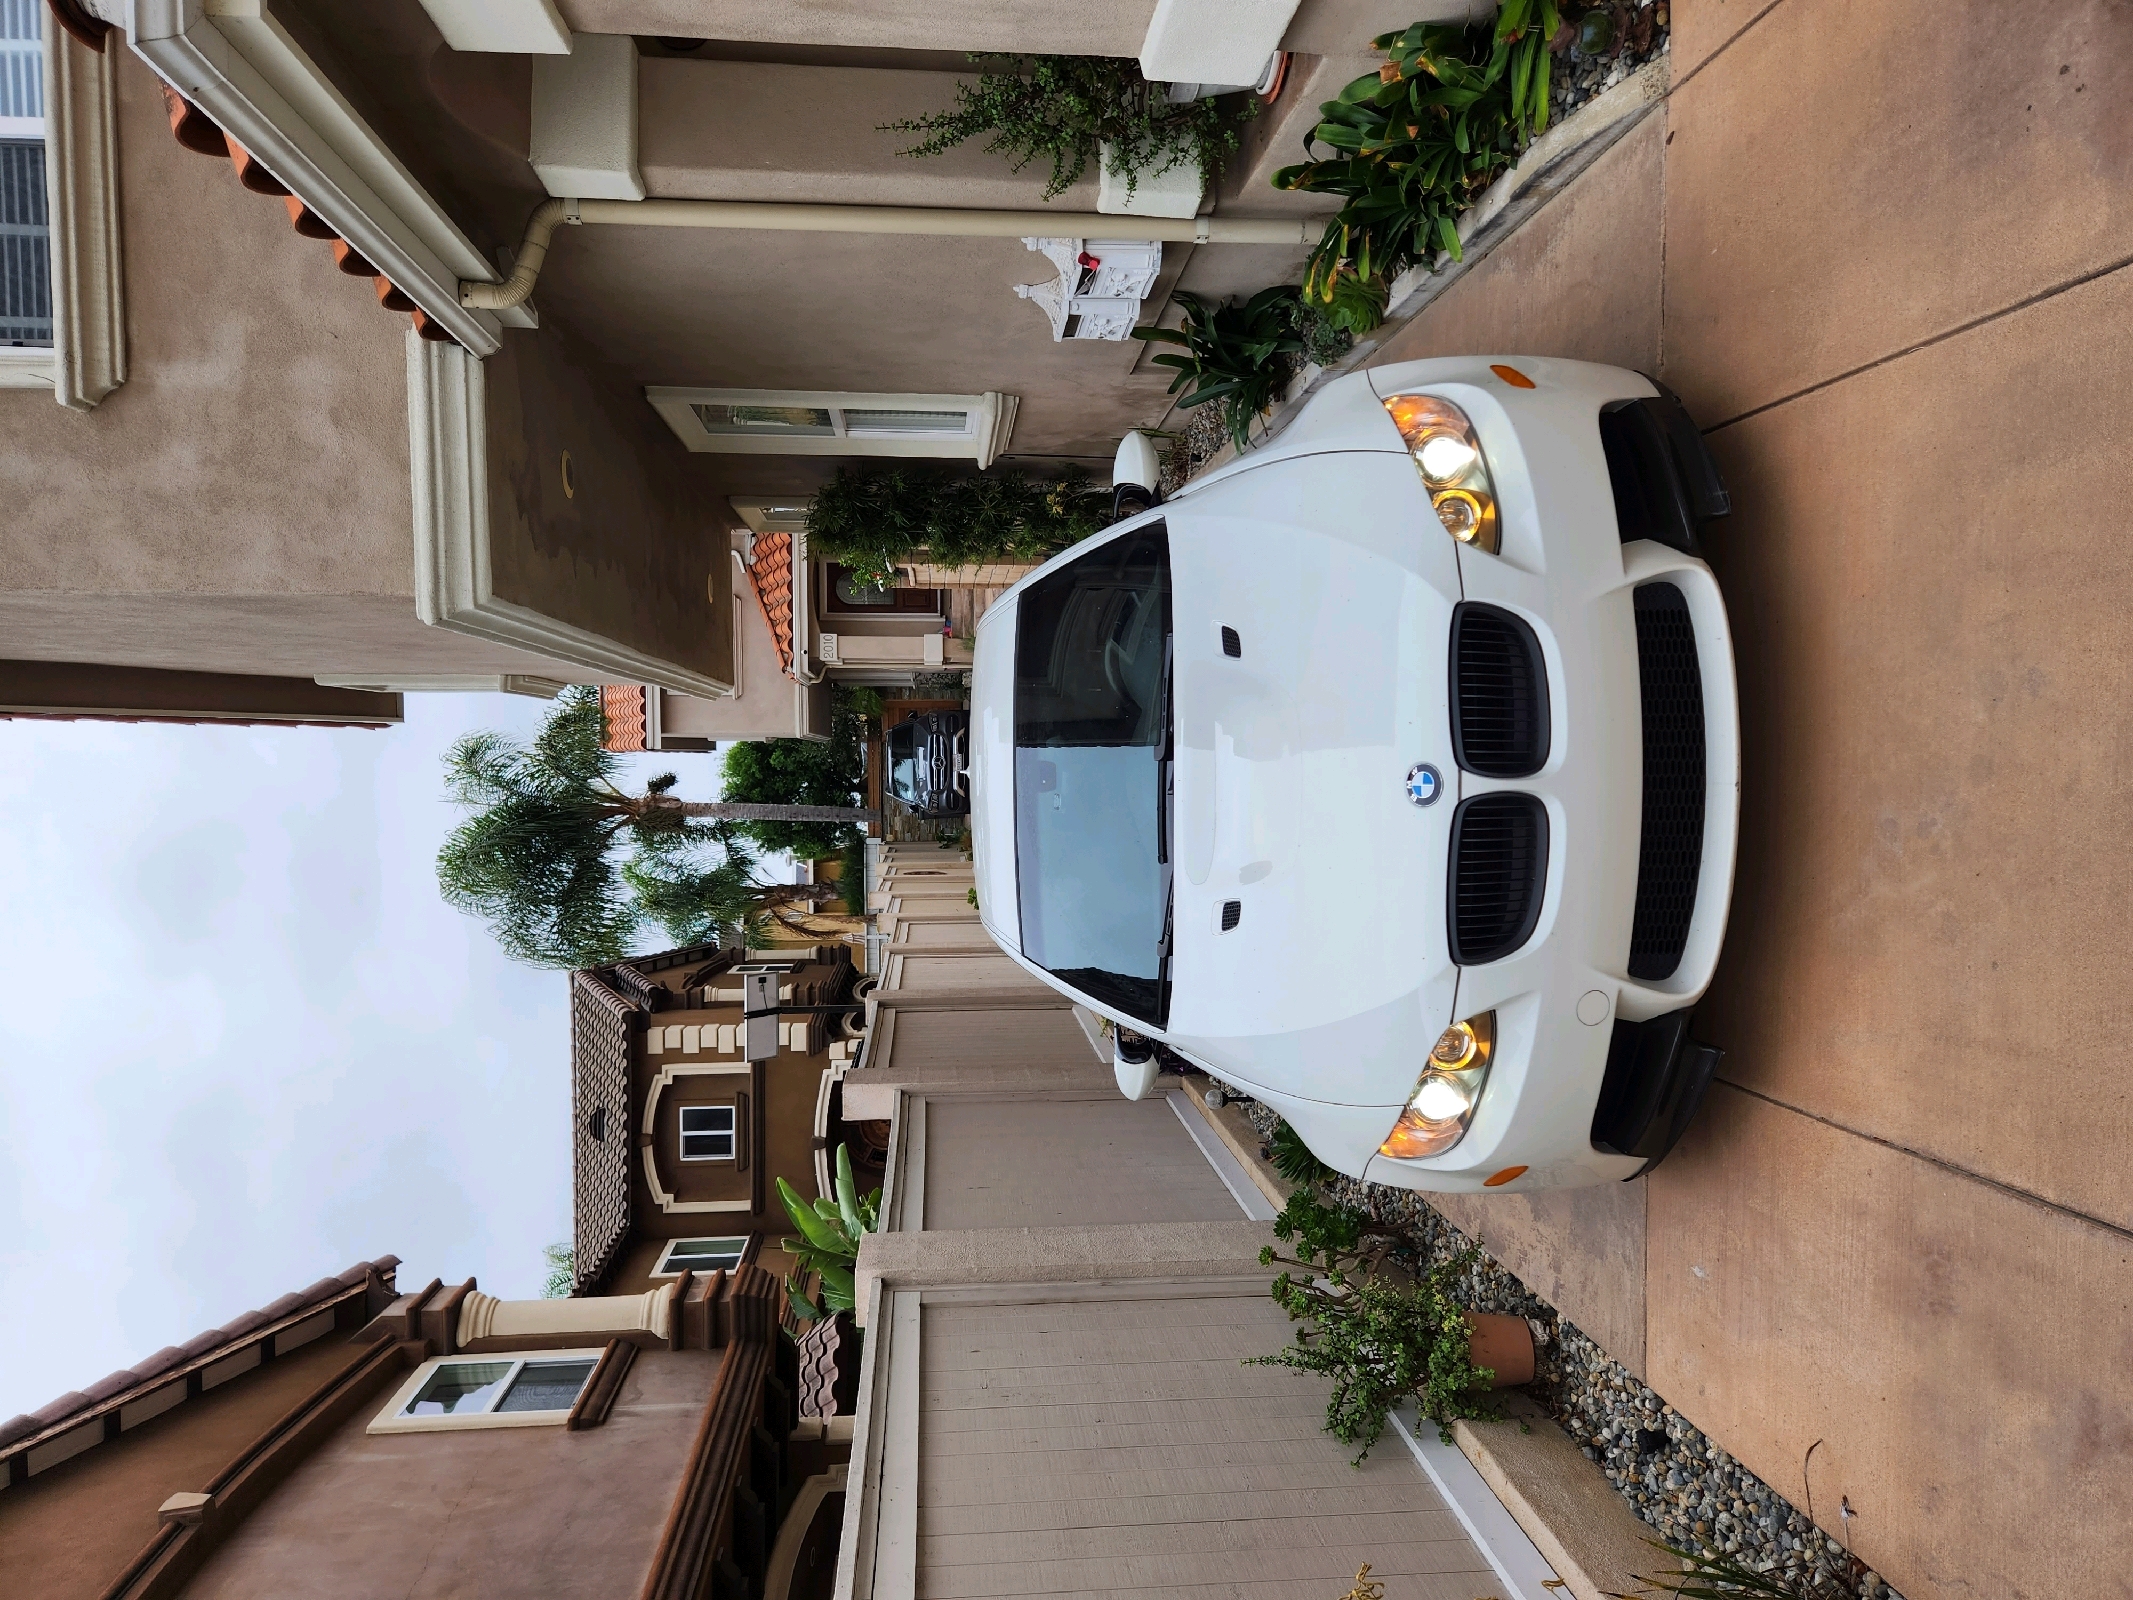
Will never get tired of this face
washed the car and got the trunk all packed up to head to the shop and get to work! new Brembo BBK in Acid Blue with 2 piece 380mm floating rotors, Dinan front monoball kit, Fall Line rear upper arms, billet RTA with inner/outer lower tension arm spherical bearings. excited to feel how different the car will drive when all is done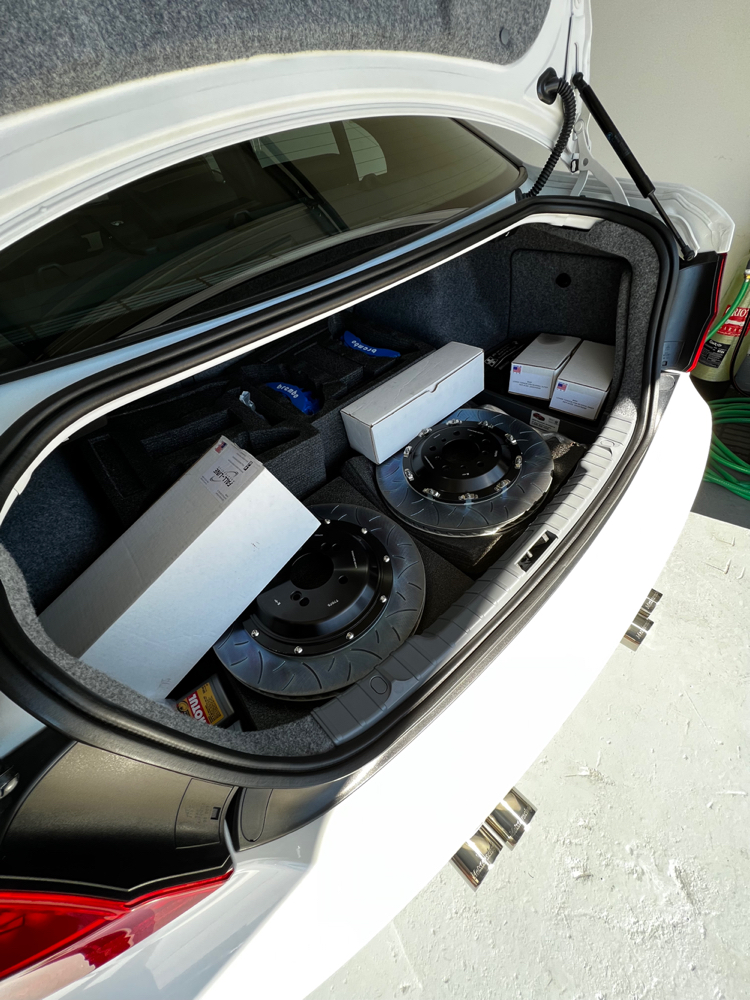
haile90 wroteDid you purchase these from signature werks?washed the car and got the trunk all packed up to head to the shop and get to work! new Brembo BBK in Acid Blue with 2 piece 380mm floating rotors, Dinan front monoball kit, Fall Line rear upper arms, billet RTA with inner/outer lower tension arm spherical bearings. excited to feel how different the car will drive when all is done
DjMarkOne wroteyes sir!haile90 wroteDid you purchase these from signature werks?washed the car and got the trunk all packed up to head to the shop and get to work! new Brembo BBK in Acid Blue with 2 piece 380mm floating rotors, Dinan front monoball kit, Fall Line rear upper arms, billet RTA with inner/outer lower tension arm spherical bearings. excited to feel how different the car will drive when all is done
